
To create your own lava lamp at home, gather a clear container, vegetable oil, water, food coloring, and an effervescent tablet like Alka-Seltzer. Fill the container with water, add food coloring, then pour in the oil slowly to keep the layers separate. Drop in the tablet to start the bubbling effect. If you want detailed steps and tips for customizing your lava lamp, keep exploring how to make it truly your own.
Key Takeaways
- Use clear containers to layer water and oil, then add food coloring for vibrant water sections.
- Drop crushed Alka-Seltzer or baking soda into the water to produce bubbles and create the lava effect.
- Carefully pour oil over water to maintain distinct layers, preventing mixing and ensuring visual contrast.
- Control the reaction speed by adjusting temperature or reactant amount; adding dish soap stabilizes bubbles.
- Always supervise the experiment, handle chemicals safely, and clean up thoroughly after to ensure safety and environmental care.
Gather Your Materials and Prepare Your Workspace
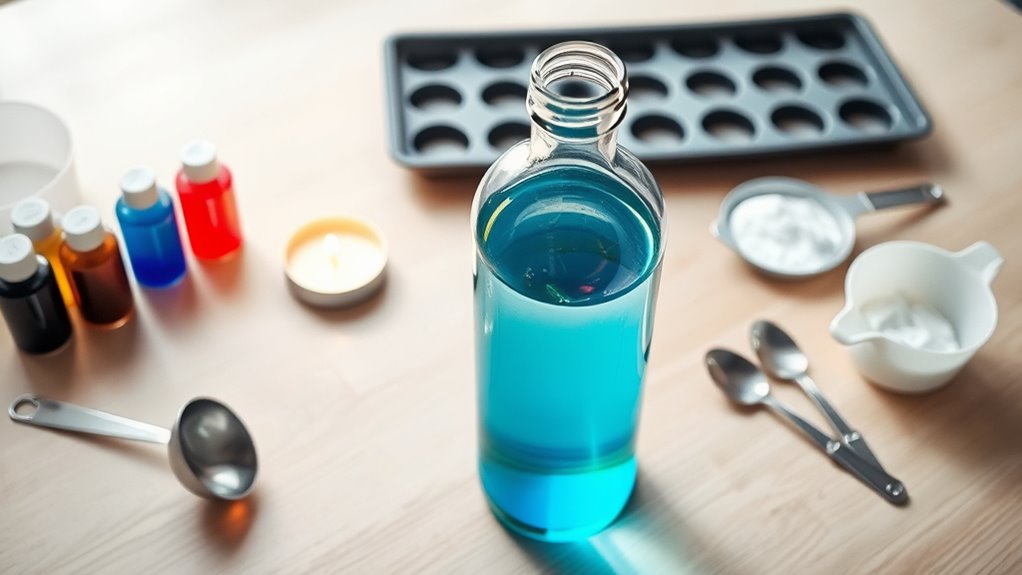
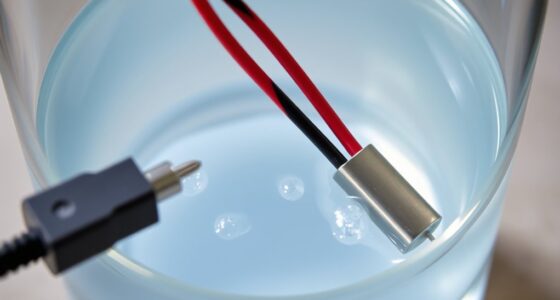
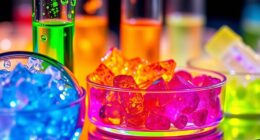
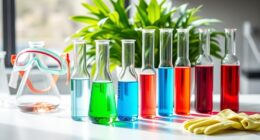
Before you start building your homemade lava lamp, gather all the necessary materials and set up a clean, organized workspace. Find clear containers like empty jars, plastic bottles, or a large mason jar—they allow you to see the lava effect clearly. Choose your oil, such as vegetable, mineral, or baby oil, to create the density difference needed for the lava movement. Pick a colorant, like food coloring or natural dyes, to add vibrancy to your water layer. Get chemical reactants like Alka-Seltzer tablets for the fizzing reaction. Keep tools like a spoon or stirrer handy for mixing and adding ingredients, and have a timer nearby to monitor reaction times. Protect your work surface with cloths or paper towels to prevent spills, ensuring a safe and organized setup. Understanding the history of pinball machines can inspire creative ideas for your lamp design, especially if you incorporate retro or vintage elements. Additionally, researching the role of contrast ratio in visual displays can help you choose the right lighting conditions to enhance your lava lamp’s appearance. To ensure your lava lamp is safe and effective, consider testing different materials and liquids to achieve the best visual effect and stability. Exploring color combinations can also help you create more captivating and personalized displays.
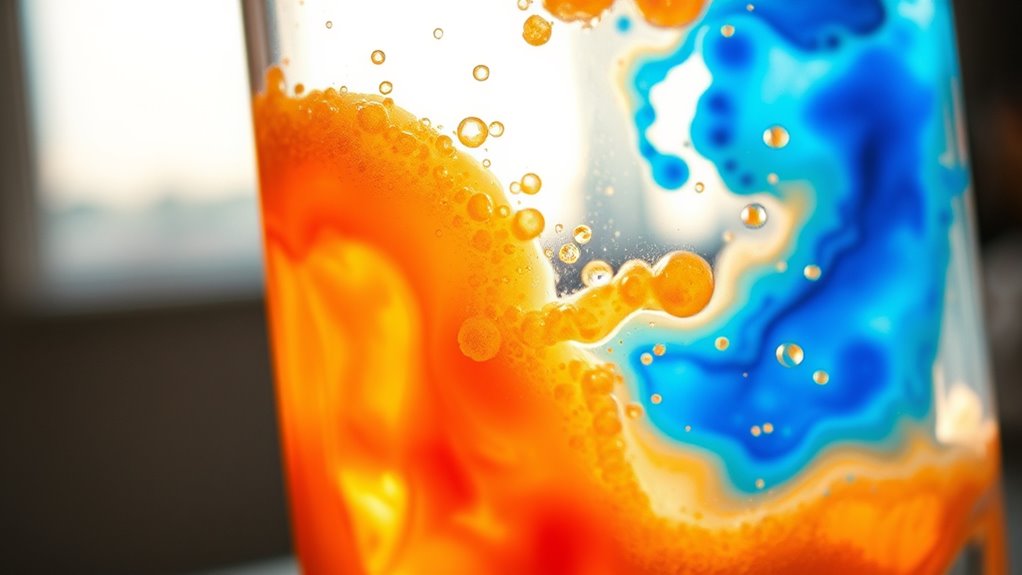
Layer Oil and Water in a Clear Container

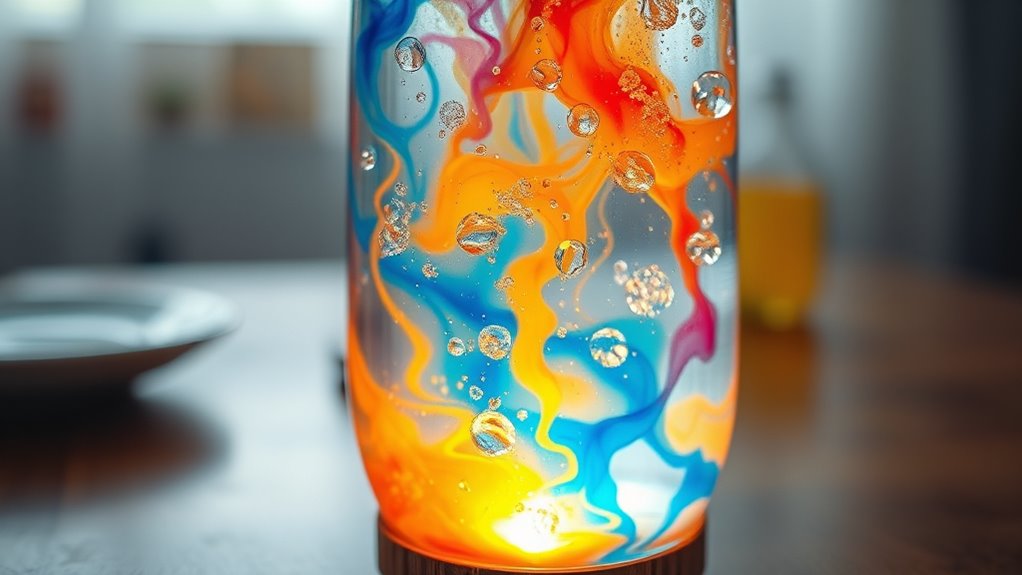
To create a striking layered effect in your homemade lava lamp, carefully pour oil and water into a clear container. Since oil is less dense than water, it will naturally float on top, forming a distinct layer.
Create a captivating layered effect by carefully pouring oil and water into a clear container, with oil floating on top.
Use a transparent container to clearly see the separation and observe how the liquids interact. Pour the water first, then gently add the oil to avoid mixing the layers.
The difference in density keeps the oil on top, creating a beautiful visual contrast. Allow the liquids to settle so the layers become fully distinct before proceeding.
You can also add food coloring to the water to enhance the visual effect later. This separation not only looks impressive but also demonstrates how density influences the behavior of different substances.
Add Color and Set Up the Chemical Reaction
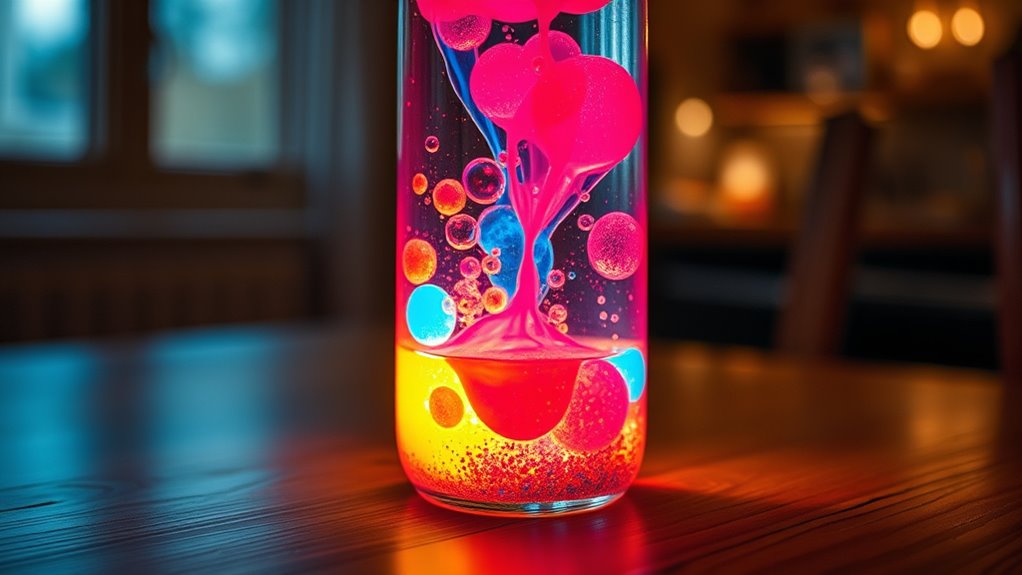
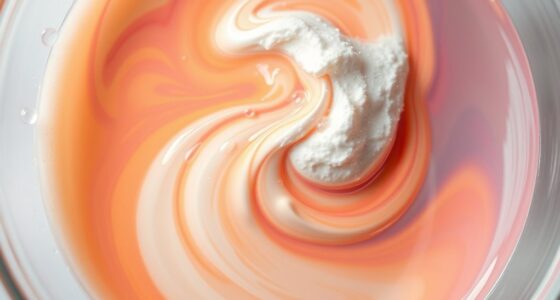
Adding color and setting up the chemical reaction are key steps to creating an eye-catching lava lamp. Start by adding 5-10 drops of water-based food coloring to your water layer. This amount provides vibrant color without oversaturating. Avoid oil-based dyes, as they won’t separate from the oil layer and can ruin the effect.
Once the color is added, break an Alka-Seltzer tablet into small pieces or prepare a mixture of baking soda and citric acid. Drop the reactant into the jar, and it will start producing bubbles immediately. These carbon dioxide bubbles attach to the colored water droplets, lifting them through the oil. Understanding the macronutrient ratio is essential for balancing the chemical reaction and achieving the desired visual effect. Additionally, the efficiency of heating can influence how quickly the reaction occurs and how long the display lasts. Proper temperature control can help you optimize the reaction speed, leading to a more sustained and mesmerizing display.
The reaction speeds up with warmth, so keep your lamp in a comfortable spot. Be careful not to overuse reactants, which can cause rapid bubbling and a shorter display. Proper understanding of toilet functionality and maintenance can help ensure your household plumbing remains unaffected by these DIY experiments.
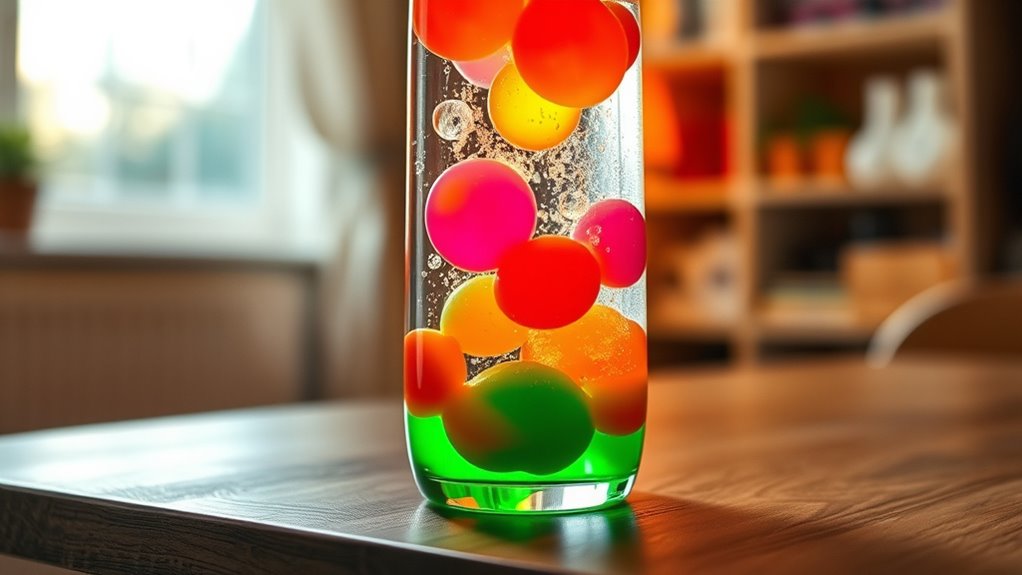
Observe the Lava Effect and Adjust as Needed
Observing the lava effect closely allows you to see how well your reaction is working and how the movement of the colored blobs appears. Pay attention to how the bubbles form and detach, causing the blobs to rise and fall. A clear understanding of the reaction process can help you make more precise adjustments for better results. If the movement is slow or the bubbles are small, try increasing the temperature or adding more reactants to speed up the reaction. Warmer water creates faster bubble formation, resulting in more vigorous motion. If bubbles are too large or burst quickly, adding a small amount of dish soap can help stabilize them. Watch how the layers of oil and water stay separated; if they mix, check the oil’s volume or temperature. Adjust these factors until you achieve a lively, continuous lava-like flow. Being aware of the projector bulb lifespan can also prevent unexpected issues that might distract from your display. Understanding chemical reactions can further enhance your ability to control the effects and create a mesmerizing display. Additionally, monitoring the temperature of the water ensures the reaction stays within an optimal range for consistent results.
Explore Variations to Customize Your Lava Lamp
Exploring variations allows you to personalize your lava lamp and make it uniquely yours. You can experiment with different color options by adding various food coloring, creating layered effects, or even using glow-in-the-dark pigments for a luminous finish. Incorporating nail styles names into your design, such as vibrant colors or unique patterns, can add a fun and trendy touch to your lamp. Mixing different oils, like vegetable or baby oil, lets you customize the viscosity and buoyancy, adding unique movement to your lava. Additionally, adjusting the tire pressure in hybrid bikes is akin to controlling the viscosity of your oils, influencing the speed and fluidity of your lava lamp’s movement. This concept of energetic alignment can help you tune your creative process and achieve the desired visual effects more effectively. Changing container styles, from mason jars to custom shapes, enhances visual appeal and functionality. Using safety considerations when working with household chemicals ensures that your DIY project remains safe while enjoying creative experimentation. Incorporating visual effects through decorative elements or background lighting can elevate the overall aesthetic of your lava lamp. Enhancing your lamp with additives like Alka-Seltzer, baking soda, or glow powders creates diverse bubble effects and glowing features. You can also craft themed versions, such as neon, seasonal, or space-inspired designs, by combining colors, decorations, and container choices. These variations make your lava lamp truly one-of-a-kind.
Safety Tips and Cleanup for a Safe Experiment
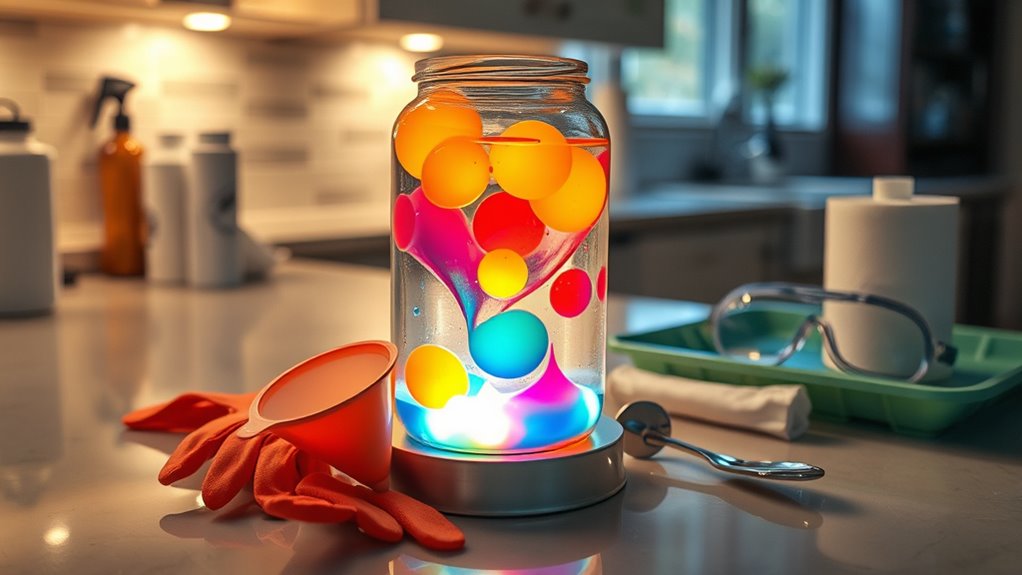
To guarantee your lava lamp experiment is safe and enjoyable, it’s important to follow proper safety tips and cleanup procedures. Always have an adult present to supervise, and wear safety goggles and gloves to protect against splashes. Never ingest any materials used, and keep small objects away from children to avoid choking hazards. Conduct a risk assessment beforehand to identify potential dangers. Handle household chemicals carefully, even food coloring and Alka-Seltzer, and clean spills immediately with soapy water to prevent stains. Dispose of oils properly—don’t wash them down the sink—and ensure wastewater is safely drained. Proper disposal of essential oils is essential to prevent environmental damage and maintain safety. Keep your setup stable and secure, avoiding overfilling containers or placing lids during reactions. Afterward, review safety steps and thoroughly clean all surfaces to maintain a safe environment. Being aware of trust issues in relationships can remind you to stay cautious and attentive when handling potentially hazardous materials during experiments. Additionally, familiarizing yourself with Glycolic Acid benefits can help understand skin safety if using products in related experiments. Incorporating safety data into your planning ensures a more comprehensive understanding of potential risks. Finally, consulting vacuums for pet hair can be useful for cleaning up any residual messes efficiently after your experiment.
Frequently Asked Questions
Can I Use Different Types of Oil for Better Lava Effects?
You can definitely experiment with different oils for better lava effects. Baby oil creates clear, slow-moving blobs, while vegetable oil produces larger, more dramatic bubbles. Mixing oils can enhance visual appeal by balancing clarity and bubble size.
Try coconut or canola oil for different viscosities. Remember, the key is to observe how each oil interacts with water and reacts to added ingredients like Alka-Seltzer, so don’t hesitate to experiment.
How Long Does the Lava Lamp Last Before Needing a Restart?
It might seem like your lava lamp’s magic fades too soon, but typically, the bubbles last about 5 to 15 minutes per Alka-Seltzer tablet. You’ll need a restart once bubbles stop, usually within that window.
Adding more tablets or adjusting ingredients can extend the effect. Just keep in mind, as the days go by, oil degradation and evaporation can shorten the lifespan, so regular refills or resets keep it lively.
Is It Safe to Shake the Container During the Reaction?
Shaking the container during the reaction isn’t safe because it can cause spills, breakage, or unwanted chemical reactions.
It might also disrupt the density gradients that create the lava effect, making the display less smooth.
Instead, let the liquids settle naturally or gently tap the container if needed.
Always handle your lava lamp carefully to prevent accidents and make sure it works beautifully and safely.
What Is the Best Way to Store Leftover Chemical Reactants?
Think of leftover chemical reactants like fragile glassware—you want to handle them carefully. Store them in clearly labeled, sealed containers in a cool, dry, well-ventilated area, away from heat or sunlight.
Keep reactive chemicals separate based on their groups, and always follow safety guidelines, such as using secondary containment.
This way, you prevent accidents and guarantee safe, organized storage, just like protecting your favorite keepsakes.
Can I Make a Larger or Smaller Lava Lamp Easily?
Yes, you can easily make a larger or smaller lava lamp by adjusting your container size and ingredient ratios. Use a bigger container for a larger lamp, maintaining the water-to-oil ratio of 1:3 or 1:4.
For smaller lamps, choose a smaller vessel and scale down ingredients accordingly. Just guarantee the container is stable, and leave enough headspace to prevent overflow, making the process straightforward and safe.
Conclusion
Now, sit back and watch your homemade lava lamp come alive, swirling with vibrant colors that dance like molten fire within your clear container. The gentle shimmer and bubbling motion mirror a miniature volcano, enthralling your senses. As the waxy blobs drift and pop, you’ll feel a satisfying sense of wonder and achievement. With each flicker of light, your creation transforms simple household items into a mesmerizing, glowing masterpiece—proof that science and creativity blend beautifully in your own hands.