
To conduct simple acid-base titrations at home, gather common supplies like household vinegar, baking soda, and natural indicators such as red cabbage juice. Use basic glassware like cups and spoons and follow safety precautions like wearing gloves and working in a well-ventilated area. Carefully add the indicator, then slowly mix your solutions while observing color changes. If you continue, you’ll discover step-by-step techniques for accurate results and calculating unknown concentrations.
Key Takeaways
- Use household acids like vinegar and bases such as baking soda or ammonia for safe, simple titrations.
- Prepare indicators like red cabbage extract or household pH test strips for visual pH changes.
- Carefully measure liquids with measuring cups or syringes, and perform slow titrations to observe color shifts.
- Record initial and final volumes accurately, and repeat trials for consistency and reliable results.
- Maintain safety by wearing goggles and gloves, working in a well-ventilated area, and disposing of chemicals properly.
Gathering the Necessary Equipment and Materials
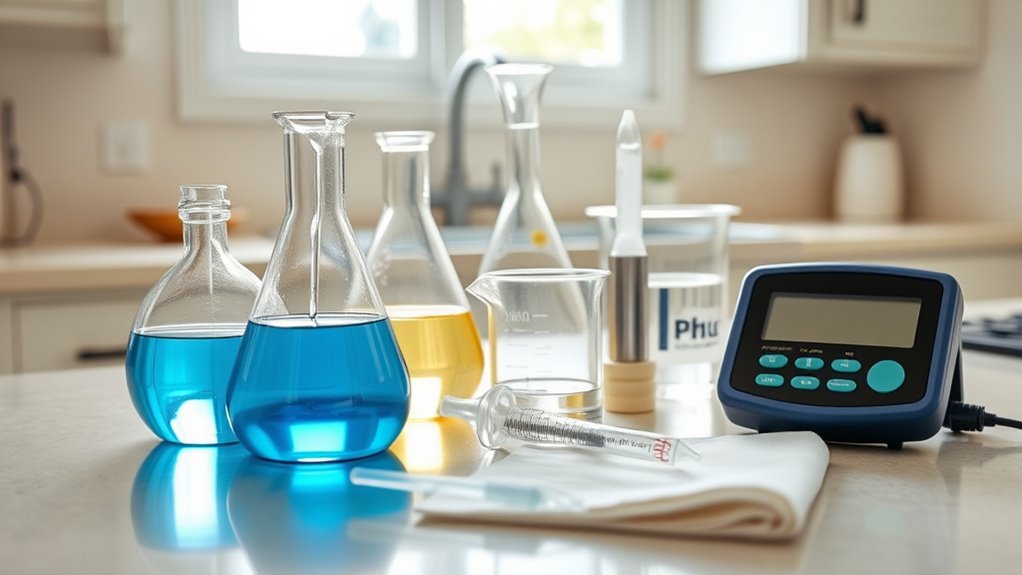
Before starting a simple acid-base titration, you need to gather all the essential equipment and materials. First, verify you have basic safety gear: goggles to protect your eyes, disposable gloves for skin safety, and protective clothing like a lab coat. Conduct the experiment in a well-ventilated workspace to avoid inhaling fumes. It’s also helpful to understand Forsale 100 to ensure you acquire quality supplies if purchasing items. For core lab glassware, grab a burette for precise titrant delivery, an Erlenmeyer flask for your reaction mixture, and beakers for solutions and waste. Measurement tools include a graduated cylinder, serological pipettes, and an eyedropper for adding indicators. Prepare the necessary chemicals, such as phenolphthalein, vinegar, household ammonia, and distilled water. Maintaining proper chemical handling procedures is crucial to ensure safety throughout your experiment. Optional equipment like a pH meter, DIY titration stand, and household measuring cups can also be useful.
Preparing Your Acid and Base Solutions Safely

To prepare your acid and base solutions safely, you must understand proper handling techniques and measurement procedures. Always wear PPE, including chemical splash goggles, nitrile gloves, and a lab apron, to protect your skin and eyes. When diluting acids or bases, add the chemical slowly to water—never the other way around—to prevent violent reactions. Use graduated cylinders or volumetric flasks for accurate measurements, and label all containers clearly with contents, concentration, and hazard symbols. Store acids and bases separately in well-ventilated areas, using secondary containment to prevent leaks. Keep solutions away from heat and sources of ignition. Follow safety protocols, including having neutralization kits nearby and knowing first aid procedures, to minimize risks during preparation. Regularly check chemical storage conditions to prevent degradation and ensure safety. Additionally, ensure proper ventilation in your workspace to disperse any accidental fumes effectively. Proper disposal procedures should also be followed for chemical waste to prevent environmental contamination, and understanding chemical compatibility can help prevent dangerous reactions during storage and disposal.
Selecting and Applying the Right Indicator
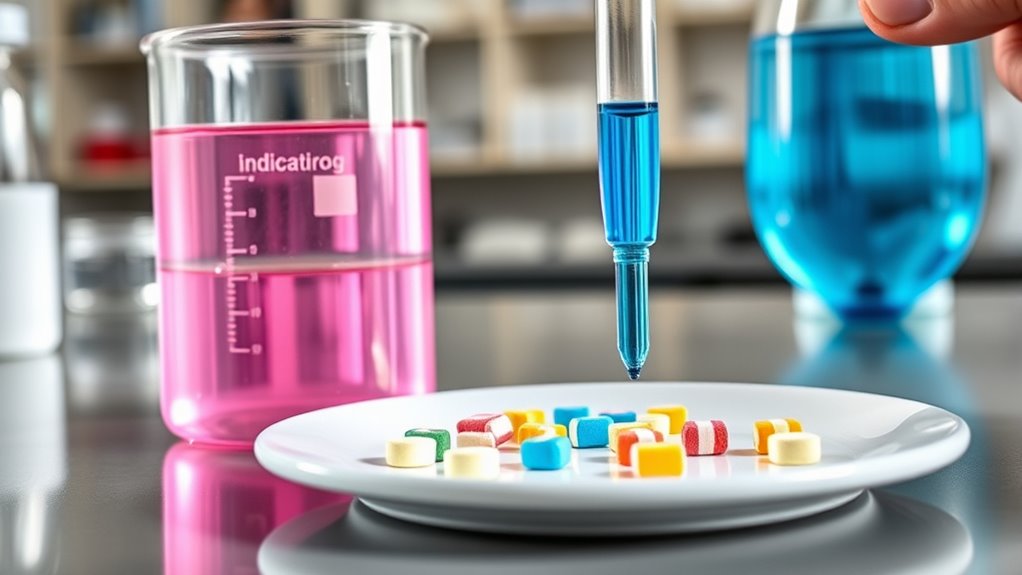
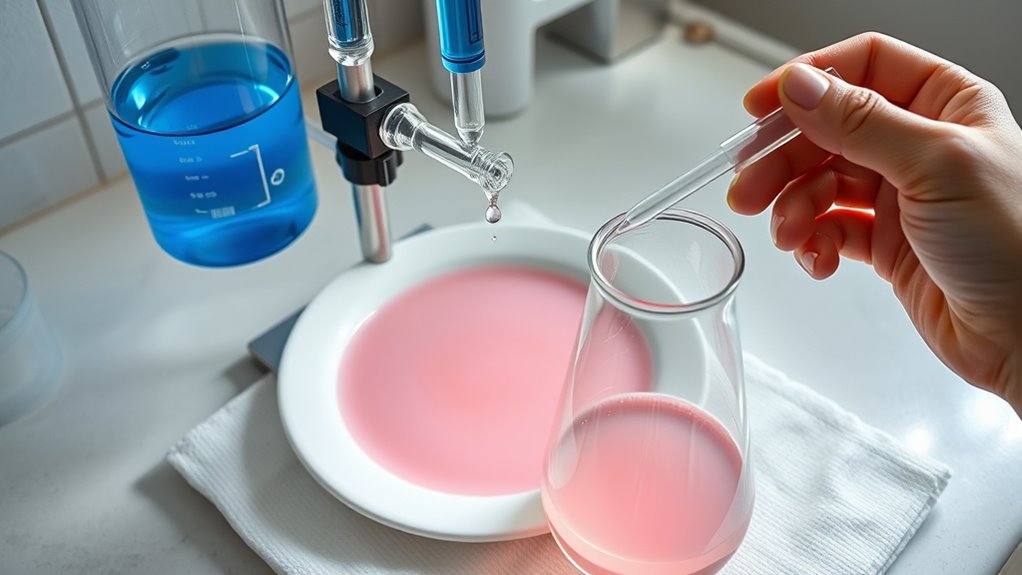
Choosing the right indicator is essential for accurately determining the endpoint in acid-base titrations. Natural indicators like red cabbage, turmeric, and beet juice are popular at home because they’re inexpensive and easy to prepare.
For example, red cabbage changes color from red in acids to green or yellow in bases, making it straightforward to observe pH shifts. To use, boil or blend the vegetable to extract the color-changing liquid.
While natural indicators are less precise than synthetic ones, they’re perfect for educational experiments and household testing. Understanding pH indicators can help you select the best option for your specific experiment. Natural indicators work effectively because they contain pH-sensitive compounds that change color depending on the acidity or alkalinity of a solution. These compounds are influenced by efficiency ratings, which indicate how well a device performs in varying conditions.
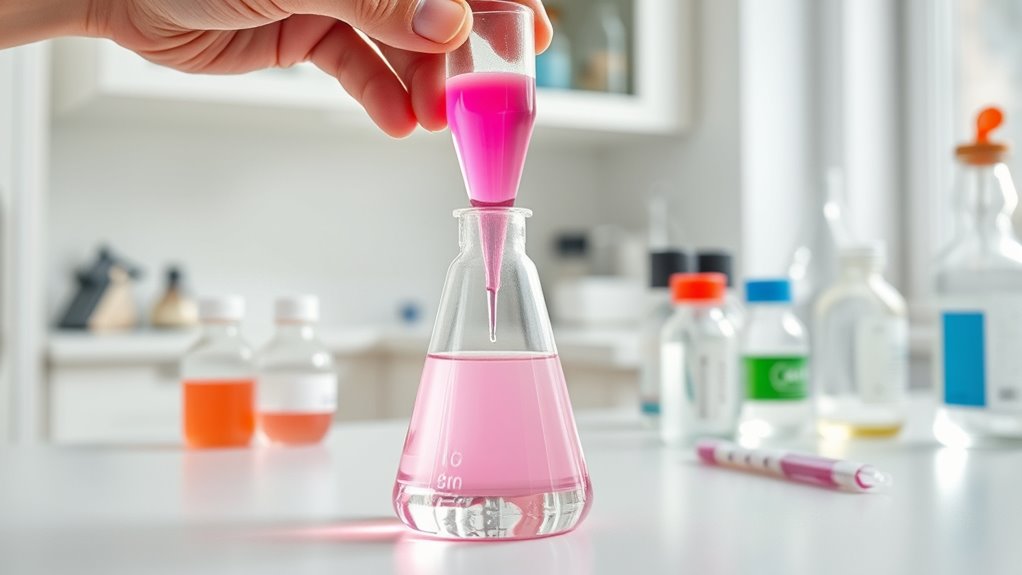
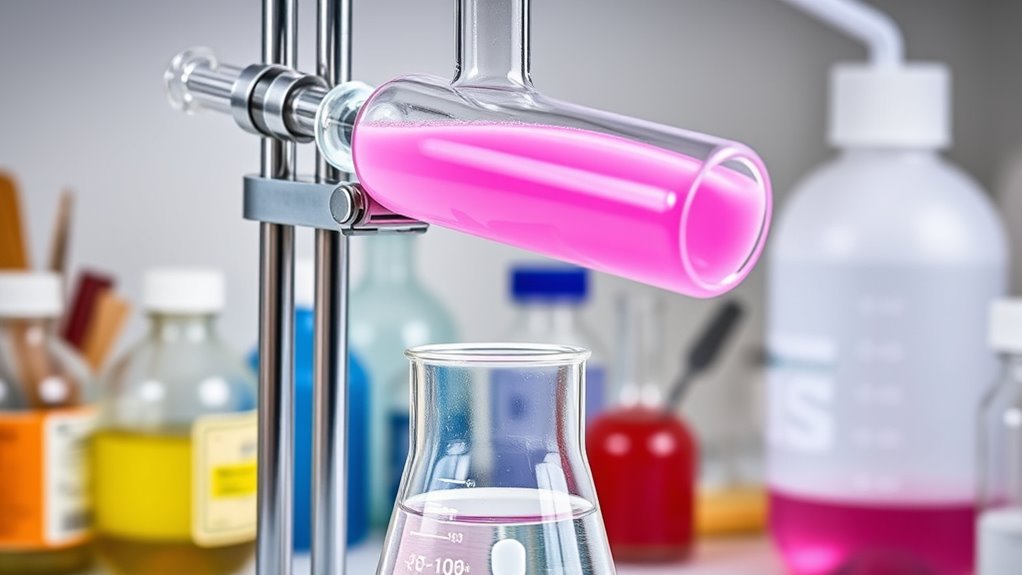
Synthetic indicators like phenolphthalein and bromothymol blue offer sharper color transitions and greater accuracy, but may require safety precautions.
Choose your indicator based on the level of precision needed and the substances you’re testing.
Setting Up Your Titration Apparatus Properly
Properly setting up your titration apparatus guarantees accurate and safe results. Start by clamping the burette vertically on a ring stand, ensuring the 0.0 mL mark is at the top. Rinse the burette with distilled water and a small amount of titrant to remove impurities. Using the correct equipment is essential for reliable outcomes. Fill it using a funnel, making sure there are no air bubbles in the tip, and check the stopcock for smooth operation and leaks. Position the burette directly over your Erlenmeyer flask for precise titrant addition. Rinsing the volumetric pipette with the analyte solution before transferring an exact volume, like 25.00 mL, into a clean flask helps prevent contamination. precise measurements ensure consistent and accurate titrations. Additionally, ensuring the accuracy of measurements is crucial for valid results. Use a magnetic stir bar for even mixing and place a white tile beneath the flask for clear endpoint observation. Incorporating automation in data collection can further enhance the precision of titrations and reduce human error.
Performing the Titration Step-by-Step
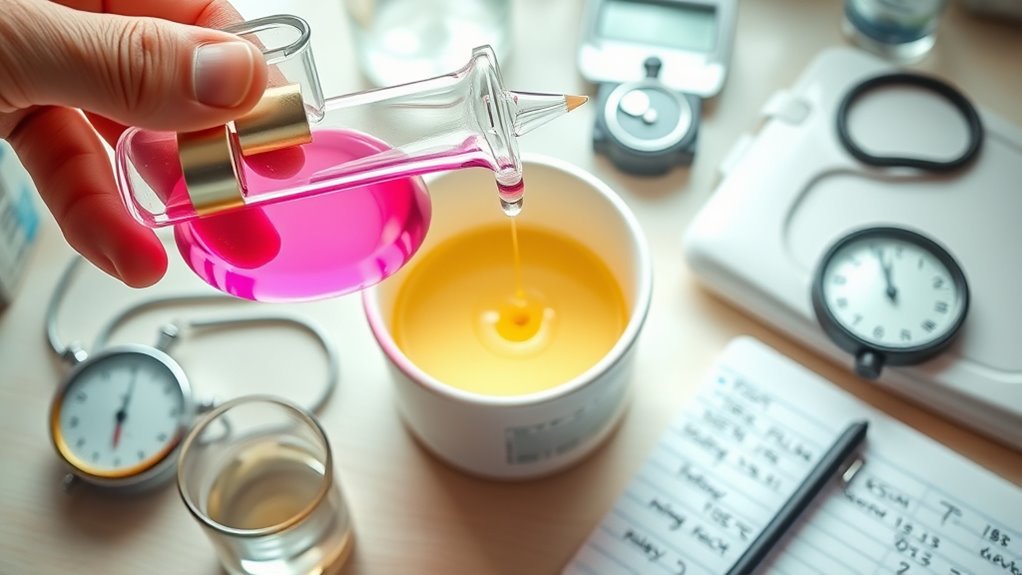
Performing the titration step-by-step requires careful attention to detail to guarantee accurate results. First, measure a fixed volume of your analyte (acid or base) with a pipette, rinsing it with distilled water and the analyte to prevent contamination. Adding a proper indicator ensures that the color change at the endpoint is clear and easy to observe. Add 2-3 drops of a suitable indicator to the analyte in a clean conical flask placed on a white tile. Rinse the burette with water and the titrant, then fill it carefully with the titrant, avoiding air bubbles. Record the initial volume precisely. To improve precision, it is crucial to calibrate your equipment regularly and ensure that all glassware is properly cleaned before use. Slowly add titrant from the burette to the analyte while swirling continuously. Start with larger increments and slow down near the endpoint to avoid overshooting. Keep a close eye on the color change to identify the endpoint accurately. Ensuring proper calibration techniques and maintaining clean equipment can also significantly improve the precision of your titration results.
Recognizing the End Point and Recording Data
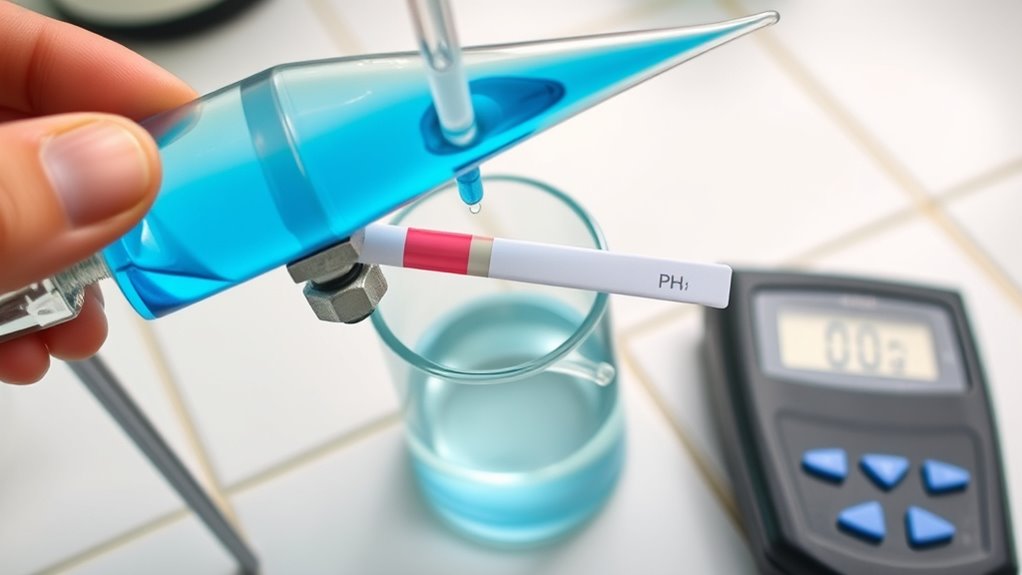
Recognizing the end point of a titration relies on observing specific changes that indicate the reaction has reached completion. Usually, you’ll notice a color change in the indicator, often requiring about a 2 pH unit shift. Phenolphthalein is a common choice because it shifts abruptly from colorless to pink near neutral pH. To improve visibility, ensure good lighting and contrast backgrounds. Add the titrant slowly as you approach the expected end point, watching carefully for the color change. Remember, color changes are gradual and may need careful observation. Using pH indicators like phenolphthalein helps detect subtle changes in acidity or alkalinity, making it easier to identify the end point accurately. The use of a pH meter can further enhance precision, especially for more critical measurements, but visual cues are sufficient for simple home experiments. Employing consistent techniques and paying attention to detail are key traits of successful chemistry experiments, which can help improve the accuracy of your titrations. Additionally, understanding the concept of equivalence point can help you better interpret the results of your titrations. Recording data involves noting the volume of titrant used at the moment the color shifts. Plotting titration curves or using pH meters can increase accuracy, but visual cues are sufficient for simple home experiments.
Repeating the Process for Consistent Results
To guarantee your titration results are reliable, repeating the process multiple times is essential. Use standardized droppers and labeled containers to ascertain consistent volumes and prevent cross-contamination.
Maintain a steady workspace with fixed-angle surfaces and uniform lighting to improve accuracy. Follow strict procedural steps: swirl with the same force, add drops at 1-2 second intervals, and use identical vessels to eliminate variability.
Check for air bubbles before each trial and keep solutions sealed between runs. Control environmental factors such as temperature, drafts, and humidity to reduce reaction rate variations.
Perform at least three trials, discard outliers, and average the results. These measures help ensure your titrations are reproducible and dependable, leading to more accurate conclusions.
Calculating the Concentration of the Unknown Solution

After ensuring your titration results are consistent through careful repetition, the next step is to accurately determine the concentration of the unknown solution.
First, subtract the initial burette reading from the final to find the volume of titrant used, converting milliliters to liters (e.g., 18.50 mL becomes 0.01850 L).
Next, calculate the moles of titrant added by multiplying its known molarity by the volume in liters (for example, 0.100 M × 0.01850 L = 0.00185 mol).
Using the mole ratio from the balanced equation—often 1:1—you determine the moles of the unknown acid.
Finally, divide the moles of acid by its volume in liters to find its concentration, ensuring all units are consistent for accurate calculations.
Frequently Asked Questions
How Do I Choose the Best Indicator for My Titration?
To choose the best indicator, consider the types of acids and bases involved in your titration.
Look at the pH range where your equivalence point occurs, then select an indicator that changes color within that range.
For example, phenolphthalein works well for strong acid-strong base titrations, while methyl orange suits strong acid-weak base cases.
Checking the titration curve helps you pick the most accurate indicator.
What Safety Precautions Should I Take During Home Titrations?
Safety starts with smart steps—wear protective goggles, gloves, and a lab coat to shield yourself from spills. Keep a clean workspace, label liquids clearly, and handle glassware carefully to prevent breakage. Ventilate the area well, and have first aid supplies ready.
Avoid inhaling fumes, and dispose of chemicals properly. Precautionary practices protect you from potential pH problems, preventing mishaps and making your titration safe, simple, and secure.
How Can I Tell if My Titration Results Are Accurate?
To tell if your titration results are accurate, first verify your titrant is properly standardized and your measurements are precise.
Repeat the titration multiple times, comparing the results to check for consistency.
Calibrate your equipment regularly, control the temperature, and minimize contamination.
If your titers are close in multiple trials and match the expected values, you can trust that your results are accurate.
What Should I Do if the Color Change Is Ambiguous?
When faced with an ambiguous color change, think of it as a fog settling over a landscape—you need clarity.
First, slow down your titrant addition near the suspected endpoint. Swirl continuously to mix thoroughly, and consider using a different indicator with a sharper contrast.
Bright lighting and a white background can help reveal subtle shifts. If still unclear, verify with a pH meter or perform repeat titrations with smaller increments for precision.
How Do Environmental Factors Affect Titration Accuracy at Home?
Environmental factors can profoundly impact your titration accuracy at home. Temperature changes can speed up reactions or alter pH readings, so keep your setup in a stable, room-temperature environment.
Exposure to CO₂ can lower pH, so cover your beaker or work quickly.
Humidity might dilute your reagents, and light can degrade indicators, so perform titrations in a shaded, dry area.
Controlling these factors helps ensure more precise results.
Conclusion
Now that you’ve mastered simple acid-base titrations at home, you have the power to unveil chemical mysteries with just a few everyday tools. With careful setup and attention to detail, you can achieve results as precise as a scientist in a lab—no fancy equipment needed. Keep practicing, stay curious, and remember: even in your kitchen, you’re conducting experiments that could rival the greatest chemists in history! Happy titrating!