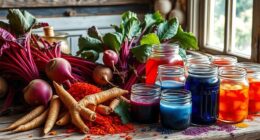

You can create fun, DIY color-changing reactions at home using household items like red cabbage, baking soda, vinegar, and thermochromic pigments. For example, use red cabbage extract as a natural pH indicator to observe color shifts with acids and bases, or combine baking soda and vinegar for an exciting volcano eruption with colorful foam. You can also build temperature-sensitive liquids or crystals that change color with heat or cooling. Keep exploring to discover more simple and safe chemical experiments!
Key Takeaways
- Use thermochromic materials like liquid crystals or leuco dyes to create temperature-sensitive color-changing reactions at home.
- Combine household acids and bases, such as vinegar and baking soda, with natural pH indicators like red cabbage extract for visible color shifts.
- Grow color-changing crystals using saturated solutions of borax or potassium alum mixed with thermochromic pigments.
- Prepare simple oxidation reactions, like lemon juice with heat or peroxide with metal surfaces, to observe color and oxidation changes.
- Experiment with iodine clock reactions and chemiluminescent mixtures (e.g., luminol and peroxide) to produce dramatic color and light effects safely.
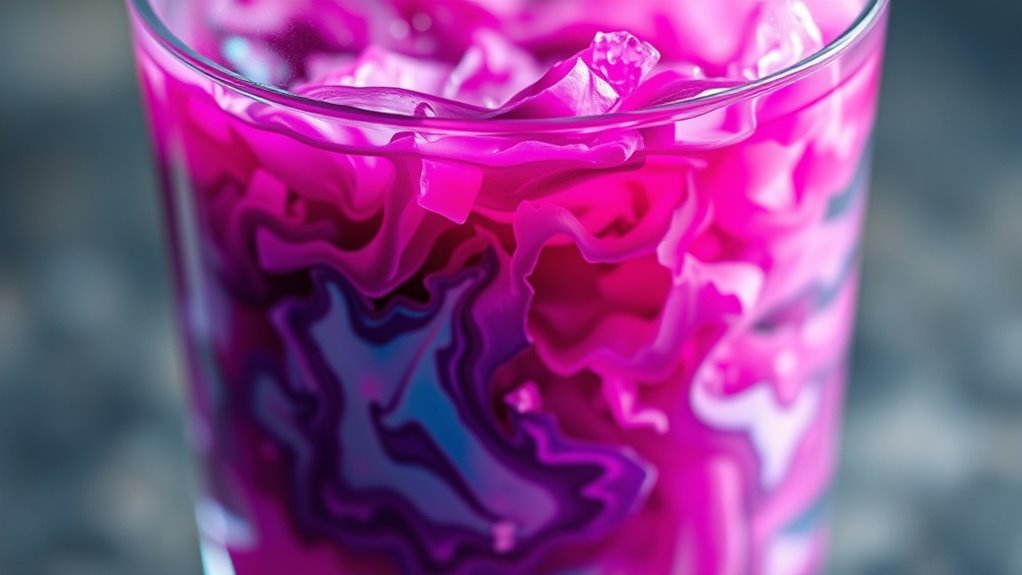
Understanding Ph Indicators With Red Cabbage
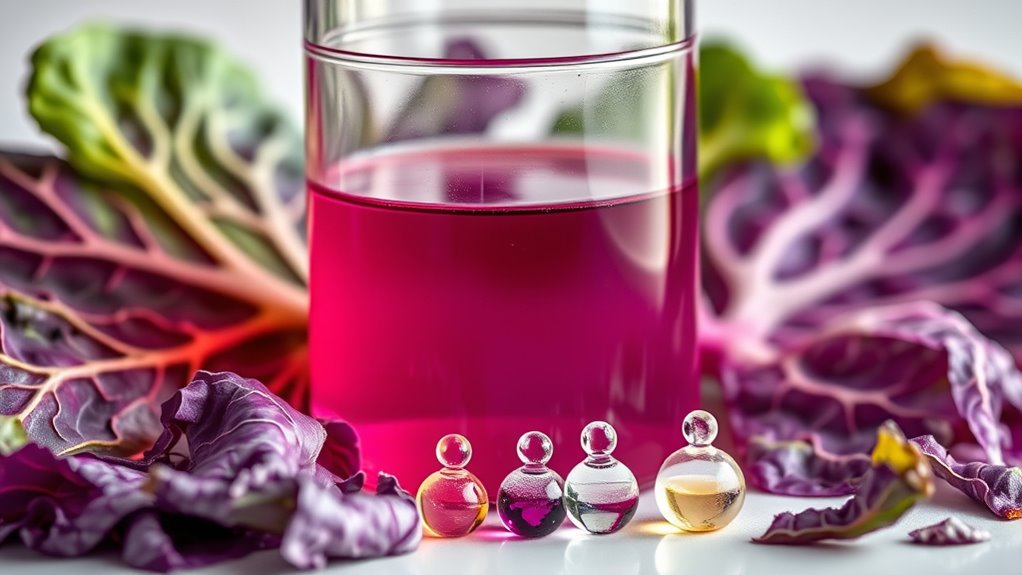
Understanding pH indicators with red cabbage is an engaging way to learn about acids and bases. The key ingredient is anthocyanin, a water-soluble pigment in red cabbage that changes color depending on pH. When the environment is acidic (pH less than 7), anthocyanin turns red. In alkaline (pH greater than 7), it shifts to bluish-green. This occurs because the pigment interacts with hydrogen or hydroxide ions, altering its molecular structure and how it absorbs light. To create this natural indicator, you boil red cabbage to extract the anthocyanin, then filter out the solids. You can test household substances like vinegar or baking soda, observing color changes that visually demonstrate whether they are acidic or basic. This simple process makes learning about pH both fun and accessible. Additionally, understanding the chemical reactions involved can deepen your comprehension of how indicators work at a molecular level. Exploring the optimal angles for pinball machines can also enhance your understanding of how physical adjustments influence outcomes, much like how pH levels affect color changes in indicators. Recognizing the importance of spiritual practices such as meditation can improve your focus and learning experiences in scientific experiments. Recognizing the interpretation of dream symbols can offer insight into your subconscious thoughts during scientific exploration, making learning more introspective and meaningful.
Setting Up a Classic Iodine Clock Reaction
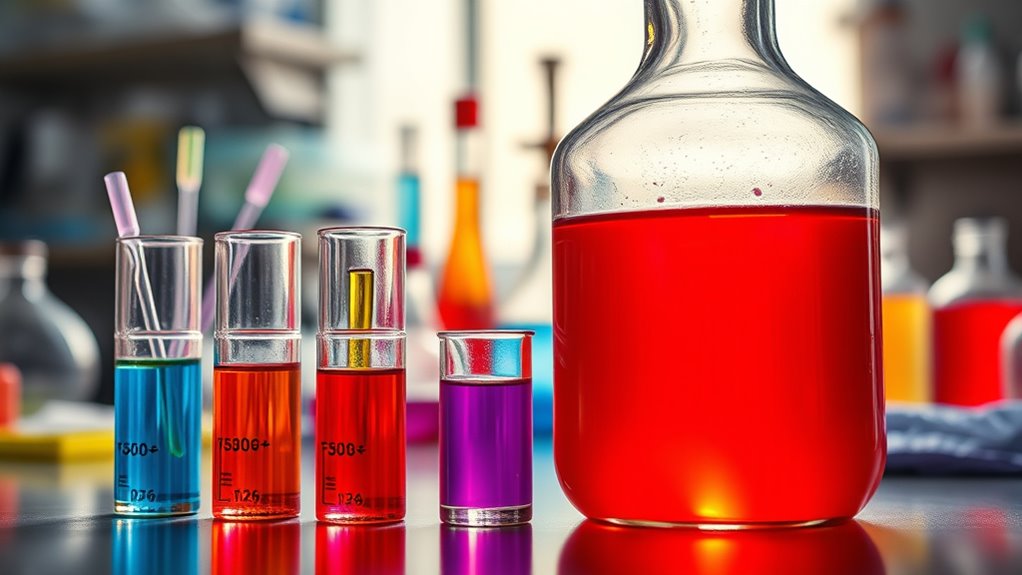
Setting up a classic iodine clock reaction involves carefully preparing and mixing specific solutions to observe a dramatic color change after a predictable delay. First, make Solution A by dissolving 0.5-2 grams of potassium iodide and 2-5 mL of starch in 100 mL of water. Add 1-5 mL of sodium thiosulfate (0.01 M) to delay the color change. Then, prepare Solution B by mixing 10-20 mL of hydrogen peroxide (3%) or sodium persulfate with 5-10 mL of acid like HCl or acetic acid. To start, combine equal parts of Solutions A and B with rapid stirring. Record the time from mixing until the solution turns blue-black. Adjust concentrations and temperature to explore how they influence the delay, making the reaction a vivid demonstration of reaction kinetics. Understanding the sound design principles behind the timing and effects can enhance the educational experience. Additionally, knowing how divorce statistics impact legal strategies can provide context for understanding complex reaction dynamics. Incorporating temperature control can further refine the accuracy of the experiment and reveal its influence on reaction rate.
Creating a Temperature-Sensitive Color Change Liquid
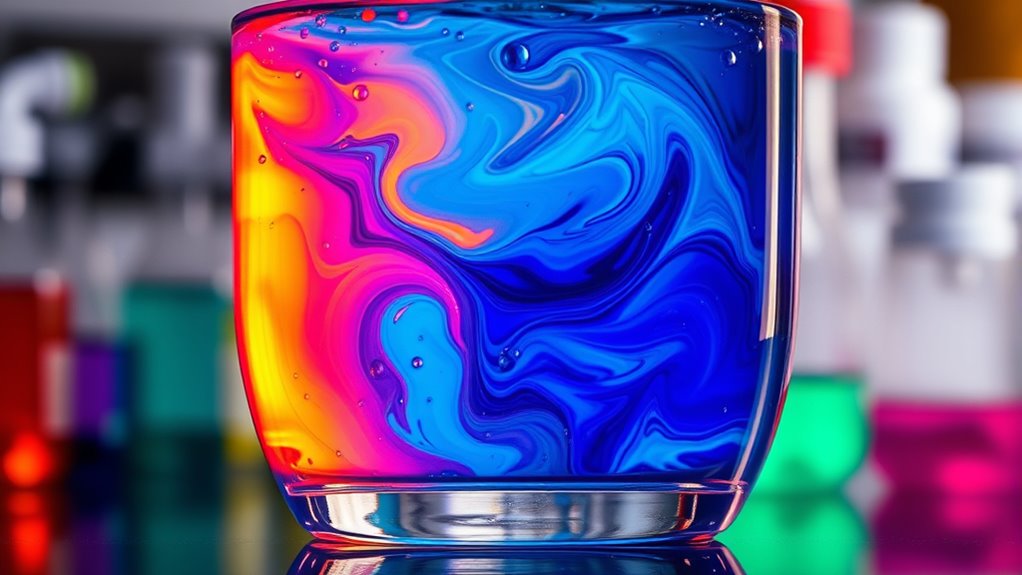
Building on the iodine clock reaction setup, creating a temperature-sensitive liquid involves selecting materials that visibly change color as the temperature shifts. Thermochromic materials like liquid crystals reflect light differently based on molecular twisting caused by temperature changes, producing rainbow hues within specific ranges. Leuco dyes change color in response to pH shifts influenced by temperature, often cycling between colored and transparent states with about 5°F (3°C) shifts. Encapsulated pigments in microcapsules offer precise activation temperatures from 5°C to 65°C, providing reliable triggers. These materials respond through mechanisms such as molecular rearrangement or capsule expansion, altering their appearance. Most commercial options are reversible, allowing repeated use, and are compatible with various bases for DIY applications. Proper calibration and environmental controls ensure consistent, vivid color changes. Additionally, understanding the well-being benefits of engaging with creative projects can enhance both mental focus and emotional health. Exploring creative experimentation can also inspire innovative approaches and foster a deeper connection with scientific principles. Incorporating knowledge of keto diet tracking apps and techniques can even optimize the process by maintaining focus and motivation during your project.
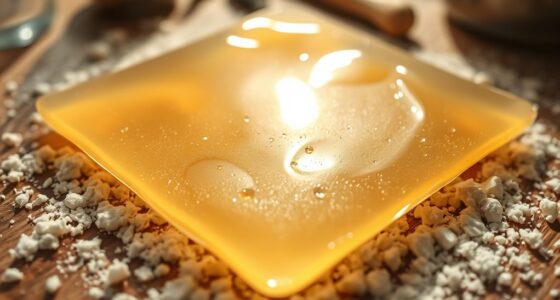
Making Color-Changing Crystals at Home
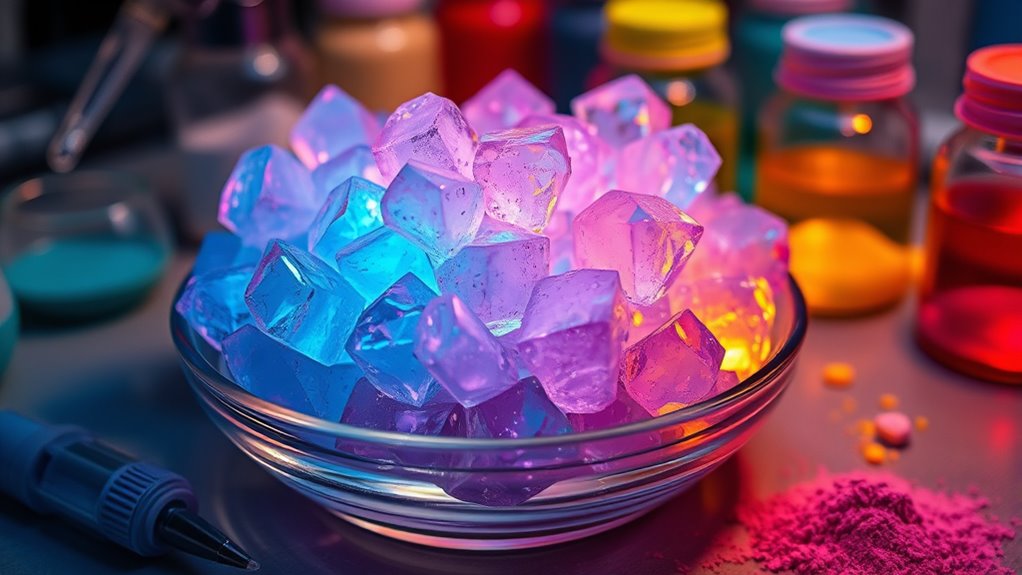
Creating color-changing crystals at home is an engaging project that combines crystal growth with visual effects triggered by temperature changes. Start by dissolving potassium alum or borax in hot water until the solution is saturated. For added visual appeal, mix in thermochromic pigments or food coloring before cooling. Shape pipe cleaners into your desired forms—stars, snowflakes, or other shapes—and suspend them in the solution using pencils or strings. Guarantee the setup remains undisturbed for 12-24 hours to allow crystals to grow. As the solution cools, supersaturation causes needle-like crystals to form on your structures. Adding thermochromic pigments creates a stunning color shift with temperature changes, making your crystals not only beautiful but also responsive to heat. Incorporating knowledge about essential oils can enhance your experience by creating a relaxing atmosphere while you work on your project. Using appropriate safety precautions is important during chemical handling to ensure a safe crafting environment. Additionally, choosing the right headphone type can help you listen to soothing music or instructions without distraction as you craft your crystals. Exploring efficient general ledger coding can also help you manage your project supplies and expenses more effectively. Applying AI-driven content clusters can help you discover new experimental techniques or safety tips by exploring related projects or tutorials.
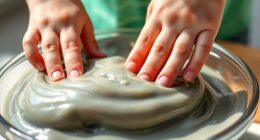
Crafting a DIY Chemical Volcano

Designing a DIY chemical volcano is a fun way to bring science to life right at home. First, create the volcano structure using cardboard and newspaper, securing everything with tape and coating it with PVA glue mixed with paint for a realistic look. For the eruption mixture, combine warm water with baking soda to make a slurry, then add vinegar and food coloring to mimic lava. When ready, pour the mixture into the volcano. The key reaction occurs when baking soda and vinegar meet, producing carbon dioxide gas that builds pressure and causes a spectacular eruption. Adding dish soap reduces surface tension, making the eruption more lively. You can experiment with different amounts of vinegar and baking soda or add more color to customize your volcano’s display. Incorporating self-watering features can help maintain the moisture levels of your materials during the project, ensuring better structural integrity and safety. Using safe and non-toxic materials is essential to keep the activity suitable for children and safe for the environment. Additionally, understanding chemical reactions can deepen your appreciation for the science behind the eruption. To further enhance your project, consider exploring the science of reactions to better understand how different substances interact and produce various effects.
Using Household Items to Demonstrate Oxidation Reactions
You can easily demonstrate oxidation reactions at home using common household items. Start by soaking steel wool in vinegar, which releases electrons and forms iron(II) acetate. This process shows iron oxidation clearly. To observe copper oxidation, dip tarnished pennies into a vinegar-salt solution to dissolve copper oxide and restore their shine. Hydrogen peroxide acts as an oxidizing agent; adding it to the vinegar-steel wool mixture speeds up iron oxidation, turning the solution dark brown as iron(III) hydroxide precipitates. Using household ammonia raises the pH, causing iron(III) hydroxide to form a red-orange color. Over time, copper exposed to air develops a green patina. These simple experiments illustrate oxidation and reduction, highlighting how common items like vinegar, peroxide, and ammonia can visually demonstrate redox reactions safely at home.
Developing a Disappearing Ink With Household Chemicals
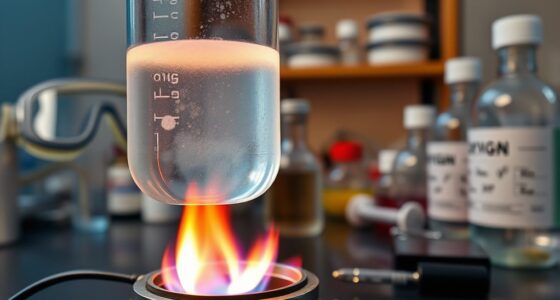
Developing disappearing ink with household chemicals is a fun and straightforward way to explore chemical reactions at home. You can use common items like lemon juice, baking soda solution, or grape juice to create invisible ink. To write with lemon juice, apply it with a brush or Q-tip on paper and let it dry completely. When heated carefully, the acid content causes oxidation, revealing a brown mark. For a reversible ink, mix baking soda with water and add turmeric powder to create a pH indicator. Applying this solution and then using an alcohol-based developer reveals a color change in alkaline areas. Grape or blueberry juice can also serve as a natural ink that changes color with acids or bases. Always handle chemicals safely, especially when applying heat or working with alcohol.
Building a Color-Changing Liquid Thermometer

Building a color-changing liquid thermometer involves creating a solution that visibly shifts color in response to temperature changes, allowing for simple and visual temperature measurement. To do this, dissolve 3 grams of cobalt(II) chloride hexahydrate in 500 milliliters of alcohol, forming a clear solution. As temperature rises, the solution turns blue due to dehydration; cooling makes it pink again because of hydration. Using a dropper, add water to the warm blue solution until it turns pink at your target temperature. Place the mixture in a transparent container like a glass beaker for visibility. Calibration involves noting the color at known temperatures. This reversible reaction provides a straightforward way to observe temperature changes visually, making it ideal for educational projects and DIY weather stations.
Exploring Chemiluminescence With Simple Materials

Chemiluminescence is a fascinating phenomenon where light is produced through chemical reactions without generating heat. When you mix chemicals like hydrogen peroxide, sodium hypochlorite, or luminol, electrons get excited during oxidation. As they return to their normal state, they release photons, creating visible light. Household items like bleach and peroxide can produce faint glows in dark environments. For a brighter effect, you can prepare luminol solutions with NaOH and bleach, resulting in a blue glow. Adding dyes such as rhodamine B or diphenyl oxalate can change the color of the emitted light. Just remember, safety is key—wear gloves, avoid concentrated peroxide, and work in well-ventilated areas. Observing these reactions in darkness makes the glow more vivid and exciting to explore.
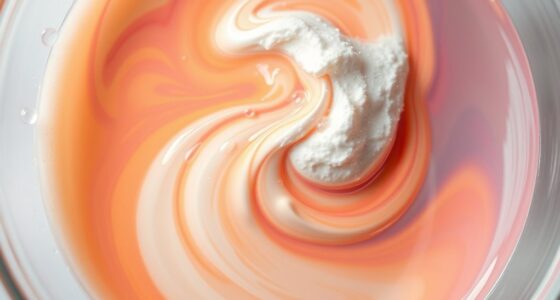
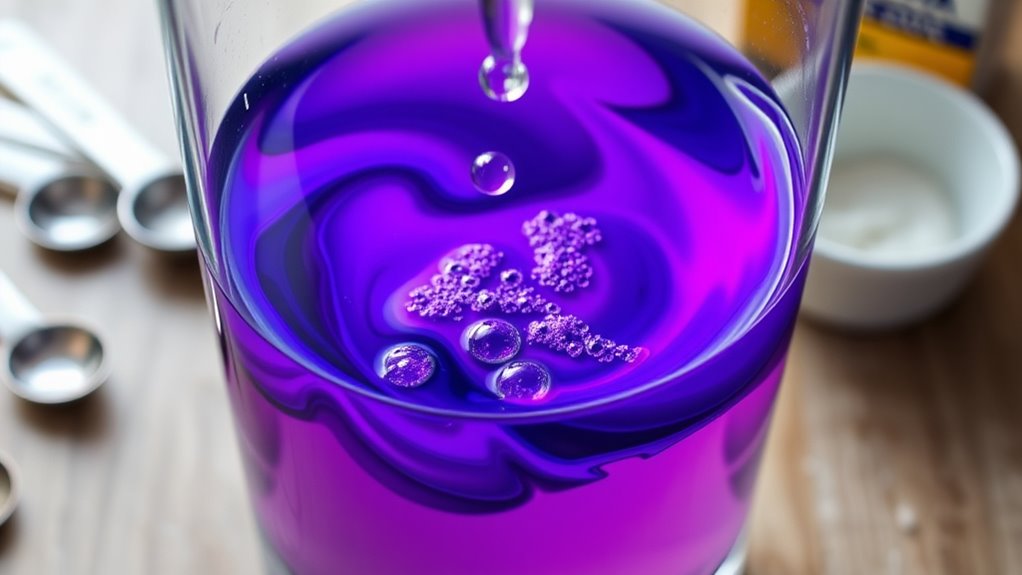
Combining Colors for a Fun Color-Mixing Experiment

Combining colors through chemical reactions offers a fun and hands-on way to explore color mixing. When you drip colored vinegar onto baking soda, fizzing bubbles carry the colors together, creating vibrant blends and secondary hues like purple and orange. Using different liquid watercolors or food dyes allows you to experiment with primary colors—red, blue, and yellow—and observe how they combine visually. For safety, dilute vinegar and wear protective gear, such as gloves and goggles. Applying the acids in patterns or layers helps you see color progression clearly. As the reaction progresses, the rapid formation of CO₂ bubbles disperses the colors dynamically. Repeating the process or adjusting vinegar concentration can lead to new color mixes. This experiment vividly demonstrates how acids, bases, and color theory interact in a fun, engaging way.
Frequently Asked Questions
Can I Make My Own Ph Indicator Without Red Cabbage?
Yes, you can make your own pH indicator without red cabbage. You just need to extract pigments from other fruits or vegetables like radish skin, grapes, turnip skin, or red onions. Chop them up, steep in hot water, and then use the extract to test different liquids. These natural indicators change color depending on acidity or alkalinity, making them a fun and inexpensive way to explore pH levels at home.
Are There Safe Ways to Store Color-Changing Chemicals Long-Term?
You want to know how to store color-changing chemicals safely long-term. First, keep them in amber or opaque containers to shield them from light, which can cause degradation. Store them at stable temperatures, avoiding direct sunlight and heat sources. Use secondary containment for leaks, and segregate incompatible chemicals. Label everything clearly with dates and hazard info, and check storage conditions regularly to guarantee their stability and safety over time.
What Household Items Can Replace Traditional Laboratory Reagents?
You’re wondering what household items can substitute standard solutions. Instead of traditional reagents, try vinegar for acidity, lemon juice for pH shifts, baking soda for alkalinity, and dish soap for emulsification. These items mimic lab chemicals, making experiments safe and simple. With careful use, you transform everyday ingredients into powerful pH performers, proving practical, playful, and purposeful chemistry is possible right in your own home.
How Accurate Are DIY Color-Changing Experiments Compared to Commercial Kits?
You wonder how accurate your DIY color-changing experiments are compared to commercial kits. While DIY setups can be fun and educational, they often lack precise measurements and controlled conditions, leading to inconsistent results. Commercial kits guarantee better accuracy through pre-measured chemicals and standardized procedures. So, if you want reliable, reproducible reactions, commercial kits are the way to go. DIY experiments are great for learning but may not match the precision of store-bought options.
Can Color-Changing Reactions Be Used for Real-World Applications Beyond Education?
You might think color-changing reactions are just fun tricks, but they’re actually revolutionizing the real world! These reactions power environmental sensors that detect pollutants instantly, medical diagnostics that reveal health issues in seconds, and industrial quality controls that catch mistakes before they escalate. Their ability to provide immediate visual feedback means you’re not just observing science — you’re actively shaping smarter, safer, and more efficient systems everywhere, beyond just the classroom.
Conclusion
Now that you’ve explored these DIY color-changing reactions, you’ve seen how simple household ingredients can create stunning chemical effects. Did you know that the vibrant colors of red cabbage pH indicators can shift across six different hues? By experimenting at home, you’re not only having fun but also discovering the fascinating science behind color and chemistry. Keep experimenting, and you’ll continue uncovering the colorful secrets hidden in everyday materials!