
To grow rock candy crystals at home, start by heating water and gradually adding sugar until no more dissolves, creating a saturated solution. Pour the hot solution into a jar and suspend a string or stick as a nucleation site. Let the solution cool and sit undisturbed for days or weeks as water evaporates, allowing crystals to form and grow larger. If you keep the environment stable, you’ll produce beautiful, edible crystals—learn more steps to perfect your process.
Key Takeaways
- Prepare a supersaturated sugar solution by heating water and gradually adding sugar until no more dissolves.
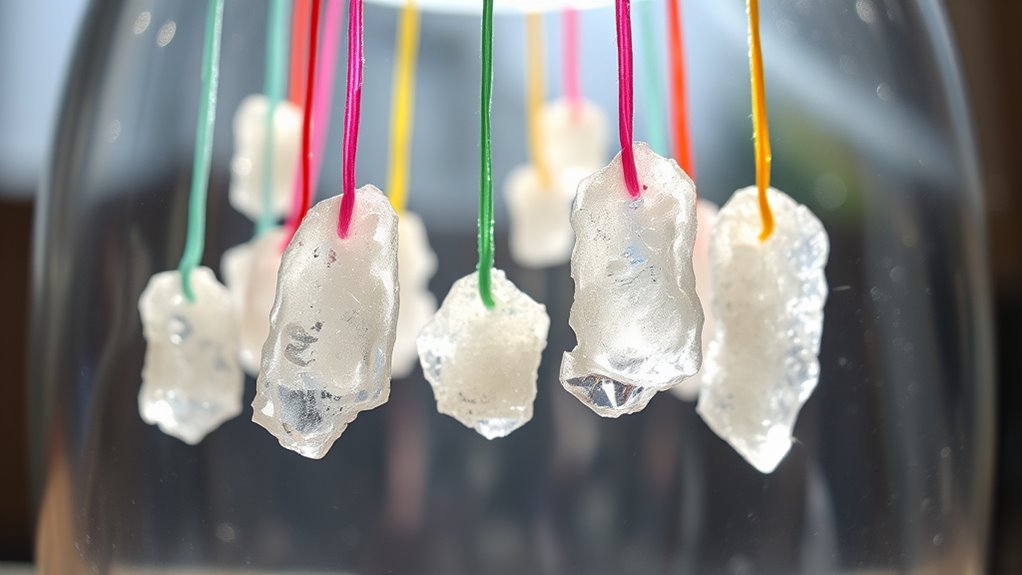
- Pour the hot solution into a jar and let it cool slightly before adding a string or stick as a nucleation site.
- Ensure the solution remains saturated but not overly concentrated to promote steady crystal growth.
- Allow water to evaporate slowly over days or weeks, enabling sugar molecules to form organized crystals.
- Maintain a stable environment and patience for larger, clearer rock candy crystals to develop.
Growing rock candy crystals is a fun and simple science experiment you can do at home. It involves creating a supersaturated solution of sugar and then allowing crystals to form as the solution cools and evaporates. The key to successful crystal growth lies in understanding how sugar concentration influences the process and how it affects the crystal structure you’ll observe.
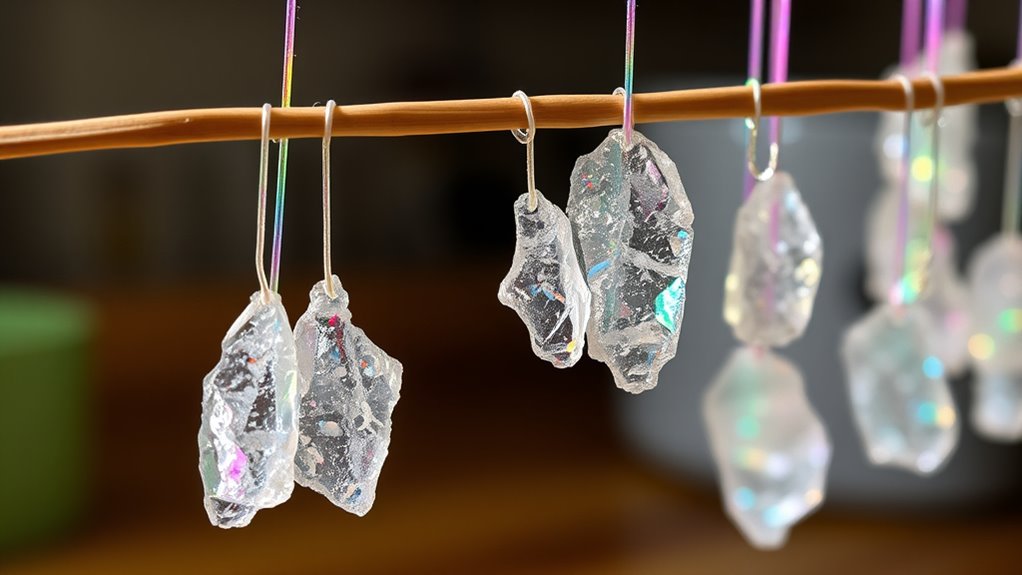
When you start, you’ll heat water and gradually add sugar, stirring constantly until no more dissolves. This creates a high sugar concentration solution, which is essential because it’s the foundation for crystal growth. The more sugar you dissolve into the water, the more saturated the solution becomes. Once cooled slightly, this solution is poured into a jar, and a string or stick is placed into it as a nucleation site for crystals to form. As the water evaporates over days or weeks, the excess sugar begins to crystallize out of the solution, growing larger and more defined with time.
The crystal structure you see in the rock candy is a result of how the sugar molecules arrange themselves during crystallization. When the solution is supersaturated, sugar molecules are in a state of imbalance—they want to come together and form a solid. As the water evaporates, the molecules find each other and lock into a repeating pattern, creating a structured, geometric lattice. This process depends heavily on maintaining a consistent environment: avoiding disturbances and ensuring the solution stays saturated without becoming overly concentrated, which can lead to irregular or clumped crystals.
Controlling the sugar concentration is pivotal because it determines how many crystals form and how well-structured they become. If the solution isn’t saturated enough, crystals may not form at all, or they may be tiny and fragile. Conversely, an overly concentrated solution can produce large, uneven, or poorly formed crystals. The ideal concentration allows for slow, steady growth, resulting in clear, well-defined crystals that resemble the iconic rock candy.
Throughout the process, patience is key. As crystals grow, their size and shape are directly influenced by the solution’s properties, especially the sugar concentration, which controls how molecules come together. Over time, you’ll notice the crystal structure becoming more intricate and stable, demonstrating the beauty of molecular organization. Proper crystallization techniques are essential to achieve the best results, ensuring uniform and aesthetically pleasing crystals. By carefully managing the sugar concentration and environment, you’ll end up with stunning, edible crystals that showcase the fascinating science of crystallization.
Frequently Asked Questions
Can I Use Alternative Liquids Besides Water?
You can experiment with alternative liquids or non-water solvents for growing rock candy crystals, but water remains the best choice because it dissolves sugar effectively. Some options like alcohol or syrup might work, but they can be more challenging and may not produce the same crystal growth. Keep in mind that using non-water solvents could affect the clarity and size of your crystals, so water is usually the safest bet for successful results.
How Long Does It Take to Grow Crystals?
Crystal formation can take anywhere from 3 to 7 days, but your patience determines the size of your masterpiece. During this time, the growth rate of your sugar crystals will seem almost miraculous, transforming a simple solution into shimmering, edible gems. Keep the solution undisturbed, and your crystals will grow steadily, turning your home into a sparkling wonderland. With a little patience, you’ll soon marvel at your edible crystal kingdom.
What Is the Best Temperature for Crystal Growth?
The best temperature for crystal formation is around 70°F to 75°F because maintaining this temperature allows for ideal crystal growth. Temperature control is essential, as too high or too low can hinder crystal formation or cause irregularities. Keep your solution in a consistent, warm environment, avoiding temperature fluctuations. By doing so, you guarantee steady crystal growth, resulting in clear, well-formed rock candy crystals.
Can I Add Flavorings or Colors During Growth?
Sure, go ahead and add food coloring or flavor extracts during growth—just don’t expect your crystal to taste like a rainbow or a cupcake! You can sprinkle in food coloring to make those crystals pop or add flavor extracts for a hint of vanilla or mint. Just remember, too much might mess with the growth process, turning your sweet masterpiece into a colorful, but less-than-crystalline, mess.
How Do I Prevent Crystals From Falling off the Stick?
To prevent crystals from falling off the stick, focus on crystal stability and proper stick preparation. Make sure the stick is completely coated with sugar syrup before placing it in the solution, which helps crystals adhere better. Avoid moving or disturbing the stick during growth, and let the crystals grow undisturbed. Patience is key; gentle handling and a stable environment will give you stronger, well-formed crystals that stay attached longer.
Conclusion
Now that you’ve watched your rock candy crystals grow, you’ve turned a simple sugar solution into a sparkling masterpiece. It’s like nurturing tiny winter stars that cling to your string, transforming patience into a sweet reward. Remember, with a little care and time, your homemade crystals will shine brighter than any store-bought treat. So, keep your eyes on your creation, and enjoy the magic of turning ordinary ingredients into extraordinary, edible art.