
To extract DNA from fruit at home, start by preparing your workspace with basic materials like dish soap, salt, and chilled alcohol. Mash the fruit thoroughly, then mix it with the extraction solution to break open cells and release DNA. Filter the mixture to remove debris, then add cold alcohol to precipitate the DNA. Once you see the white strands, carefully collect and observe your sample—continue to discover more tips for successful extraction.
Key Takeaways
- Prepare a fruit sample by mashing it thoroughly to release cellular contents.
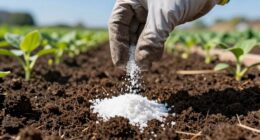
- Use a homemade extraction solution with dish soap and salt to break cell membranes and isolate DNA.
- Filter the mixture to remove debris before adding cold alcohol to precipitate DNA.
- Gently spool the visible white DNA strands at the alcohol interface using a stick or toothpick.
- Chill the mixture during alcohol addition and centrifuge to improve DNA yield and purity.
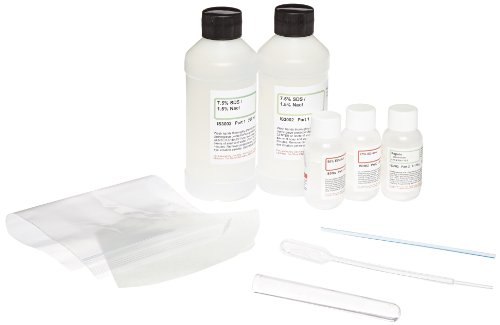
Innovating Science DNA Extraction Kit
DNA extraction kit for study of history of DNA discovery and DNA structure
As an affiliate, we earn on qualifying purchases.
As an affiliate, we earn on qualifying purchases.
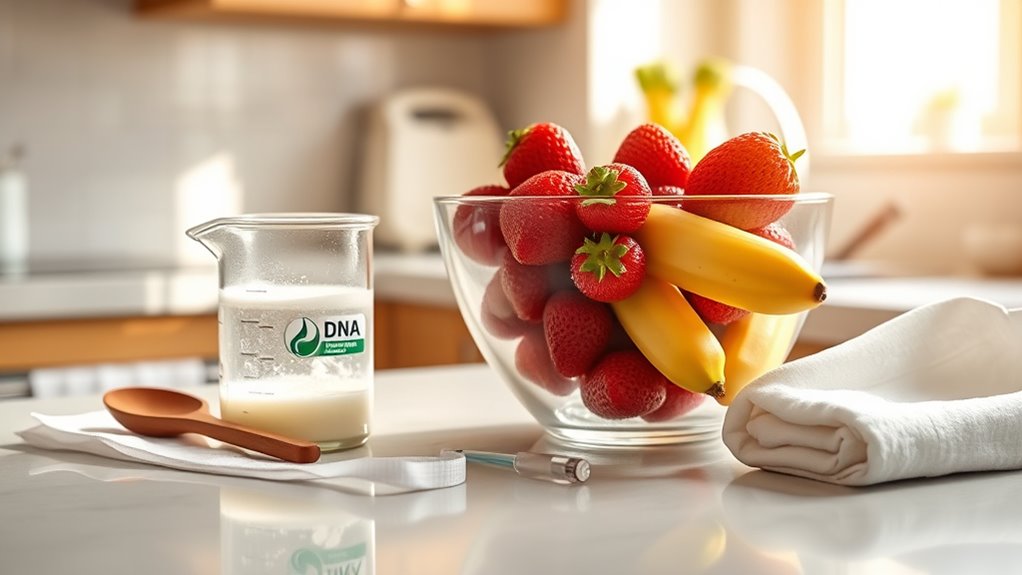
Materials Needed for DNA Extraction

To successfully extract DNA from fruit, you’ll need a selection of materials that include both common kitchen items and specialized tools. Start with fresh or frozen strawberries, or alternative fruits like bananas or kiwis, which contain ample DNA. You’ll also require dish detergent—about two teaspoons per sample—to break open cell membranes and release DNA. Add one teaspoon of table salt to help neutralize DNA charges and promote clumping. Rubbing alcohol, chilled to -20°C if possible, is essential for precipitating the DNA; use about 8-10ml per sample. Distilled water, around 10ml, is needed for rinsing or dilution. To handle these ingredients, gather resealable plastic bags for maceration, test tubes or graduated cylinders for layering solutions, and plastic pipettes for transferring liquids. Wooden skewers assist in spooling the DNA strands. Additionally, understanding how contrast ratio influences image quality can help in selecting the best equipment for clear visualization of the extracted DNA. For better results, using a dedicated laboratory setup can improve accuracy and safety during the experiment.

BronaGrand 100pcs 1.5ML Polypropylene Graduated Microcentrifuge Tubes with Attached Lid Clear
Material: Polypropylene
As an affiliate, we earn on qualifying purchases.
As an affiliate, we earn on qualifying purchases.
Preparing Your Workspace and Ingredients
Setting up your workspace properly is essential for a smooth and safe DNA extraction process. Clear the area of clutter to prevent contamination and keep everything organized for quick access. While complete sterility isn’t necessary, minimize exposure to contaminants. Incorporate automation tools when possible to streamline setup and reduce human error. Prepare all materials and equipment beforehand, ensuring labels are clear to avoid mix-ups. Store ingredients like buffers in a cool, dry place and check their expiration dates. Use accurate measurement tools for precise ingredient quantities. Have a plan for disposing of biological waste responsibly. Wear gloves and safety goggles to protect against spills or splashes. Maintain good air circulation and protect sensitive chemicals from sunlight. Proper workspace organization can also help prevent accidents and ensure a smooth workflow. Additionally, incorporating safety protocols is crucial to maintain a secure environment during the experiment. Using appropriate filtration systems can further reduce the risk of contamination and ensure sample integrity. Disinfection after the experiment guarantees a clean workspace, keeping safety and hygiene a priority throughout the process.
DNA spooling sticks
As an affiliate, we earn on qualifying purchases.
As an affiliate, we earn on qualifying purchases.
Removing Strawberry Leaves and Mashing the Fruit
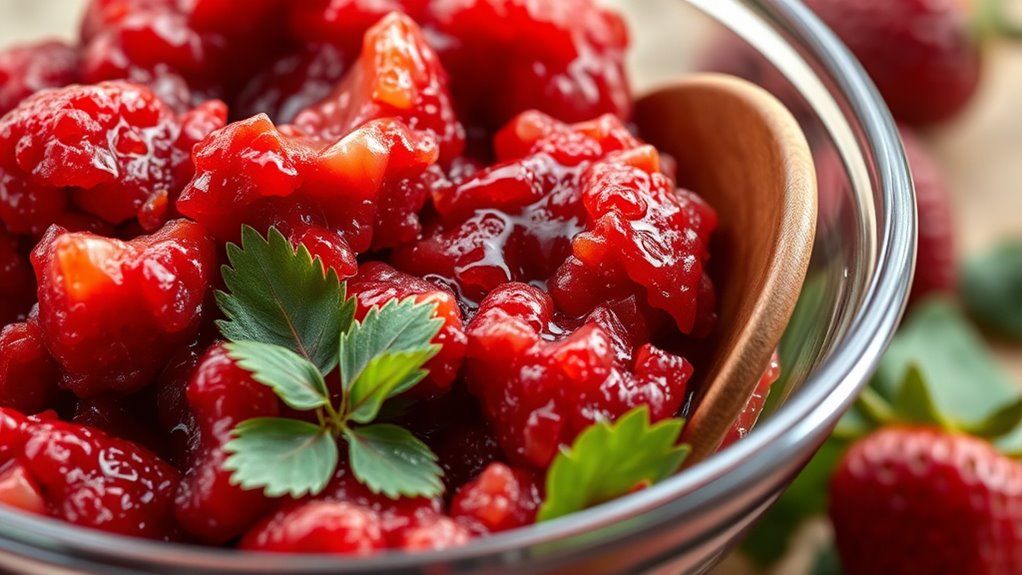
Removing the strawberry leaves before mashing is important because the leaves contain tough cellulose that can introduce unwanted plant material, reducing the purity of your DNA. Use your fingers or a knife to discard the green tops, leaving only the red flesh. Attention to detail is crucial for ensuring that only the desired material is processed, which improves the quality of your DNA extraction. Rinse the strawberries under water for 5–10 seconds to wash away surface contaminants, then gently pat them dry with a paper towel to prevent dilution of the extraction buffer. Cutting the strawberries into quarters to increase surface area makes mashing easier and more effective. Incorporating a proper sample preparation step helps maximize DNA yield and purity. Place the fruit in a zip-top bag and seal it tightly. Using your hands, mash the strawberries for about 2 minutes until the mixture is smooth with no large chunks. This process releases cellular contents necessary for DNA extraction, which is an essential step in DNA isolation techniques.

95% Ethyl Alcohol, 16oz – Denatured Ethanol Alcohol – Laboratory-Grade, Not for Topical Use – The Curated Chemical Collection
DENATURED || This alcohol is denatured to discourage consumption and ensure compliance with regulatory requirements for laboratory use….
As an affiliate, we earn on qualifying purchases.
As an affiliate, we earn on qualifying purchases.
Creating the Extraction Liquid
Creating the extraction liquid involves combining simple household ingredients to break down cell structures and release DNA. Start by measuring out dish soap or liquid detergent, which will disrupt the cell membranes. Add salt to the mixture to help DNA precipitate by reducing its solubility. Mix in water to dilute the solution and ensure ingredients combine evenly. Using the right investment strategies can help maximize your savings and protect your financial future. Optional ingredients like enzymes from pineapple can be included to break down tough cell walls. When preparing, carefully combine the soap and salt with water in the correct ratios, stirring well. The soap emulsifies the cell membranes, releasing DNA, while salt helps it clump together. Incorporating effective extraction techniques can further improve the yield and clarity of your DNA sample. Also, selecting safe and eco-friendly materials ensures the process remains environmentally responsible and safe for children involved in educational activities. Keep the mixture gentle to avoid damaging the DNA, and be cautious with the ingredients for a successful extraction.
Combining and Mixing the Ingredients

To successfully extract DNA from fruit, you need to carefully combine the ingredients for your extraction solution. Mix 2 teaspoons of dish detergent, 1 teaspoon of salt, and 1/2 cup of water in a cup. Gently stir the mixture until all ingredients are well blended. Consistent messaging ensures that your process remains effective and reliable. Make sure you’re using fresh, clean utensils to prevent contamination. Stir slowly to avoid creating foam, which can interfere with the process. Keep the mixture at room temperature for the best results. Prepare the solution just before you use it to ensure it’s fresh and effective. Make certain the amount of mixture is enough to cover the mashed fruit completely. Proper mixing and ratios are key to breaking down cell membranes and releasing the DNA efficiently. Additionally, maintaining proper temperature control during mixing can enhance the extraction process. Using appliances like a smart home device can help monitor and maintain optimal conditions for your experiment. Incorporating a filtration method can also help clarify the extract for better DNA visibility. Furthermore, understanding how automation in business improves efficiency can inspire innovative approaches to laboratory procedures.
Filtering the Mixture to Remove Debris
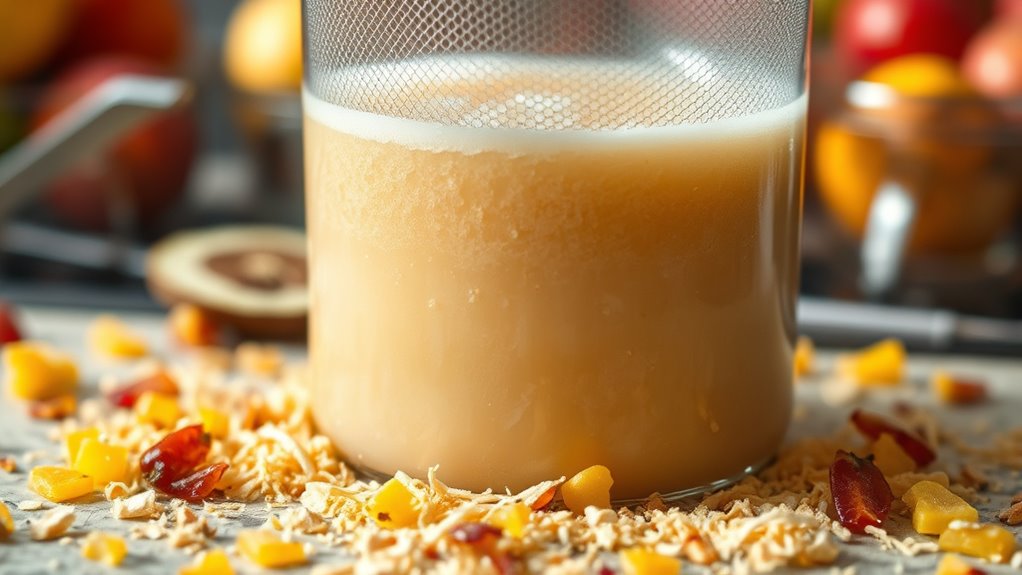
Filtering the mixture is an essential step to separate solid debris, such as cell wall fragments and membrane pieces, from the liquid containing your extracted DNA. This process clarifies the extract, making it easier to handle and increasing the chances of a successful DNA precipitation later. Diverse designs of filters can be used to optimize the separation process based on the specific mixture. Using a filter with the appropriate pore size can improve efficiency and purity of the filtrate, especially when considering contaminant removal techniques. Additionally, selecting filters that match the filter pore size can further enhance removal of unwanted particles, ensuring a cleaner DNA sample. You’ll want to pour your mixture through a filter, like a coffee filter or fine mesh, placed over a clean container. Gently twist or squeeze the filter to extract as much liquid as possible without forcing debris through. Avoid overcompression, which could push solids into the filtrate. Proper filtering reduces contaminants, prevents clogging, and helps ensure a higher purity and yield of your DNA. Using filtering techniques that prevent clogging and maintain flow rate, especially when working with viscous or particulate-rich samples, can further improve the process. Incorporating knowledge of retirement planning strategies can also help you manage resources effectively when preparing for future experiments or educational projects. Once filtered, the clear or slightly opaque liquid should be ready for the next step.
Precipitating DNA Using Cold Alcohol
Precipitating DNA with cold alcohol is a crucial step to isolate and concentrate your genetic material. To do this, add 0.1 volumes of sodium acetate to stabilize the DNA. Then, pour in about 2.5 times the volume of ice-cold ethanol or isopropanol. Mix thoroughly to ensure even distribution. For best results, incubate the mixture at -20°C for an hour or overnight, especially with small volumes. Cold temperatures improve DNA recovery by reducing solubility. After incubation, centrifuge the mixture at high speed to pellet the DNA. Carefully remove the supernatant without disturbing the pellet. Washing the pellet with cold 70% ethanol helps eliminate impurities. Ensuring proper filtering techniques during the process can enhance purity. Finally, air dry the pellet before resuspending it in water or buffer for further analysis.
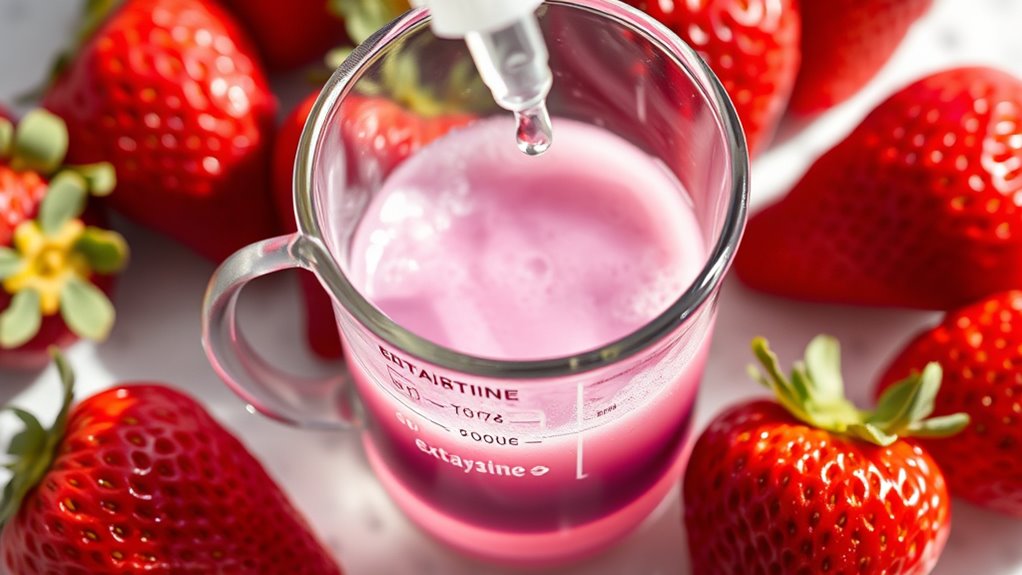
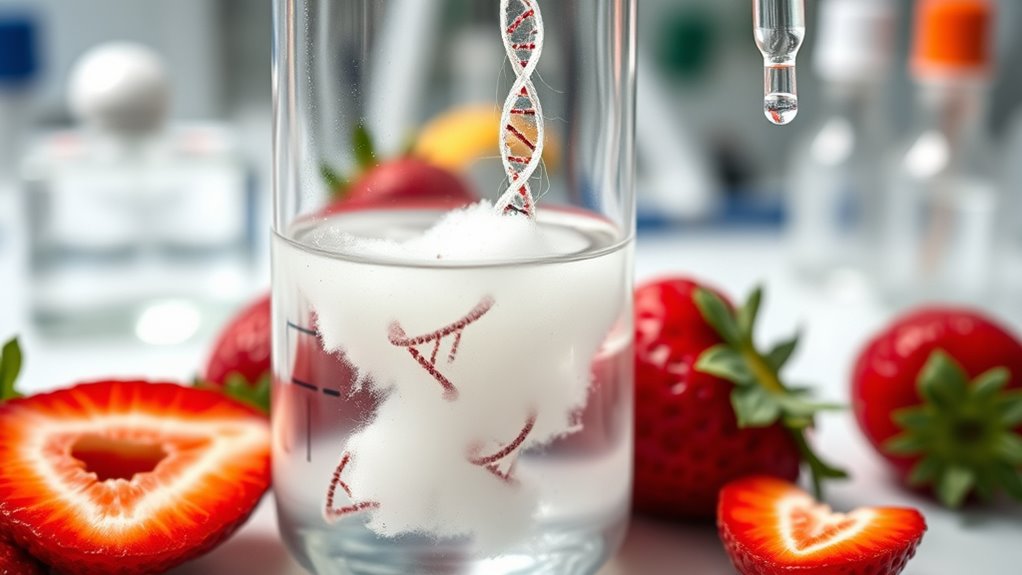
Observing and Collecting the DNA

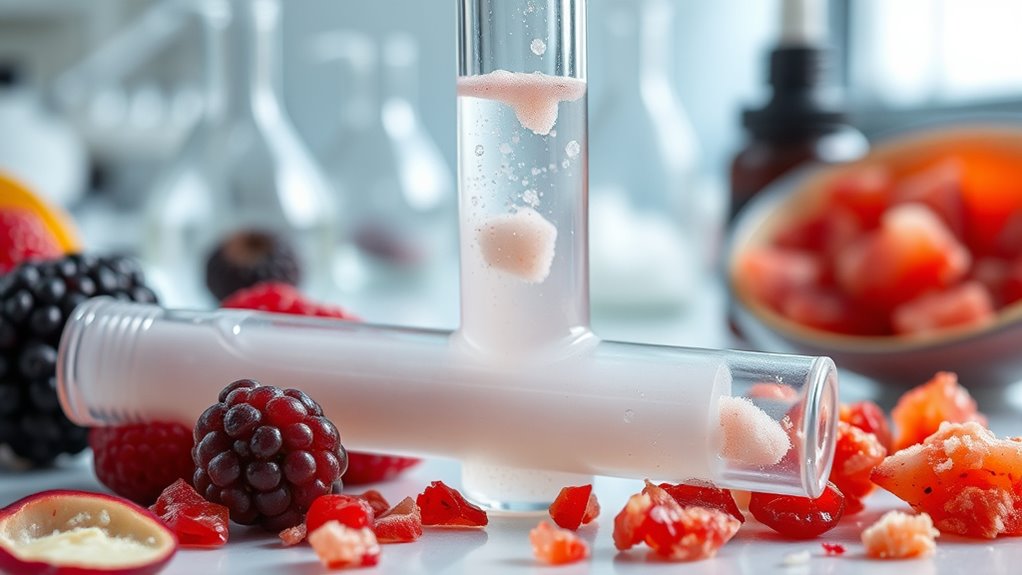
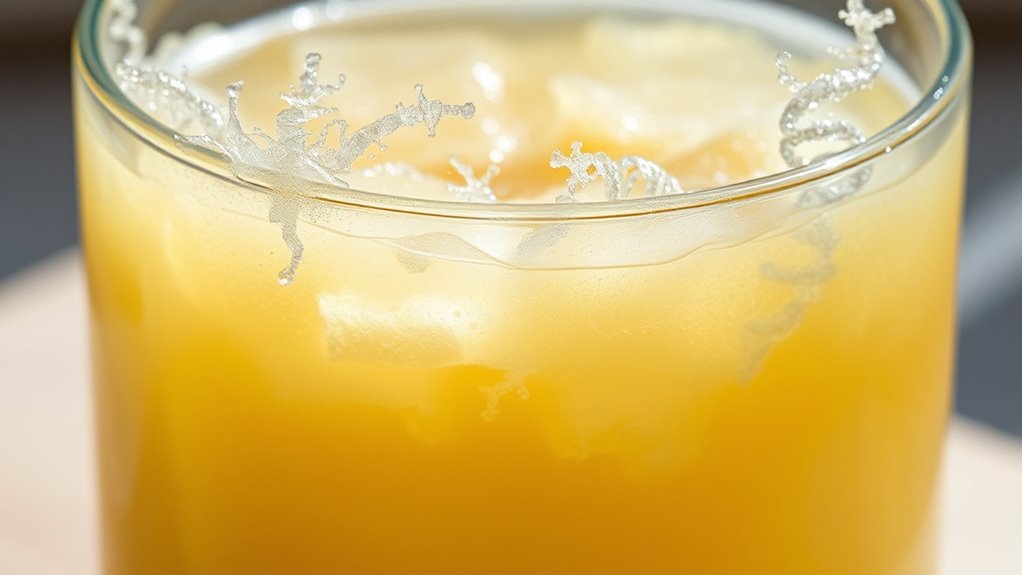
When alcohol is added to the fruit mixture, you can often see a white, thread-like cloud forming at the interface between the layers. This cloud is clumped DNA strands that have precipitated out of the solution, making the DNA visible to the naked eye.
To collect the DNA, gently spool the precipitated strands with a glass rod or similar tool from the alcohol layer. Handle carefully to avoid breaking the delicate strands.
Gently spool the DNA strands from the alcohol layer, handling carefully to keep the delicate structures intact.
Observing this structure helps you understand that DNA appears as white, thread-like material, confirming its presence in fruits. Comparing DNA from different fruits can reveal variations in quantity.
This hands-on activity not only shows that DNA exists in everyday foods but also enhances your understanding of its structure and role in living cells.
Tips for Optimizing Your DNA Extraction Experience
To maximize your DNA extraction success, start by carefully preparing your samples and choosing the right tissues, such as strawberries or bananas, which yield more DNA due to their cell density.
Use chemical lysis with detergents and NaCl or physically homogenize tissues with a blender for better cell breakage. Incorporate antioxidants to protect DNA from degradation, especially in plant tissues.
Ensure your buffers are properly formulated with components like CTAB and NaCl to improve yield. Verify complete homogenization before proceeding.
During precipitation, opt for ethanol over isopropanol and perform it at low temperatures, like -40°C, to enhance DNA clumping. Use adequate centrifugation speeds and optimized solvent volumes.
These steps help you get cleaner, higher-yield DNA for a successful extraction.
Frequently Asked Questions
Can I Use Other Fruits Besides Strawberries for DNA Extraction?
Yes, you can definitely use other fruits besides strawberries for DNA extraction. Fruits like kiwi, mango, bananas, and apples work well because they contain significant amounts of DNA and are easy to handle.
Keep in mind, some fruits may require different preparation steps or longer processing times. Experimenting with various fruits helps you learn about DNA content, cell structures, and improves your extraction skills.
How Long Does the Entire DNA Extraction Process Typically Take?
You’re wondering how long the whole DNA extraction process takes. Typically, it lasts about 25 to 35 minutes.
You’ll spend a few minutes gathering materials and preparing the fruit, then about 5-7 minutes for cell disruption.
The DNA precipitation and waiting phase take around 4-5 minutes, followed by a few minutes for recording data and cleanup.
Is It Safe to Consume the DNA After Extraction?
You might wonder if it’s safe to eat the DNA after extraction. The answer is no.
The chemicals used, like ethanol and shampoo, aren’t safe for consumption, and the extracted DNA isn’t pure or intended for eating. Plus, there could be contaminants or residual substances.
For your safety, avoid consuming any materials from the extraction process, and always follow proper hygiene and safety guidelines.
What Are Common Mistakes That Can Affect DNA Yield?
Imagine squeezing every drop from a ripe strawberry; if you don’t crush it enough, you’ll miss out on its hidden treasure.
Common mistakes that affect DNA yield include not mashing the fruit thoroughly, using inadequate buffers, or skipping enzymes that break down proteins.
Poor technique, contamination, or improper washing can also leave behind impurities.
Pay attention to details, and you’ll maximize your DNA extraction success, revealing the fruit’s genetic blueprint.
Can This Experiment Be Scaled up for Larger Sample Sizes?
You can scale up DNA extraction, but it requires adjustments. Larger samples need more effective homogenization, better filtration, and consistent reagent use.
Using commercial kits or magnetic beads can improve yield and purity, but they increase costs. Be prepared for longer processing times, safety measures, and equipment needs like centrifuges.
Pilot testing smaller batches helps refine your method before handling bigger volumes, ensuring better results.
Conclusion
Now, with your homemade extraction, you’ve uncovered the hidden treasure of the fruit—its DNA—like revealing a secret code woven into nature’s fabric. As you witness the cloudy, shimmering strands emerge in the cold alcohol, imagine the countless stories stored within every cell, waiting to be unveiled. This simple experiment transforms a common fruit into a window to life’s blueprint, turning your kitchen into a laboratory of discovery and wonder.