To make homemade soap, you combine fats or oils with an alkaline solution like NaOH or KOH in a process called saponification. In this chemical reaction, hydroxide ions attack triglycerides, breaking them into soap molecules—fatty acid salts—and glycerol. The type of hydroxide determines if you get solid or liquid soap, while the oils used influence the soap’s properties. Continue exploring to understand how to customize your soap and perform the process safely.
Key Takeaways
- Saponification is a chemical reaction where triglycerides react with an alkali to produce soap and glycerol.
- Hydroxide ions attack ester bonds in fats, breaking them into fatty acid salts and glycerol.
- Sodium hydroxide (NaOH) yields solid bar soap; potassium hydroxide (KOH) produces liquid soap.
- Fatty acid composition influences soap hardness, lather quality, and moisturizing properties.
- Proper reaction conditions (temperature, pH) and safety practices ensure high-quality homemade soap.
Understanding the Basics of Saponification

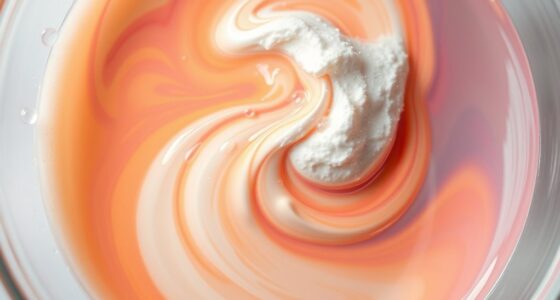
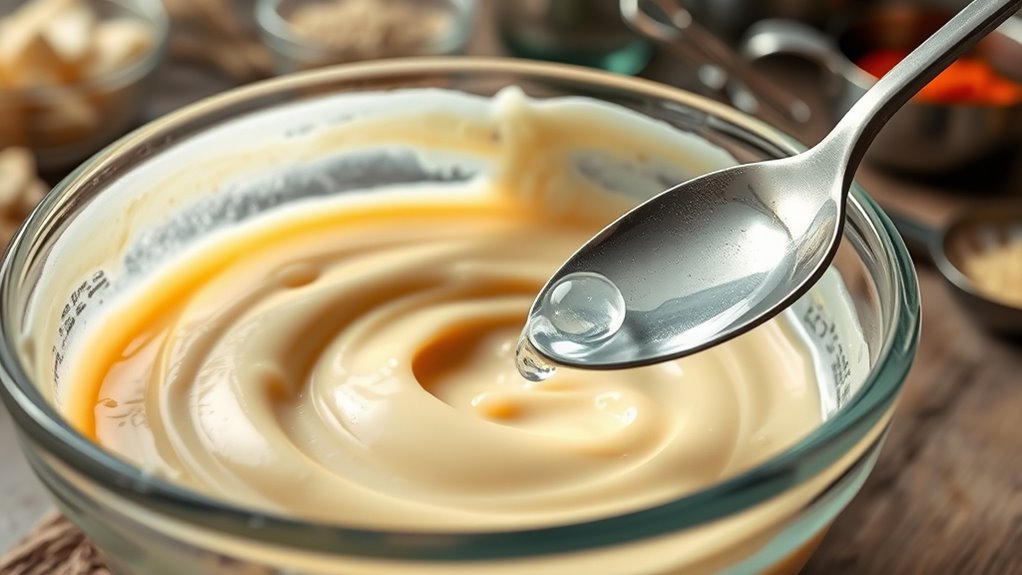
Have you ever wondered how soap is made from simple ingredients? It all begins with saponification, a chemical reaction that combines fats or oils with an alkaline solution to create soap and glycerin. The word comes from Latin, meaning “to make soap.” To make soap, you need triglycerides—fats or oils—and an alkali like sodium hydroxide (NaOH) or potassium hydroxide (KOH). When these ingredients meet, they react in an acid-base process, producing soap molecules, which are fatty acid salts, and glycerol. This reaction releases heat and forms a stable emulsion. The soap molecules have a hydrophilic end that bonds with water and a hydrophobic end that attracts oils and dirt. Understanding soap chemistry is essential for mastering the soap-making process and creating high-quality products. Additionally, controlling the reaction conditions is crucial for achieving the desired soap consistency and quality. This process is the foundation of soap making, transforming simple ingredients into effective cleaning agents.
The Chemistry of Fats and Oils in Soap Making

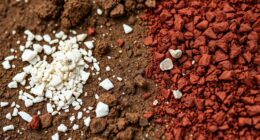
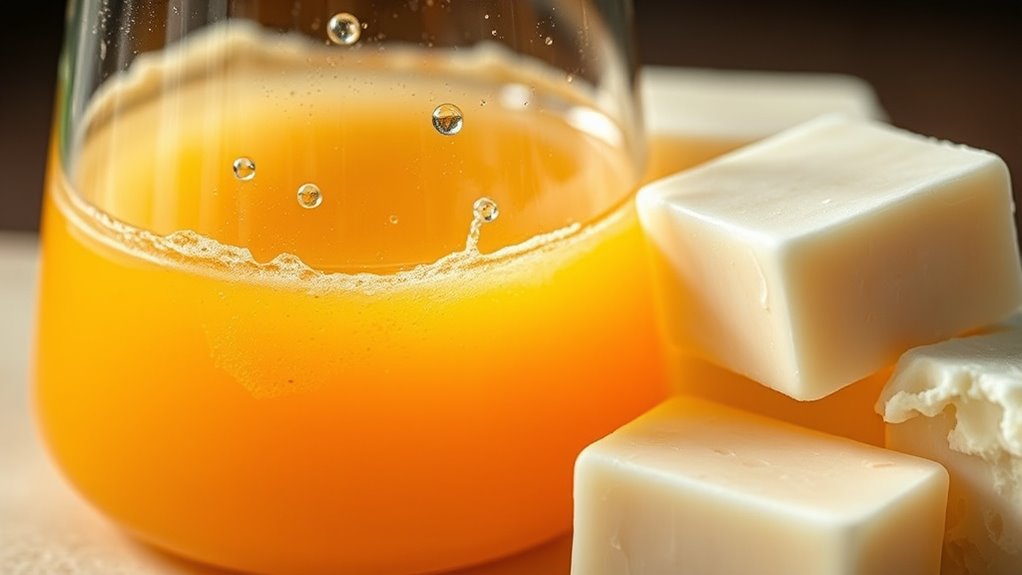
The chemistry of fats and oils in soap making hinges on their composition of triglycerides, which consist of a glycerol backbone bonded to three fatty acid chains. These fatty acids vary in type and length, influencing soap qualities like hardness, lather, and moisture.
Saturated fatty acids, such as myristic, lauric, palmitic, and stearic acids, make soap harder, create rich lather, and enhance stability.
Unsaturated acids like oleic, linoleic, linolenic, and ricinoleic provide moisturizing and gentle properties, producing softer soap.
Chain length also matters: shorter chains (lauric, myristic) boost solubility and lather, while longer chains (palmitic, stearic) yield durable, stable bars.
How Hydroxide Ions Transform Triglycerides
Hydroxide ions (OH-) drive the chemical transformation of triglycerides during soap making by attacking their ester bonds. As nucleophiles, they target the carbonyl carbon in each ester group, initiating a reaction that forms a tetrahedral intermediate. This intermediate quickly collapses, breaking the ester bond. The result is the formation of fatty acid salts, or soap, which combines sodium ions with the freed fatty acids, and glycerol, a byproduct. When NaOH dissolves in water, it dissociates into sodium and hydroxide ions, providing the necessary OH- to drive this process. The nucleophilic attack cleaves the triglyceride into its components, transforming fats and oils into soap molecules that are water-soluble. This reaction is essential for converting raw fats into usable soap and glycerin. The chemical process of saponification can be influenced by various factors such as temperature and pH, which affect the rate and quality of the soap produced. Understanding the saponification process helps in controlling the reaction conditions for optimal soap quality. Additionally, factors like reaction kinetics play a role in determining the efficiency and outcome of the soap-making process, especially in relation to meditation practices that promote mental clarity and focus during crafting.
Differences Between Solid and Liquid Soap Reactions
Different types of hydroxide ions determine whether soap turns out as a solid or a liquid. Sodium hydroxide (NaOH) creates solid soap, forming crystalline structures that cure over time and retain glycerin, which helps moisturize your skin.
Potassium hydroxide (KOH), on the other hand, produces water-soluble soap molecules, resulting in a liquid soap that remains thin and clear after dilution.
The chemical reaction with NaOH results in less water-soluble molecules, giving the soap its firm, bar form. Conversely, KOH produces highly soluble molecules that stay dissolved, forming a pourable liquid.
These differences influence not only the soap’s physical state but also its texture, curing process, and functional properties. Your choice of hydroxide directly impacts whether your homemade soap ends up as a solid bar or a liquid. Chemical properties play a crucial role in determining the final product’s form and usability. Understanding hydrolysis reactions can help you better control the soap’s consistency and quality.
Customizing Soap Properties Through Ingredient Choices
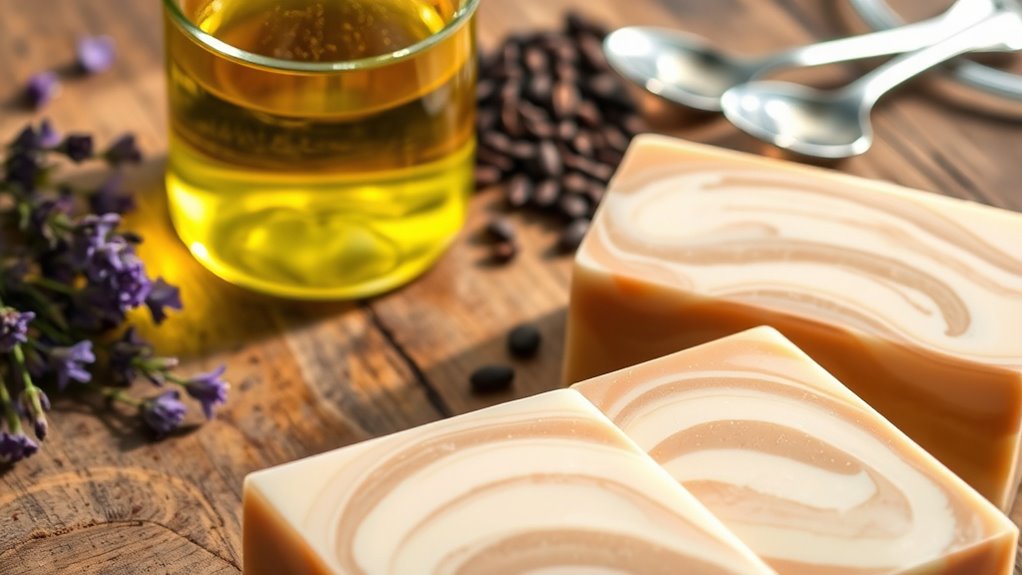
Choosing the right ingredients allows you to tailor your homemade soap’s properties to suit your needs. By selecting different oils, you can influence hardness, lather, and moisturizing qualities.
Selecting the right oils lets you customize soap hardness, lather, and moisture for your perfect handmade bar.
For example, coconut oil provides a cleansing, hard soap with rich lather, while olive oil delivers gentle, nourishing moisture. Palm oil adds stability and durability, and avocado oil boosts hydration without sacrificing hardness. Castor oil enhances lather and benefits skin.
Adjusting the fatty acid profile through these oils helps you balance cleansing and conditioning. You can also incorporate natural additives like herbs, colorants, or essential oils to customize scent, appearance, and skin benefits.
Blending oils allows you to craft soap that’s both effective and gentle, giving you control over every aspect of your homemade creation.
Safety Practices During the Saponification Process
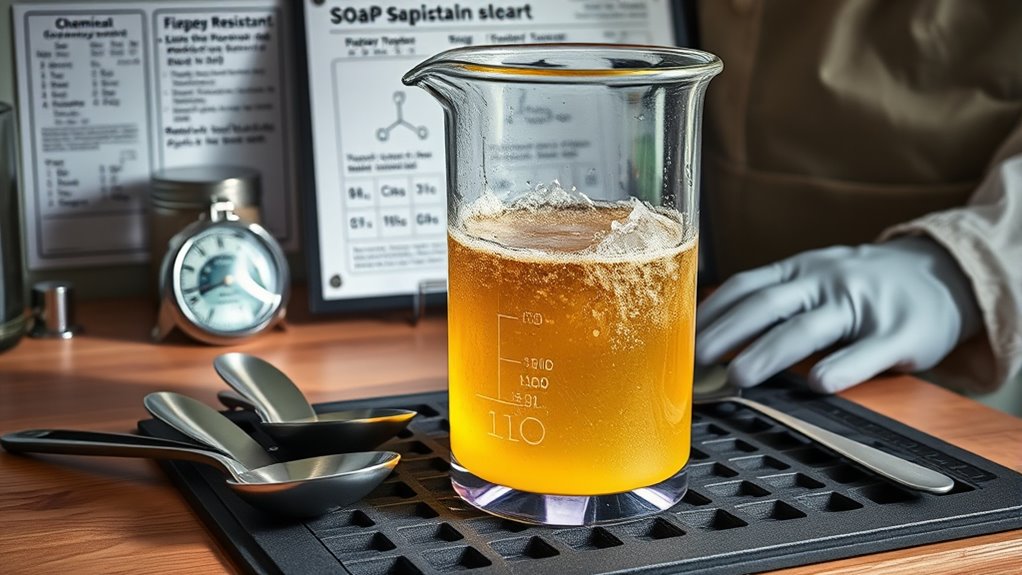
Ensuring safety during the saponification process is essential to prevent accidents and protect your health. Always wear protective clothing like long sleeves, long pants, closed-toed shoes, and an apron to shield your skin. Use goggles or safety glasses to guard your eyes from splashes, and wear gloves resistant to lye and essential oils, such as nitrile or latex. Work in a well-ventilated area or wear a respirator mask to avoid inhaling fumes. Keep your workspace clean, clutter-free, and away from children or pets. Handle lye carefully—store it in its original container, and mix it with distilled water slowly in a ventilated space. Proper equipment should be used to prevent reactions with reactive substances. Use non-reactive equipment and clean everything thoroughly afterward. Being aware of chemical properties involved can help you better handle reactive substances like lye safely. Proper ventilation and understanding safety protocols are crucial for a safe soap-making environment. Being aware of automation in business can also inform how you organize your workspace efficiently. Additionally, consulting safety data sheets for each chemical used provides detailed handling instructions to further minimize risks.
Frequently Asked Questions
How Does the Temperature Affect Saponification Speed and Soap Quality?
You’ll find that temperature directly impacts how quickly saponification happens and the quality of your soap. Higher temperatures speed up the reaction, which can lead to thick, gel-like soap and less time to add fragrances or colors.
On the other hand, cooler temps slow down the process, giving you more control but risking incomplete saponification if it gets too cold. Balancing temperature is key for perfect soap texture and design.
Can Alternative Bases Be Used for Saponification Besides Naoh and KOH?
You can use alternative bases for saponification besides NaOH and KOH. Melt and pour soap bases are pre-saponified, making them safer and easier to work with.
Natural oils like palm or olive oil can be used in traditional methods, though they may require different processes.
Baking soda, when heated to sodium carbonate, can serve as a weak alkali, but it usually needs longer curing times and may produce softer soaps.
What Natural Additives Can Enhance Soap Moisturizing Properties?
Oh, sure, just toss in a sprinkle of fairy dust—if only it were that simple. For real moisture magic, you can add olive oil, shea butter, or avocado oil to your soap.
Humectants like glycerin or honey draw moisture in, while botanicals like aloe vera and calendula soothe and hydrate. These natural goodies boost your soap’s moisturizing powers, leaving your skin soft, nourished, and begging for more.
How Long Should Homemade Soap Cure Before Use for Best Results?
You should cure your homemade soap for about 4 to 6 weeks before using it for the best results. During this time, excess water evaporates, making the soap harder and longer-lasting.
Check if the weight stays consistent over two weeks to confirm it’s fully cured. Proper storage and patience guarantee your soap develops a smooth texture, mildness, and better lather, giving you a superior final product.
What Environmental Impacts Are Associated With Soap-Making Chemicals?
You should know that soap-making chemicals can harm the environment. When you use palm oil, it leads to deforestation and habitat loss.
Synthetic ingredients like sulfates and parabens pollute water and harm aquatic life.
Improper disposal of chemicals and packaging adds to pollution, contaminating soil and waterways.
Conclusion
Now that you understand the chemistry behind saponification, you’re almost ready to craft your own soap. But remember, each ingredient choice can transform your final product in unexpected ways. Will your soap be gentle or invigorating? The secret lies in the reactions you’re about to control. As you begin experimenting, stay cautious—one misstep could change everything. Are you prepared to release the true potential of homemade soap? The journey is just beginning.