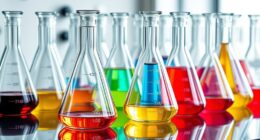

To make DIY natural indicators from kitchen ingredients, start by collecting vibrant plant materials like red cabbage, berries, or beetroot. Blend or chop them finely, then strain to extract the colorful pigments. Use these extracts to test household liquids such as lemon juice, vinegar, or baking soda by adding a few drops and observing color changes—red for acids and green or blue for bases. For safe handling and longer shelf life, follow proper storage tips and experiment with different ingredients to refine your results.
Key Takeaways
- Use common kitchen ingredients like red cabbage, beets, or berries to create natural pH indicators.
- Blend or chop ingredients, strain to extract vibrant pigments, and prepare liquid extracts for testing.
- Test household liquids such as lemon juice, vinegar, or baking soda solution by adding indicator drops and observing color changes.
- Interpret color shifts—red/pink in acids, purple in neutral, and green/blue/yellow in bases—to determine pH levels.
- Store homemade indicators in airtight, dark containers in the refrigerator for extended shelf life and safe reuse.
Gathering and Preparing Your Plant-Based Indicator Materials
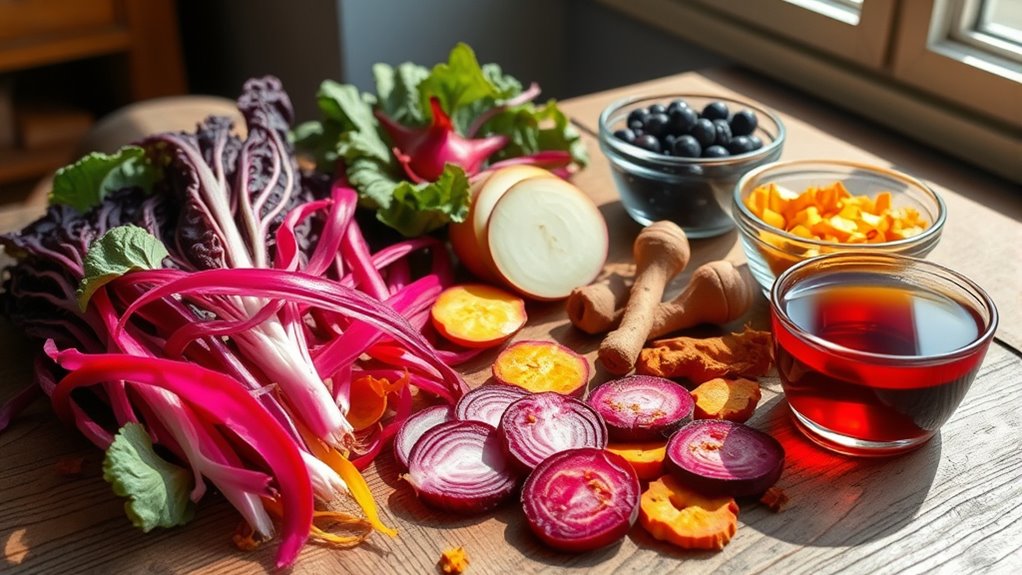
To create effective plant-based pH indicators, you need to gather and prepare your materials carefully. Start with common kitchen ingredients like red cabbage, blackberries, raspberries, cherries, and grapes, which contain natural pigments that change color with pH shifts.
Next, chop your chosen plants into small pieces to maximize pigment extraction. Using a blender helps break down cell walls efficiently, releasing more colorants.
Chop plants finely and blend to efficiently extract vibrant natural pigments for pH indicators.
After blending, strain the mixture through a colander or strainer to remove solids, leaving behind a vibrant liquid. This extract serves as your natural indicator base.
Avoid boiling during preparation to preserve pigment quality, but you can gently heat if necessary. Allow your liquid to cool before using it in pH testing.
Proper preparation guarantees consistent, reliable results for your natural indicator. Additionally, understanding how sound vibrations influence cellular processes can inspire innovative ways to enhance extraction techniques in future experiments.
Extracting Natural Pigments for Ph Testing
Have you ever wondered how to efficiently extract vibrant plant pigments for pH testing? You can choose from several methods. Boiling plant material in water for 5–15 minutes releases anthocyanins and flavonoids quickly.
Cold infusion, soaking flowers or leaves in cold water or vinegar for 24–48 hours, preserves heat-sensitive pigments.
Alcohol extraction with ethanol or vodka (40–70%) dissolves non-polar pigments, creating concentrated solutions.
Adjusting the solvent’s pH with lemon juice stabilizes anthocyanins in red cabbage or blueberries.
After extraction, strain and filter the solution to remove solids. Dilute with distilled water to control color intensity.
To prolong shelf life, refrigerate or add glycerin. These methods help you obtain vibrant, reliable natural indicators for your pH testing projects.
Understanding the importance of extraction methods can help you optimize pigment yield and stability for more accurate results.
Conducting Simple Ph Tests With Common Household Liquids
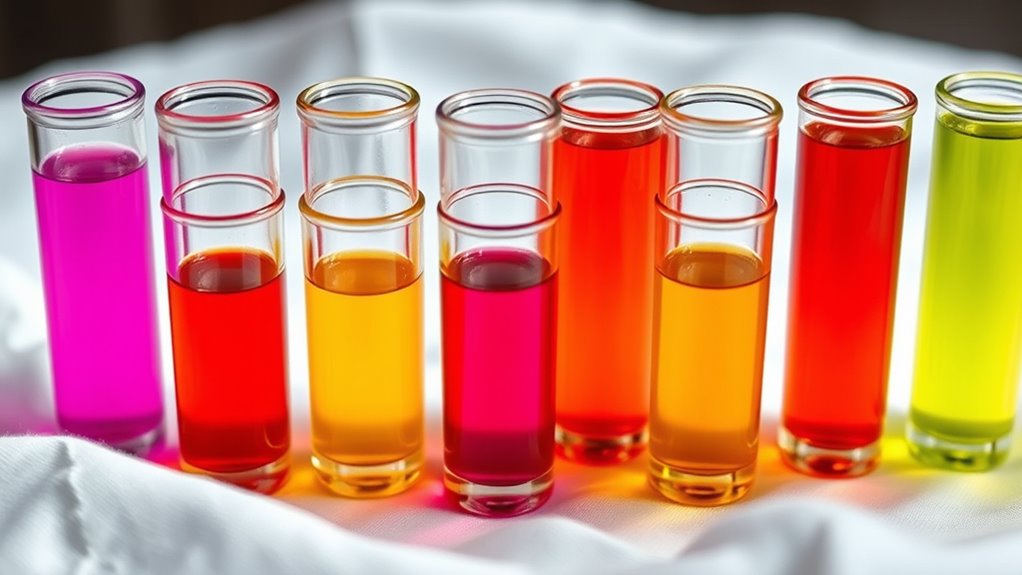
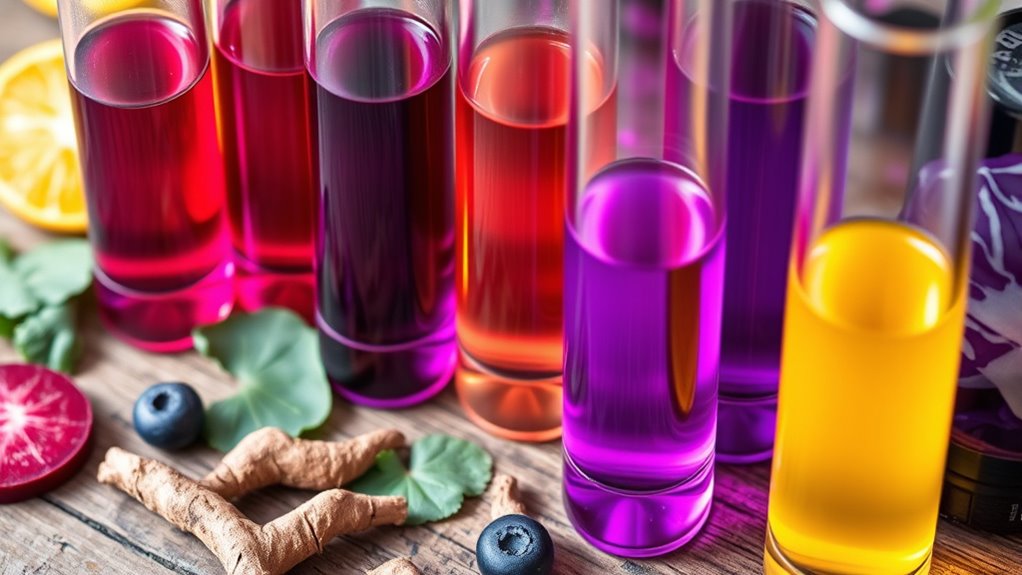
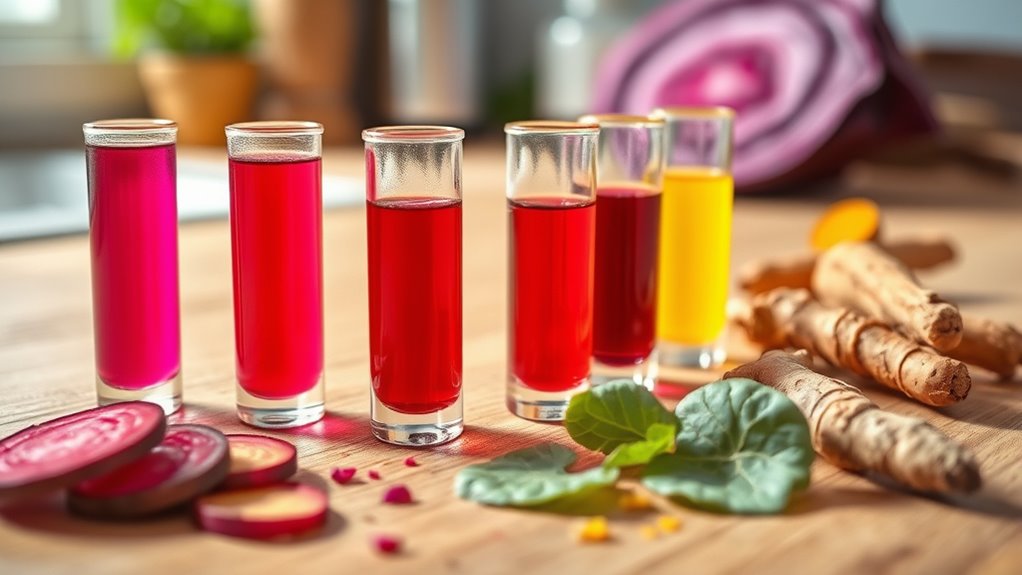
You can easily perform pH tests at home using common household liquids and natural indicators. First, prepare your indicator by blending red cabbage, onion, or beetroot into a liquid extract. These natural indicators are safe and non-toxic, making them suitable for household experiments.
Perform simple at-home pH tests with natural indicators like red cabbage or beetroot extract.
Then, select liquids to test, such as lemon juice, vinegar, baking soda solution, soap, or tap water. Using a spoon or dropper, add a few drops of the indicator to each sample.
Observe the color change carefully; acidic substances typically turn the indicator a reddish or pinkish hue, while basic solutions may shift it to green or blue. Neutral liquids like tap water tend to produce minimal color change.
Keep records of each color change to compare and understand the pH levels of your household liquids. This simple method allows you to explore acidity and alkalinity right in your kitchen.
Additionally, understanding the safety of raw foods and proper handling techniques can help ensure accurate results and safe experiments at home.
Interpreting Color Changes to Determine Acidity or Alkalinity
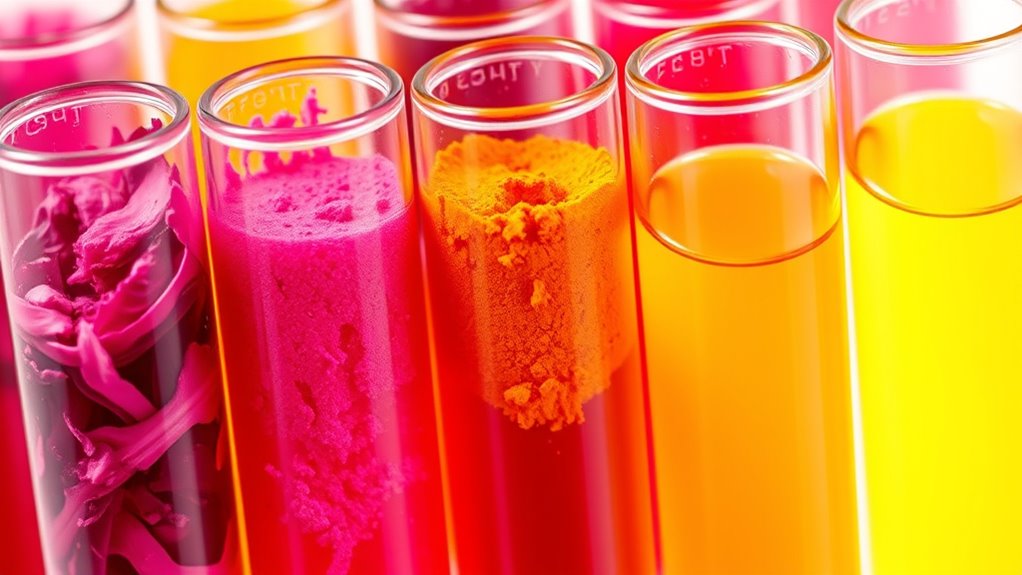
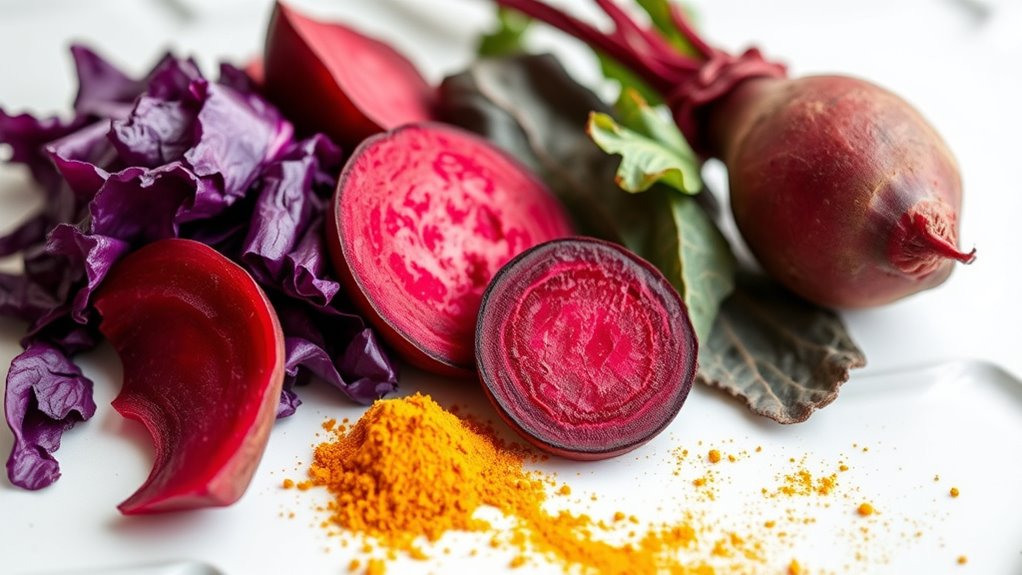
When you add a natural indicator like red cabbage or turmeric to a household liquid, the resulting color provides clues about its acidity or alkalinity.
With red cabbage, acidic solutions turn red or pink, neutral pH yields purple, and basic solutions shift to blue, green, or yellow. Turmeric, on the other hand, turns yellow in acids and neutral solutions but shifts to red in bases.
To interpret these changes, compare the color to a reference chart or known standards, such as lemon juice or baking soda. Keep in mind that lighting and container backgrounds can affect perception.
While these indicators offer a rough pH estimate, they’re more qualitative than precise. Combining multiple indicators and observing gradient shifts helps improve accuracy in identifying whether a liquid is acidic or alkaline.
Tips for Safe Handling and Extending the Shelf Life of Your Indicators
To guarantee your natural indicators remain effective and safe to use, it’s essential to follow proper handling and storage practices. Always wear gloves and goggles when working with acids or ammonia to avoid skin and eye irritation. Proper handling minimizes chemical hazards associated with testing substances. Never ingest tested substances, even edible ones, to prevent contamination. Clean all utensils thoroughly before and after use to prevent cross-contamination. Manage spills immediately by neutralizing acids with baking soda and bases with vinegar. Store indicators in airtight containers in the refrigerator, where they stay effective for at least three weeks, or freeze portions for up to two months. Use dark bottles or foil to protect pigments from light. Adding a few drops of vodka can inhibit mold growth. Limiting batch sizes can help maintain freshness and prevent spoilage, ensuring safety during testing. Proper storage conditions can significantly extend the shelf life of your natural indicators. Additionally, understanding the chemical composition of your ingredients can help optimize their longevity and effectiveness.
Frequently Asked Questions
Can Natural Ph Indicators Be Reused After Testing Acidic or Alkaline Substances?
You can reuse natural pH indicators after testing acidic or alkaline substances, but with limitations. Proper storage, like refrigeration, helps preserve their color and chemical stability.
However, repeated use may cause fading, contamination, or pigment breakdown, reducing accuracy. To get the best results, keep the indicator in airtight containers, avoid exposing it to light and heat, and prepare fresh batches as needed.
Always check for color consistency before reusing.
How Accurate Are Homemade Indicators Compared to Commercial Ph Test Strips?
You wonder about the accuracy of homemade pH indicators compared to commercial strips. While DIY indicators give you a good broad idea of whether a solution is acidic, neutral, or basic, they lack the precise measurements commercial strips offer.
Visual interpretation can vary, and natural pigments degrade faster, making homemade tests less reliable. For critical or precise testing, always rely on commercial pH strips or calibrated instruments.
Are There Specific Storage Conditions to Prevent Natural Indicators From Degrading?
Ever wondered how to keep your natural indicators effective longer? You should store them in airtight, dark containers made from glass or stainless steel, placed in a cool, stable environment.
Keep humidity low, avoid direct sunlight, and handle them with clean, dry hands. Do you want your indicators to stay sensitive and accurate?
Regularly check for color changes, replace degraded ones, and maintain proper storage to prevent premature spoilage.
Do Different Plant Parts (Leaves, Skins, Flowers) Produce Varying Ph Color Responses?
You’ll find that different plant parts like leaves, skins, and flowers produce varying pH color responses because they contain different pigments.
For example, flowers with anthocyanins often turn red in acidic conditions and blue in basic ones, while fruit skins may have different sensitivities.
These variations help you choose the best plant part for your natural indicator, ensuring accurate pH readings based on the specific pigments present.
Can Natural Indicators Detect Ph Changes in Non-Liquid or Solid Samples?
So, you think natural indicators can magically reveal pH in solid samples? Sadly, it’s not that simple. These indicators need liquids or moisture to show their true colors.
Crushing or soaking solids in water helps, but applying them dry often results in barely visible reactions. While you can get rough pH estimates this way, don’t expect precise readings.
Natural indicators are more suited for liquids or soaked samples, not dry or solid materials.
Conclusion
Now that you’ve mastered making your own natural indicators, you’re practically a chemistry wizard! With just kitchen ingredients, you can unveil the secrets of every liquid you encounter—turning your home into a lab of discovery. Imagine the thrill of seeing vibrant color shifts right in your hands, revealing mysteries no store-bought kit could ever match. Get ready to impress everyone with your incredible, homemade scientific skills—your kitchen is now a powerhouse of natural chemistry!