
To make homemade slime, you mix PVA glue with a cross-linking agent like borax, which reacts with water to form borate ions. These ions connect the polymer chains in the glue, creating a stretchy, gooey network through cross-linking chemistry. Adjusting ingredients and adding extras can change texture and appearance. If you keep exploring, you’ll discover more about the fascinating science behind slime’s flexible properties.
Key Takeaways
- Slime forms through borate ions cross-linking PVA polymer chains, creating a viscoelastic network.
- Mixing borax solution with glue activates cross-linking, transforming liquid into stretchable slime.
- Degree of cross-linking affects slime’s firmness, elasticity, and texture.
- Adding additives like glycerin or foam alters slime properties and appearance.
- Proper safety and disposal procedures are essential during slime-making to prevent hazards.

National Geographic Mega Science Lab - Kit for Kids with 75 Easy Experiments, Featuring Earth Science, Chemistry Set, and Magic STEM Projects for Boys and Girls (Amazon Exclusive)
THREE SCIENCE KITS IN ONE - This kit contains 45 of our most popular Earth science, chemistry, and...
As an affiliate, we earn on qualifying purchases.
Understanding the Ingredients Behind Slime
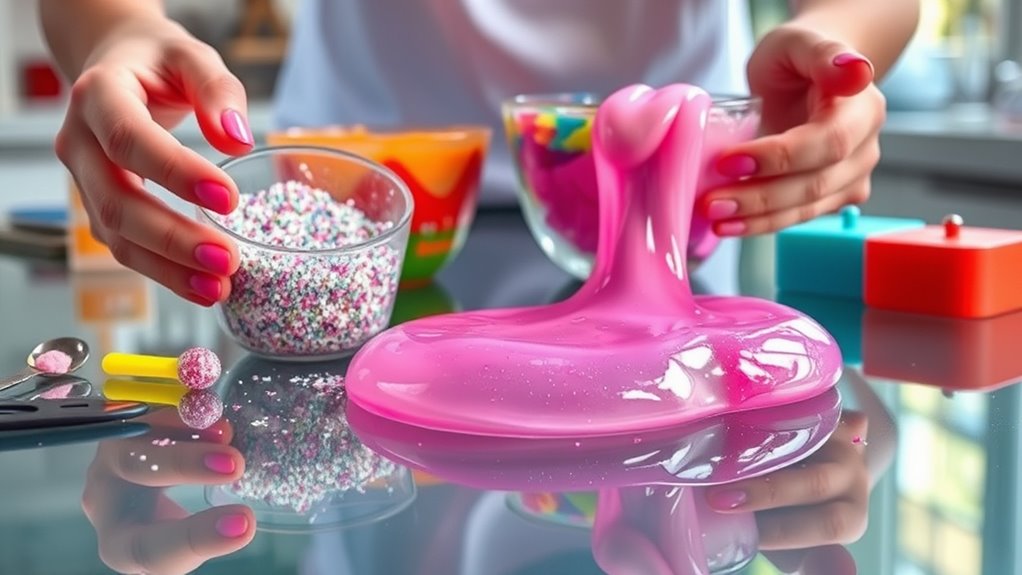
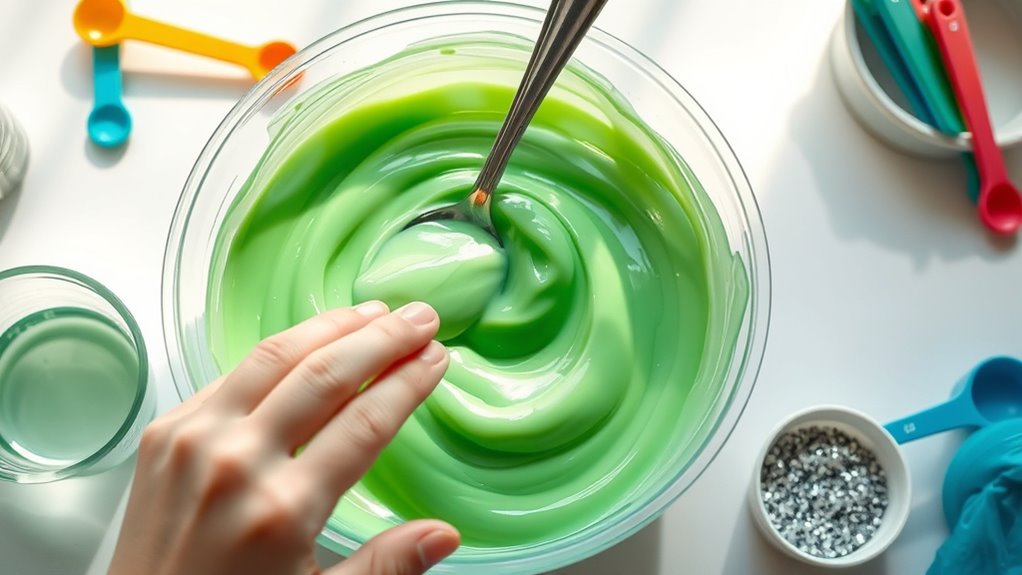
To understand what makes slime so fun and stretchy, it helps to know the key ingredients involved. First, you need PVA glue, which contains long chains of polyvinyl alcohol polymers. These chains give slime its structure. You’ll also add a borax solution, which provides sodium tetraborate. When mixed with water, it forms borate ions that act as cross-linking agents, connecting the polymer chains and creating the slime’s stretchy texture. Water adjusts the mixture’s viscosity, making it easier to work with. Biodiversity is a crucial factor in maintaining healthy ecosystems, which can be impacted by chemical pollution from household products like slime ingredients. The environmental impact of chemical substances used in slime can be minimized by choosing eco-friendly alternatives, promoting safer play. Incorporating biodegradable materials in slime recipes can further reduce environmental harm. Choosing biodegradable polymers can help ensure the slime is more environmentally friendly. Optional additives like glycerin help prevent brittleness, while items like sorbolene cream modify the texture. Food coloring adds visual appeal but doesn’t impact the chemical properties. Understanding the chemistry behind these ingredients helps explain how the slime’s flexible consistency is achieved.
Evviva Sciences Microbiology Science Project Kit, Pre-Poured Agar Plates for Students, Agar Petri Dishes to Learn Microbiology, with Educational Experiment eBook
THE COMPLETE SCIENCE KIT: Start your science experiment journey with our kit, complete with 10 pre-poured agar plates,...
As an affiliate, we earn on qualifying purchases.
The Science of Cross-Linking in Slime Formation
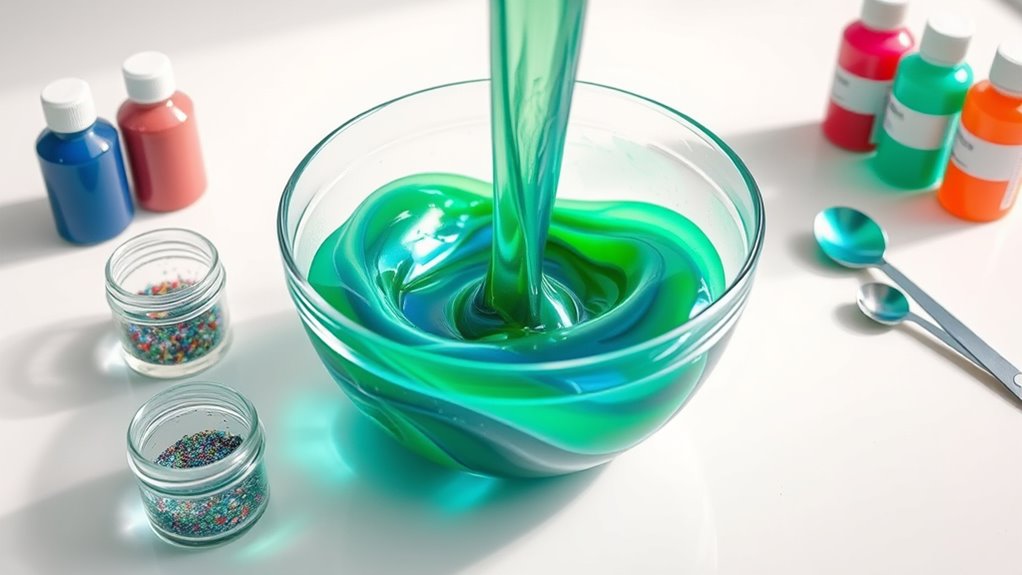
Have you ever wondered how slime changes from a runny liquid to a stretchy, gooey substance? It all comes down to cross-linking chemistry. When you add borax to water, it produces borate ions, which act as bridges between PVA polymer chains. These weak ionic bonds form cross-links that reduce the mobility of the polymer molecules, transforming the liquid into a viscous slime. The borate ions connect different chains temporarily, creating a network that exhibits both solid and liquid properties. This viscoelastic behavior allows slime to stretch, bounce, and squish. The degree of cross-linking influences its texture and elasticity—more links make it firmer, fewer make it softer. Understanding how these bonds form helps explain why slime behaves the way it does when you play with it, especially through the chemical interactions involved in the process. Recognizing the molecular structure of the slime can further enhance your appreciation of its unique properties. Additionally, the safety considerations when working with chemicals like borax are important to ensure a fun and secure learning experience. Exploring the role of polymers in material science can also deepen your understanding of everyday substances like slime. Incorporating hands-on experiments like making slime can also help children develop their sensory processing skills and interest in STEM concepts.

Discovery™ Super Reactions Science Kit – 66 Experiments STEM Lab for Kids| Includes Chemistry Tools, Volcano Mold, Slime, Reactions & Explosions|Educational Learning Toy|DIY Activity Set Gift| Ages 8+
✔ 66 ACTION-PACKED SCIENCE EXPERIMENTS – Includes 26 step-by-step guided activities and 40 bonus DIY ideas using household...
As an affiliate, we earn on qualifying purchases.
Step-by-Step Guide to Making Basic Slime
Making basic slime at home is simple and requires just a few common ingredients. First, pour ½ cup of white PVA glue into a mixing bowl. Add ½ teaspoon to 1 tablespoon of baking soda and stir thoroughly until smooth. Next, mix in two drops of food coloring to customize your slime’s color. Slowly add 1 to 3 teaspoons of saline solution containing boric acid and sodium borate, stirring continuously until the mixture begins to thicken and form strings. Knead the slime with your hands once it starts pulling away from the bowl. If it’s too sticky, add a little more saline; if it’s too runny, incorporate a small amount of baking soda. Incorporating proper hydration is essential for maintaining optimal brain function, which is a fun reminder of the importance of staying hydrated while making slime. Store your slime in an airtight container to keep it fresh.

Thames & Kosmos Mega Cyborg Hand STEM Experiment Kit | Build Your Own GIANT Hydraulic Amazing Gripping Capabilities Adjustable for Different Sizes Learn Pneumatic Systems
Build your own awesome, wearable mechanical hand that you operate with your own fingers.
As an affiliate, we earn on qualifying purchases.
Exploring Variations and Texture Modifications
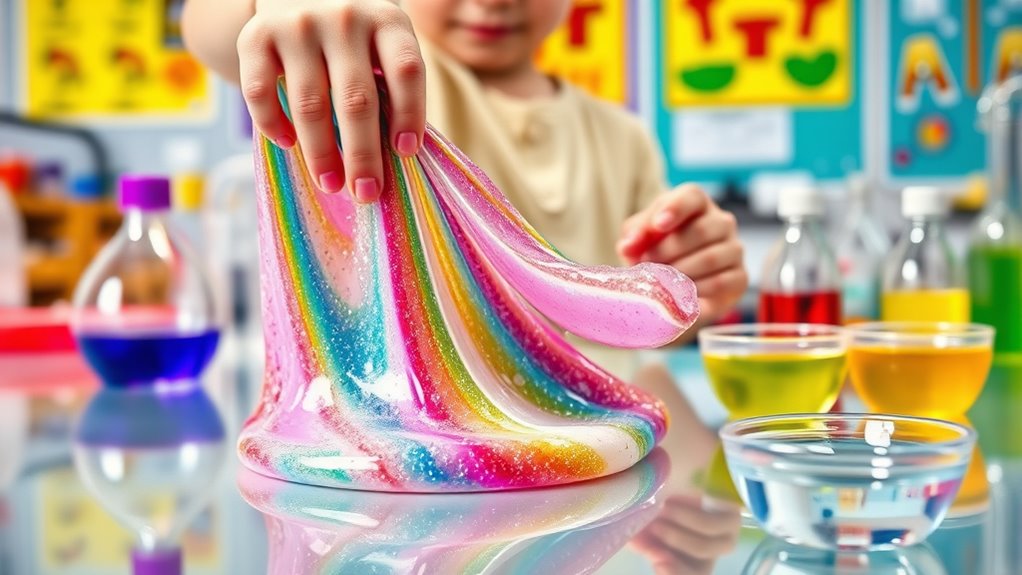
Exploring different slime textures allows you to customize your slime experience and create unique visual and tactile effects. For instance, adding glow-in-the-dark paint makes your slime shine in the dark, while mixing in iron filings creates magnetic slime that reacts to magnets. Using model magic clay results in a soft, spreadable butter slime, and shaving cream produces fluffy cloud slime. You can also incorporate heat-sensitive pigments to change color with temperature, adding an interactive element. To modify consistency, combining baking soda and contact solution yields stretchy, thick slime, while cornstarch thickens it further. Adjusting borax levels influences stickiness, and adding shaving cream or saline solution boosts volume and elasticity. These variations let you craft slime with diverse textures and effects tailored to your preferences. Understanding the chemistry of slime helps you experiment safely and achieve the perfect texture every time. Additionally, being familiar with headphone connectivity options can enhance your multimedia experience when listening to your favorite tunes or tutorials on slime-making. Knowing about resources and tools can also provide additional guidance and safety tips for your slime experiments. Exploring measuring techniques ensures accurate ingredient proportions for consistent results. It’s also beneficial to understand the cookie consent management on websites to ensure your browsing remains smooth and compliant with privacy standards.
Conducting Experiments: Changing Variables for Different Results
Conducting experiments with slime involves systematically changing variables to observe how they influence the final product. You can start by testing different slime activators, such as borax, saline solution, or liquid starch, and adjusting their amounts to see how texture, stretchiness, or viscosity change. Setting controls—like a negative control without activator and a positive control with a standard amount—helps you compare results accurately. Measure outcomes by timing how long slime flows through a funnel or how a ball bearing drops through it, revealing viscosity differences. You can also vary borax concentration or add additives like glitter or glow-in-the-dark paint to observe visual effects. Recording data ensures you understand how each variable impacts slime’s properties, guiding you toward desired results. Understanding the role of automation in manufacturing processes can also help optimize slime production techniques for consistency and quality. Incorporating air purification principles can assist in maintaining a cleaner workspace during experiments, minimizing dust or airborne contaminants that could affect the slime. Additionally, exploring color accuracy in additives like dyes can enhance the visual appeal of your slime creations.
Safety Tips and Proper Disposal of Slime
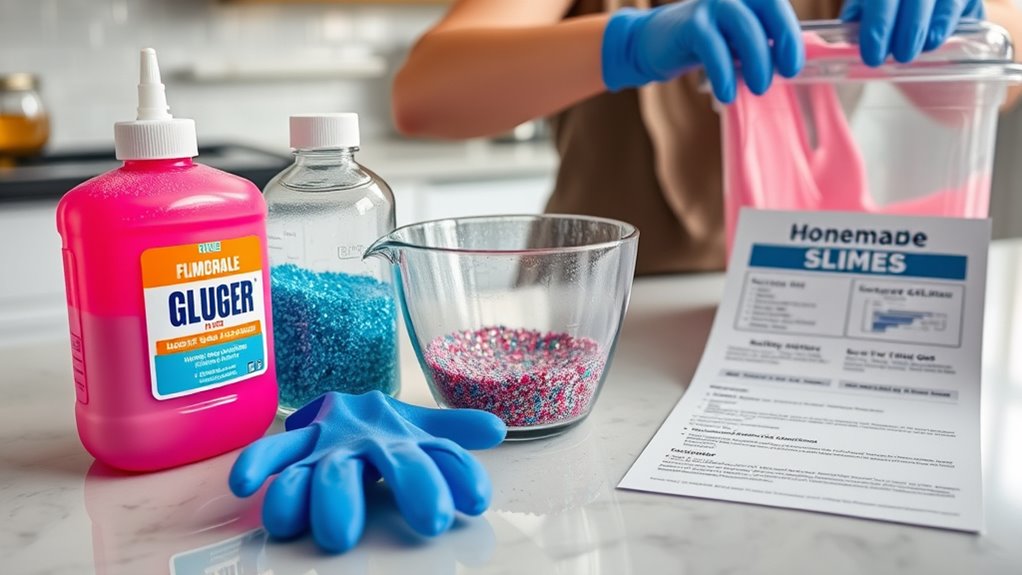
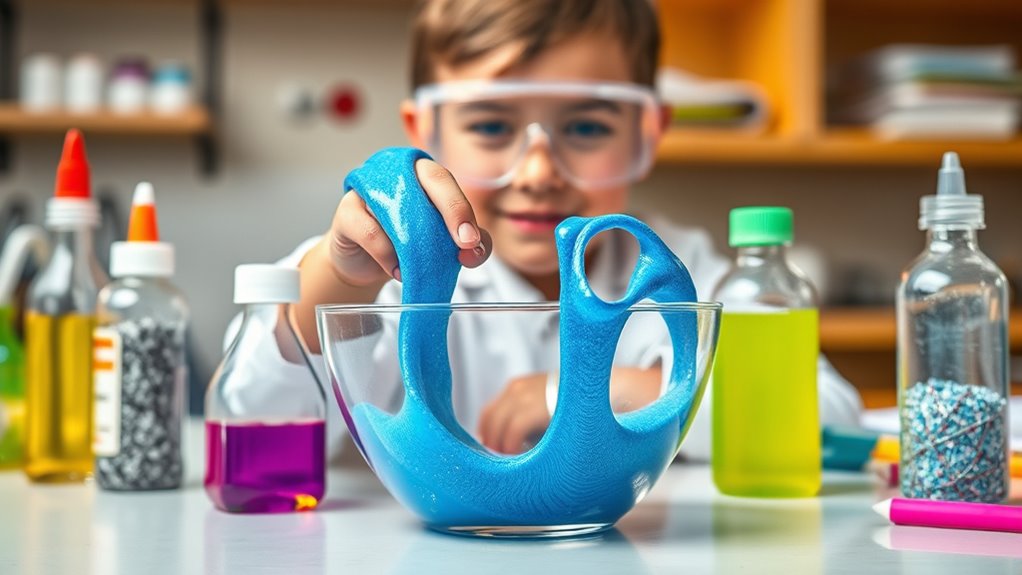
Since handling slime involves chemicals like borax and glue, it is essential to follow proper safety precautions to prevent accidents. Always label and store ingredients, especially borax, out of children’s reach. Avoid contact with your eyes, as borax can cause irritation. Wash your hands thoroughly after handling slime ingredients, and wear disposable gloves if needed. To prevent respiratory issues, avoid inhaling powder particles. Use supervision during slime making, especially with kids, and keep your workspace clean. When finished, dispose of slime in a sealed trash bag to prevent spills. Dispose of unused ingredients following their packaging instructions or safely in household trash. Clean tools with soap and water, and store leftover slime in sealed containers away from pets and children.
Creative Uses and Fun Projects With Homemade Slime
Homemade slime isn’t just for fun; it opens up a world of creative projects and playful activities. You can turn slime into art by drawing or adding pointillist touches, or use cookie cutters to shape it into fun designs. Incorporate real flowers into slime bases for unique floral arrangements or create imprints with objects like magnetic letters or seed pods for artistic patterns. For sensory play, add slime to fruit net bags or mix in loose parts like leaves and glitter to enhance textures. You can also explore educational projects, such as demonstrating polymer chemistry or experimenting with ingredients. With endless customization options like glow-in-the-dark or magnetic slime, you turn simple slime into a versatile tool for crafts, learning, and interactive games.
Frequently Asked Questions
Can I Make Slime Without Using Borax or Contact Lens Solution?
You can definitely make slime without borax or contact lens solution. You might try using alternative activators like baking soda combined with other ingredients, or experiment with dish soap and cornstarch for a foamy, glue-free slime. Keep in mind, these methods may produce different textures and might not last as long. Be creative and safe, adjusting ingredients gradually until you find a slime you enjoy without using traditional activators.
How Does Ph Level Affect Slime’S Texture and Stretchiness?
You notice that pH levels greatly influence slime’s texture and stretchiness. When the pH is within 8–10, cross-linking by borate ions happens effectively, making your slime firm and elastic. If it drops below this range with acids like HCl, hydrogen bonds break down, causing slime to become runny and less stretchy. Conversely, raising the pH with NaOH restores cross-links, increasing firmness but risking brittleness if it gets too high.
What Are Natural or Safer Alternatives to Traditional Slime Ingredients?
You can explore natural or safer alternatives to traditional slime ingredients like glue. Use psyllium husk mixed with water for a thick, glue-free slime, or soak chia seeds to create a gel-like substance. Gelatin offers an edible, non-toxic option, while cornstarch provides a simple, biodegradable base. These alternatives are safer, eco-friendly, and often easier to dispose of, making your slime both fun and environmentally conscious.
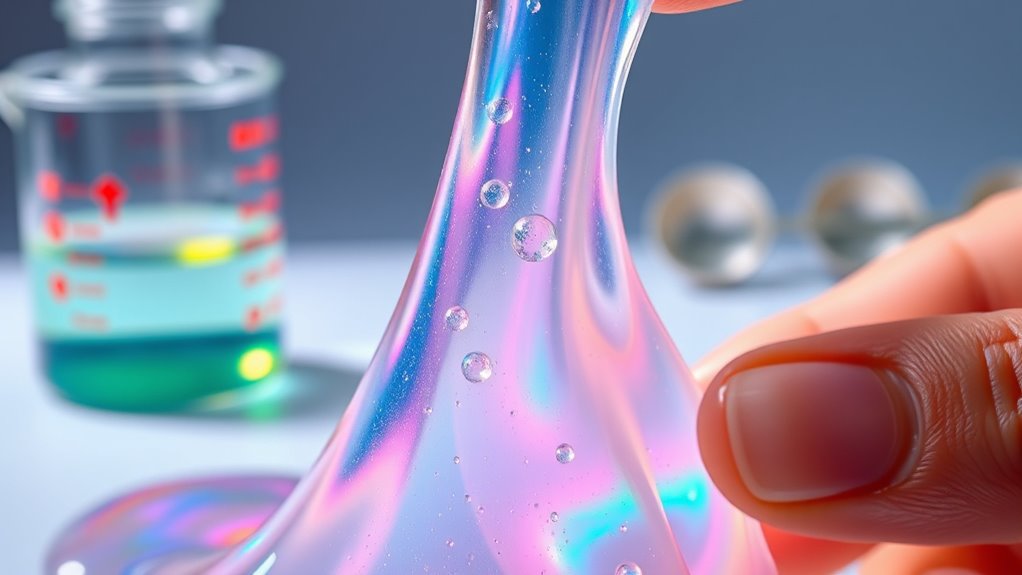
How Does Adding Glitter or Foam Beads Change Slime’S Properties?
Adding glitter or foam beads changes slime’s properties by altering its texture, making it more tactile and engaging. Foam beads reduce stickiness and help the slime keep its shape better, while glitter adds visual appeal and sensory stimulation. These additives also enhance the ASMR experience and make the slime more fun to play with. Keep in mind, they don’t chemically change the slime but can affect its stability and handling.
Why Does Slime Sometimes Become Hard or Sticky Over Time?
You notice slime sometimes turns hard or sticky over time because of moisture loss or over-cross-linking. When water evaporates, the polymers get concentrated, making the slime stiff. Excessive borax creates too many cross-links, leading to hardness. Additionally, environmental factors like heat accelerates evaporation and cross-linking, while low humidity speeds drying. If the slime isn’t stored properly in an airtight container, it can become sticky or hard as it loses moisture or the polymer structure degrades.
Conclusion
Now that you’ve explored the chemistry behind slime, you’re like a scientist in your own lab, ready to create and experiment. With each batch, you’ll see how changing ingredients is like painting with new colors—every result is unique. Remember to stay safe and have fun, turning simple ingredients into a colorful, squishy masterpiece. Your homemade slime is now more than just a toy—it’s a science adventure waiting to happen!