To test water hardness at home, start with simple methods like the soap test—fill a clear container one-third full, add a few drops of pure liquid soap, shake well, and check the foam. You can also use water test strips that change color in seconds or digital meters for more precise measurements. If you want to learn how to interpret results, convert units, and choose the right treatment, keep exploring for detailed guidance.
Key Takeaways
- Use a soap test by shaking water with pure liquid soap and observing foam production as an initial hardness indicator.
- Utilize water test strips that change color upon contact with calcium and magnesium ions for quick, easy results.
- Employ digital TDS or conductivity meters for precise water hardness measurements, ensuring proper calibration.
- Follow test kit instructions carefully, including proper storage and timing, for accurate and reliable results.
- Interpret results by converting units if needed and compare with regional standards to determine if treatment is necessary.
Understanding Water Hardness and Its Signs
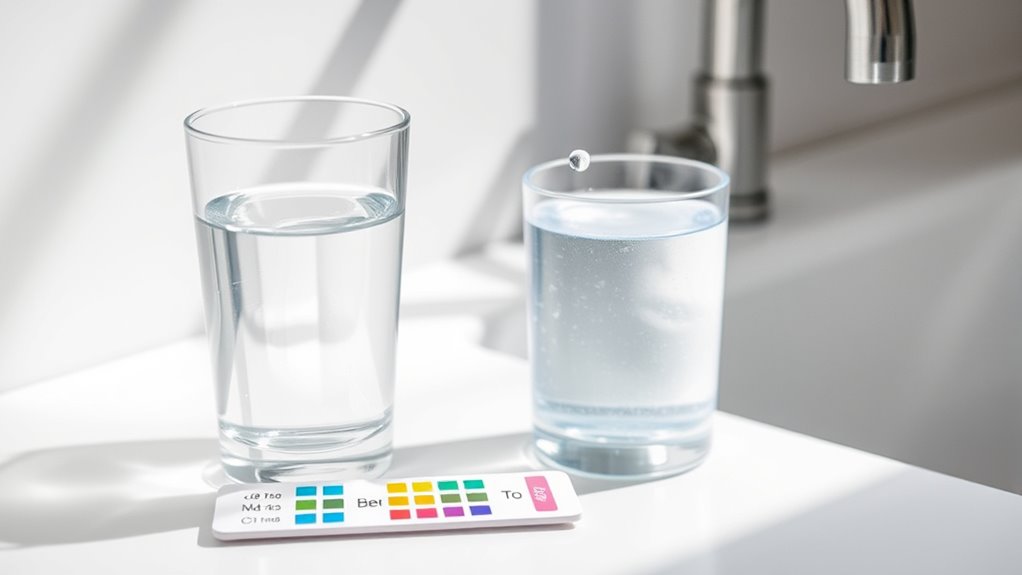
Understanding water hardness starts with recognizing that it’s caused by dissolved calcium and magnesium ions in your water supply. These minerals originate from natural sources like limestone, chalk, and gypsum, which water passes through, dissolving mineral salts. The minerals responsible for hardness are naturally occurring and can vary depending on your geographic location. A home testing kit can help detect these minerals accurately without professional assistance. Additionally, water mineral content can influence the effectiveness of water filtration systems and impact overall water quality. Hard water often leaves mineral deposits on plumbing fixtures, appliances, and glassware, creating visible scale buildup and spots. You might notice soap and detergents don’t foam well, leaving a film or scum instead. This can make cleaning less effective and leave residue on dishes and clothes.
Water hardness results from dissolved calcium and magnesium minerals entering your supply.
Furthermore, hard water can cause appliances like water heaters to work harder, increasing energy costs. It can also influence water taste, sometimes imparting a mineral flavor. Recognizing these signs helps you understand if your water is hard and if testing is needed.
Furthermore, advances in automation technology are being utilized to develop more precise water testing methods, making it easier for homeowners to monitor their water quality at home. These innovations offer cost-effective solutions for routine testing and help ensure water safety.
Gathering Supplies for Home Testing
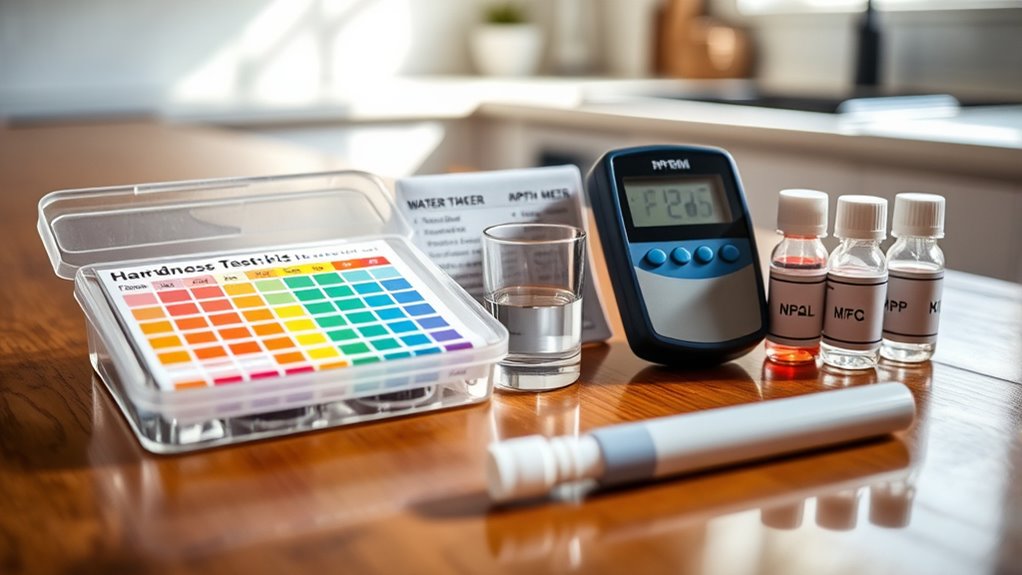
To accurately test your water hardness at home, you’ll need to gather the right supplies. Start with a reliable water test kit, available at retailers like Lowe’s or Home Depot. Look for kits that provide precise measurements in grains per gallon (GPG), such as the Hardness Test Kit Pro II, which also tests other parameters like pH and contaminants. Using a professional-grade voiceover can help explain the testing process clearly if you choose to create a video tutorial. Confirm your kit includes test vials, droppers, and reagent solutions. Some kits are designed specifically for hardness, offering around 100 tests, while extensive options can test multiple parameters. Store your kit properly, away from sunlight, and follow instructions carefully for accurate results. Additionally, selecting a kit with a long shelf life and good cost per test will save you money over time. Ensuring your testing supplies are accurate and reliable is essential for trustworthy results, especially since the precision of your test impacts your ability to properly assess water quality.
Performing the Soap Test to Detect Hard Water
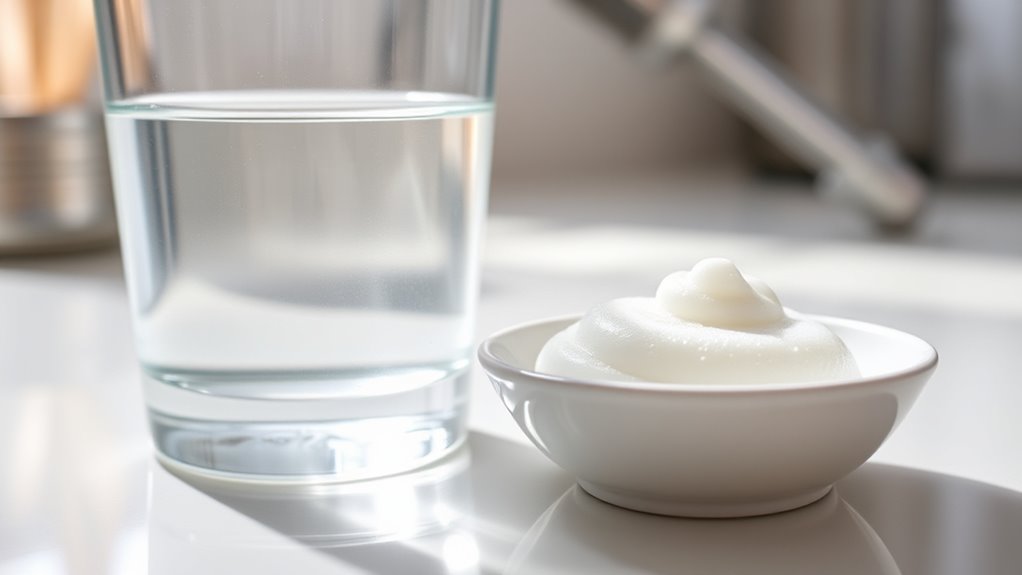
Ever wonder if your water is hard without using specialized equipment? You can perform a simple soap test at home.
Fill a clear container about one-third full with tap water. Add a few drops of pure liquid soap, like Castile soap. Secure the lid and shake the container vigorously for 10-15 seconds.
Then, observe the foam produced. Soft water creates a thick, abundant foam, while hard water results in little to no foam. Less foam indicates the presence of calcium and magnesium ions that interfere with soap’s ability to lather. Water hardness levels can affect how well the soap reacts during the test. If the test indicates hard water, you might consider water softening methods to improve soap efficiency and protect your plumbing.
This quick test helps you identify if your water may be hard and signals when further testing or treatment might be needed. Keep in mind, the test is subjective and best used as an initial indicator.
Using Water Test Strips for Quick Results
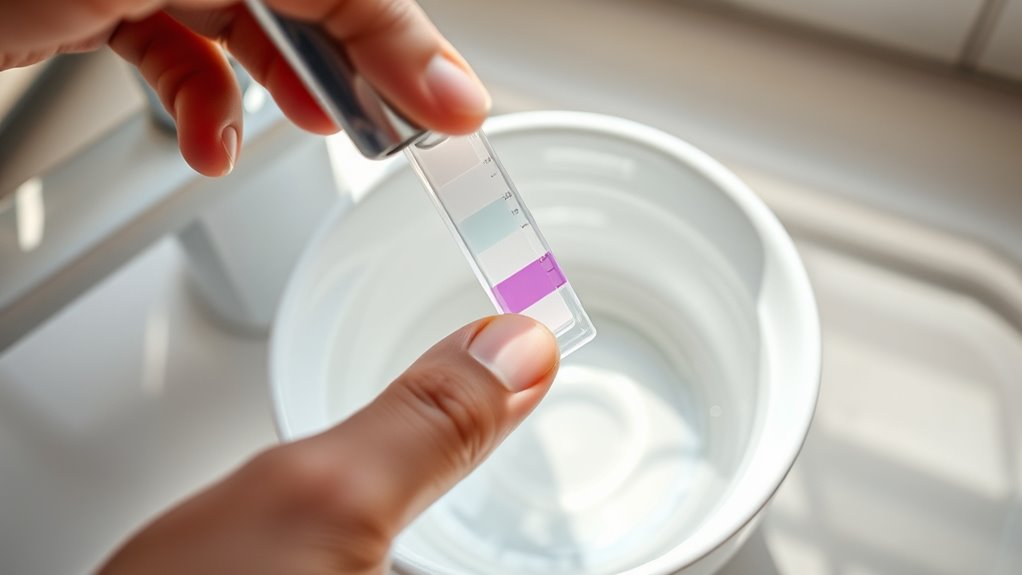
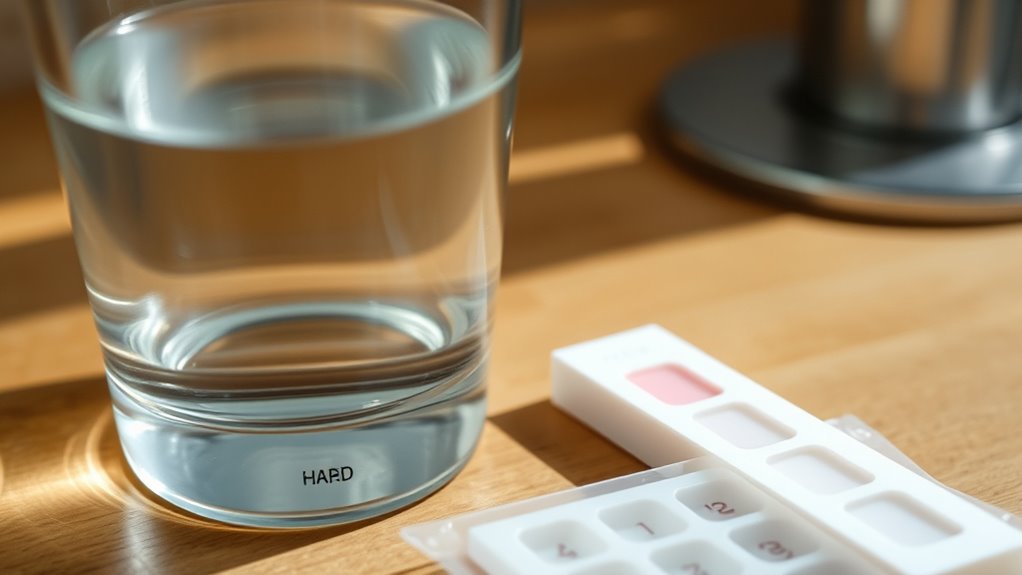
Have you considered using water test strips for a quick and straightforward way to determine your water’s hardness? These strips work through a colorimetric reaction with calcium and magnesium ions, providing results in just 3-15 seconds. They don’t require reagents or droppers, making testing simple. Proper technique and consistent timing are essential for reliable readings, especially since test accuracy can vary between users and depend on correct handling. Additionally, understanding water hardness can help you choose appropriate water treatment solutions. Regular testing can also prevent issues caused by hard water buildup, such as scale formation in appliances and plumbing. Monitoring automation’s role in business intelligence can improve maintenance schedules and optimize water treatment processes, saving time and resources. Maintaining awareness of filter performance is also crucial, as mineral deposits can reduce filter efficiency over time.
Employing Digital Meters for Accurate Measurements
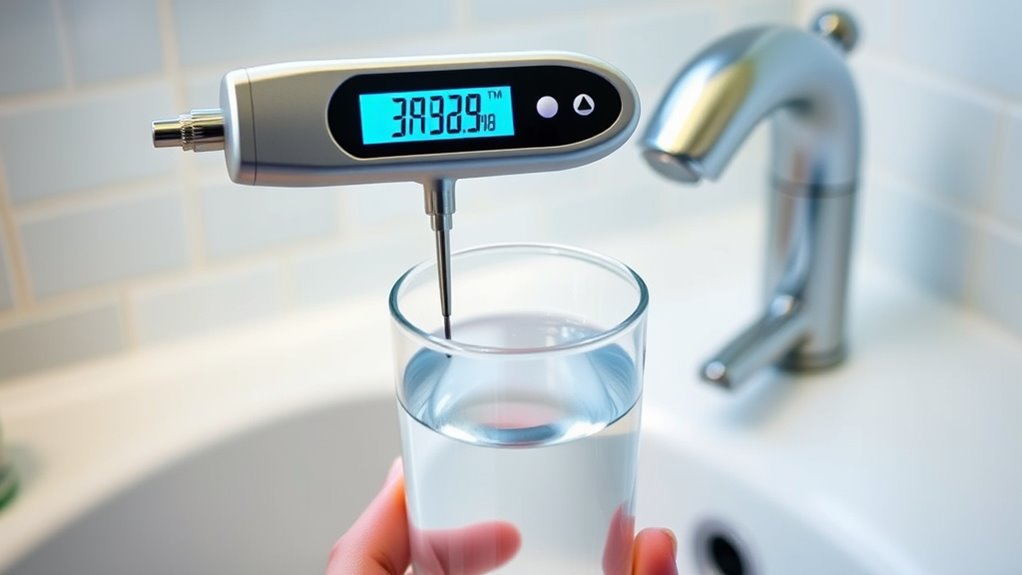
Digital meters offer a highly accurate and easy way to measure water hardness at home. They use TDS or conductivity sensors to quickly assess water parameters, providing precise readings. Accurate measurements are crucial for evaluating water quality and determining the effectiveness of treatment systems. Devices like the iSpring 3-Button digital meter automatically calibrate for temperature, ensuring reliable results. These meters typically cover a broad TDS range (0-9990 ppm) with high precision, often at 1 ppm for TDS and 1°F for temperature. They’re user-friendly, requiring minimal setup, and feature a hold function to record readings for later reference. Advanced models automatically adjust for temperature fluctuations, maintaining accuracy. Unlike traditional methods, digital meters deliver consistent, quick measurements, making them ideal for regular monitoring of your water quality and ensuring your water treatment efforts are based on accurate data. Additionally, many digital meters incorporate user-friendly interfaces that simplify operation for beginners and experienced users alike.
Interpreting Your Test Results and Hardness Levels
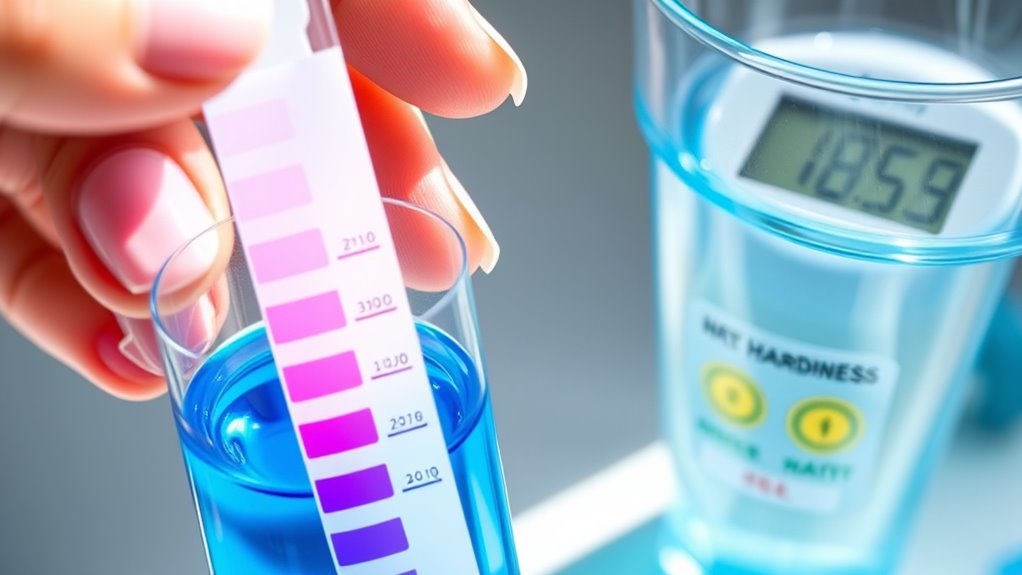
Interpreting your water test results is essential for understanding the hardness level of your water and determining the appropriate treatment.
First, check the ppm (parts per million) or grains per gallon measurement on your test. If your result is below 60 ppm or less than 3.5 grains, your water is soft.
Between 60 and 120 ppm (3.5 to 7 grains) indicates moderate hardness.
From 120 to 180 ppm (7 to 10.5 grains), your water is hard.
And above 180 ppm (over 10.5 grains), it’s very hard.
Recognize the measurement units used—such as Clark, French, or German degrees—to better understand local standards. Being familiar with these units can help you compare water hardness standards across different regions.
Knowing your water’s hardness helps you choose the right treatment, whether a softener or other filtration system, to protect your household plumbing and appliances.
Understanding water hardness measurement units is also important for comparing test results across different regions. Additionally, being aware of common water treatment options can help you select the most effective method for your specific hardness level.
A comprehensive understanding of water quality indicators can further assist in maintaining safe and healthy water for your household.
Converting Between Measurement Units for Clarity
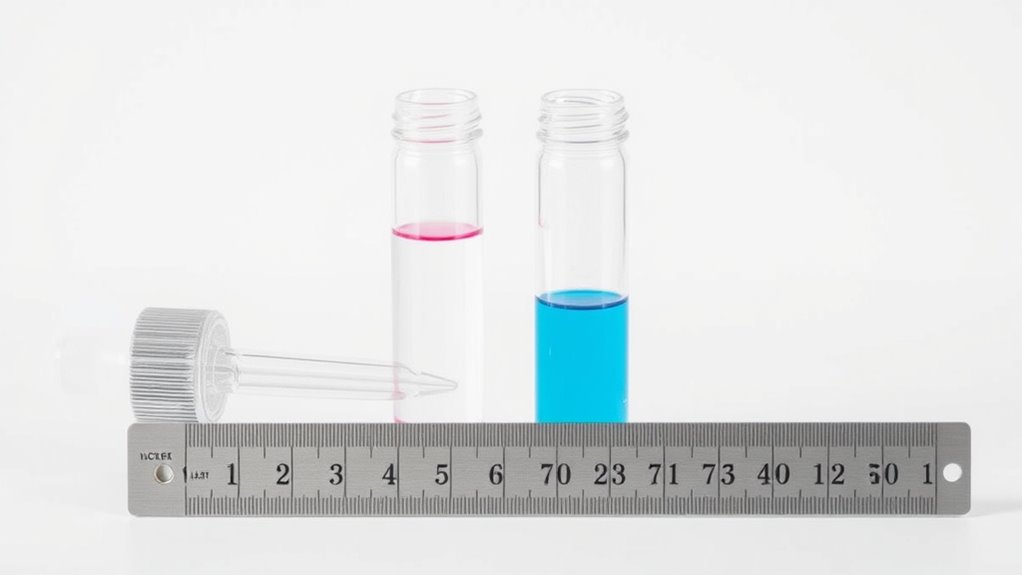
Converting between water hardness measurement units can seem complex, but understanding the relationships helps you interpret test results accurately.
To switch from ppm to gpg, divide the ppm value by 17.1. For example, 171 ppm equals 10 gpg.
To convert ppm to °dH, multiply the ppm by 0.056; 100 ppm becomes approximately 5.6 °dH.
For ppm to °fH, multiply by 0.10; 100 ppm equals 10 °fH.
If you have gpg and want °e, multiply the gpg by 1.20.
Conversely, converting °dH to ppm involves multiplying by 17.8.
These conversions help you compare results across regions and measurement systems, ensuring you understand your water’s hardness level regardless of the units used.
Using these relationships, you can accurately interpret and communicate your water test outcomes.
Choosing the Right Treatment Based on Test Outcomes
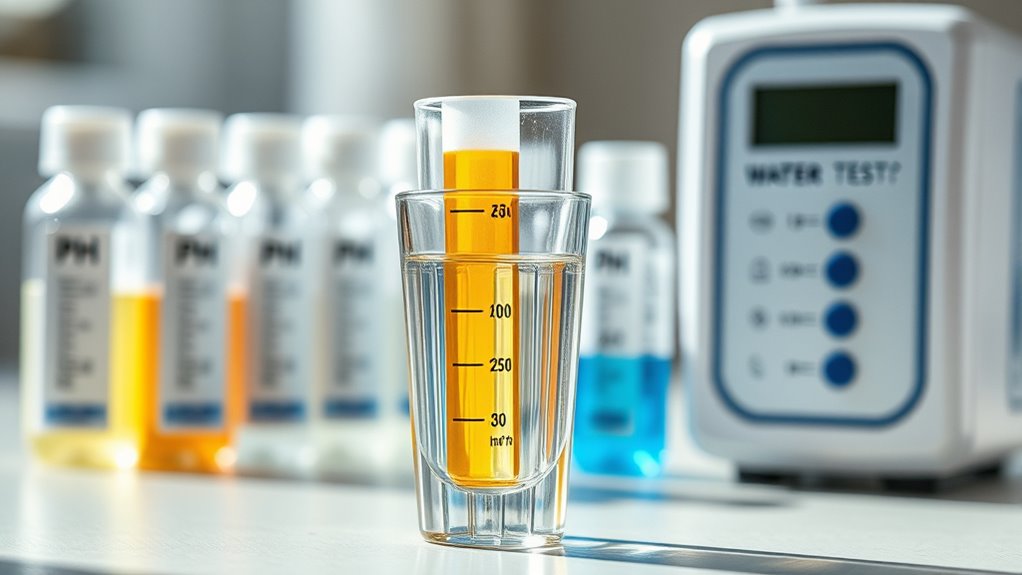
Choosing the right water treatment depends on your test results and specific needs.
If your water shows high hardness levels above 7 GPG, an ion exchange system is effective for reducing scale buildup, especially in traditional water heaters. Keep in mind, it adds sodium, so it’s unsuitable if you’re on a sodium-restricted diet.
For those wanting scale prevention without removing minerals, template-assisted crystallization (TAC) is ideal—no chemicals or salt needed.
If you face extreme hardness or want to remove heavy metals, reverse osmosis systems provide extensive purification, though they generate wastewater and require space.
Magnetic or electronic descalers are budget-friendly but often less reliable for higher hardness.
Consider your plumbing type, space, and maintenance preferences to select the best solution based on your water test outcomes.
Frequently Asked Questions
How Often Should I Test My Water for Hardness?
You should test your water for hardness regularly to guarantee safety and quality.
For well water, testing once a year is recommended because mineral levels can fluctuate due to environmental factors and seasonal changes.
If you notice signs like soap scum or dry skin, test immediately.
For municipal water, testing every 2-3 years usually suffices unless you observe changes.
Regular testing helps you maintain proper treatment and protect your health.
Can Hard Water Damage Household Appliances Over Time?
Hard water is like a silent invader, slowly taking a toll on your appliances. Over time, mineral buildup from calcium and magnesium deposits causes scaling, reduces efficiency, and accelerates wear and tear.
You might notice appliances working harder, using more energy, or breaking down sooner than expected. Regular maintenance and installing water softeners can help you fight back against this silent damage and extend the life of your household appliances.
Are There Natural Methods to Reduce Water Hardness?
You can try natural methods to reduce water hardness, like boiling water to precipitate minerals, or adding baking soda or vinegar to neutralize or dissolve scale buildup.
Lemon juice can temporarily bind minerals, and Epsom salts are useful for bathing.
These approaches work best for small-scale use, like cleaning or laundry, but won’t fully soften water or remove permanent hardness, which may require more advanced solutions.
What Is the Cost Difference Between Testing Methods?
Imagine holding different testing tools in your hands, each with a unique price tag. Test strips cost as little as $10, giving quick results.
While digital testers can reach $200 for accuracy. Drop count kits range from $50 to $150, and lab tests can cost up to $200 for pinpoint precision.
Your choice depends on how much you value accuracy versus affordability, shaping your water testing journey.
How Do Seasonal Changes Affect Water Hardness Levels?
Seasonal changes markedly impact water hardness levels. During summer and fall, water tends to be harder because of increased mineral concentration from evaporation and lower rainfall.
In contrast, spring usually offers softer water due to heavy rainfall diluting mineral content.
Winter variations depend on local climate and water sources.
You’ll notice these fluctuations affecting your water quality, appliances, and skin, so monitoring regularly helps you adjust treatment methods accordingly.
Conclusion
Now that you know how to test your water at home, you hold the power to prevent a plumbing disaster of epic proportions. Whether you use the soap test, strips, or a digital meter, you’ll gain insights that save your pipes and appliances from turning into rusted relics. Keep testing regularly, and your water will thank you for it—transforming your home into a fortress against hard water chaos.
