
To make crystal geodes at home, gather materials like alum, Epsom salt, or candies, and prepare a clean workspace with protective gear. Make a saturated solution by dissolving the salts in hot water and let it cool. Form seed crystals and carefully assemble your mold, scattering seeds inside. Keep the environment undisturbed as crystals grow over several days. For detailed steps and creative tips, exploring further will help you craft stunning, unique geodes.
Key Takeaways
- Prepare a saturated alum or Epsom salt solution and create seed crystals for crystal growth inside molds.
- Construct or select a mold, then attach seed crystals to its damp surface for effective nucleation.
- Control environmental conditions like temperature and humidity to promote clear, steady crystal formation.
- Use creative techniques such as layering colors, metallic accents, or LED lighting to enhance visual appeal.
- Allow crystals to grow undisturbed over several days, then carefully finish and display your homemade crystal geode.
Gathering Materials and Preparing Your Workspace
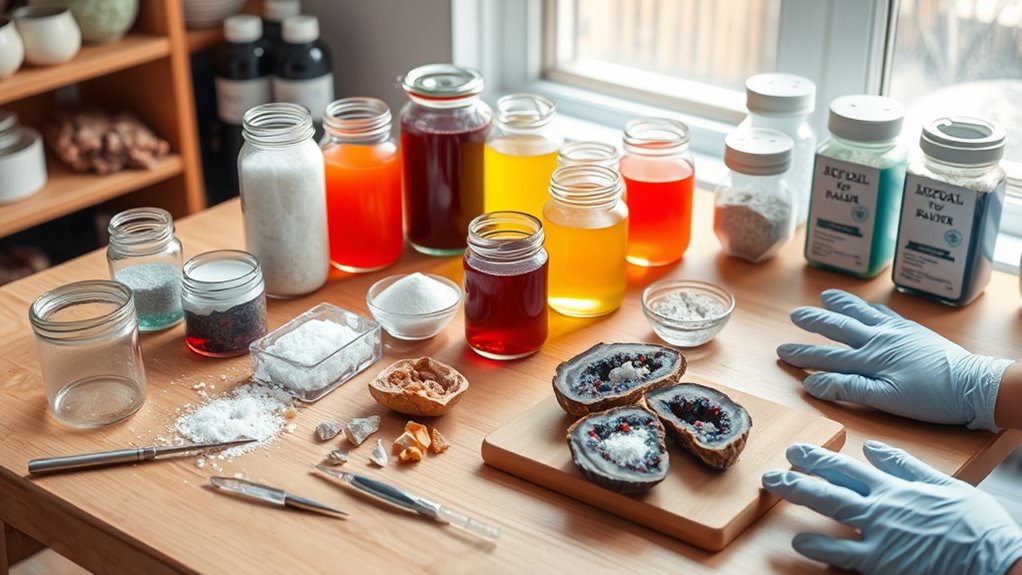
To successfully make crystal geodes at home, you need to gather the right materials and set up a clean, organized workspace. Start by collecting essentials like alum (aluminum potassium sulfate) or Epsom salt (magnesium sulfate) for crystal growth. If you’re making edible geodes, grab hard candies like Jolly Ranchers and silicone muffin cups. For non-edible projects, use plastic containers or cups to hold your solutions. Using the proper materials and tools can significantly improve your crafting experience and the quality of your geodes. Prepare your workspace by ensuring it’s dust-free and clean, and protect surfaces with old sheets or tablecloths to prevent spills. Keep safety gear like gloves, goggles, and a dust mask nearby, especially when handling powders or cement. Use measuring cups and spoons for accuracy, and organize your tools—paintbrushes, knives, and colored water—for easy access during your project. Additionally, understanding the celebrity lifestyle insights related to craftsmanship can inspire more creative approaches to your geode-making process. Incorporating essential oils for relaxation into your workspace can also create a calming environment, making the crafting process more enjoyable. Being aware of home improvement techniques can help you better prepare your area and ensure a safe, efficient crafting session. Also, considering security and safety precautions can help protect your workspace and materials from accidents or theft.
Creating Your Crystal Solution and Seed Crystals
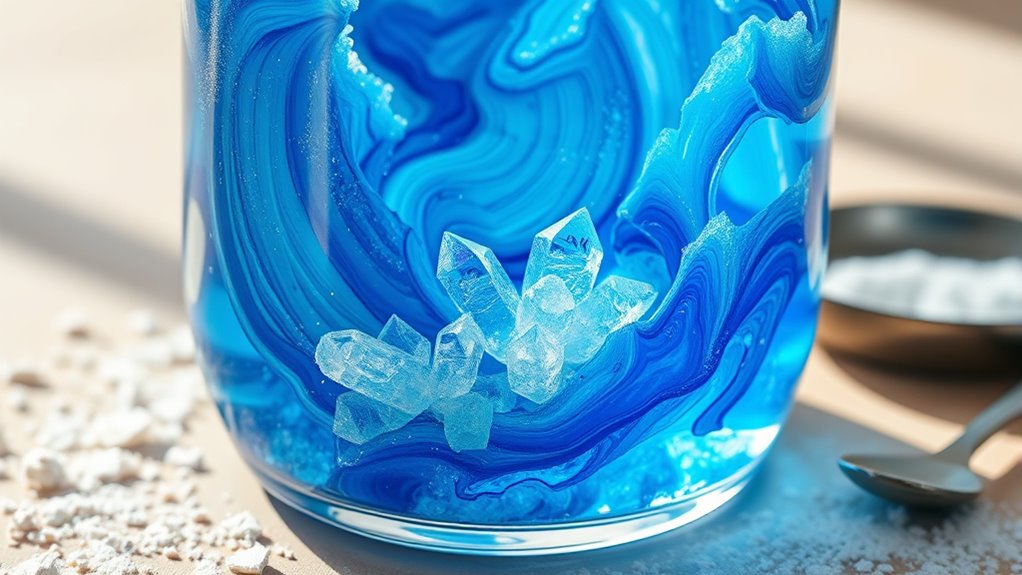
Creating your crystal solution begins with preparing a saturated mixture of alum or Epsom salt, which are commonly used for crystal growth. Use about 6 tablespoons of alum per cup of hot water, stirring until fully dissolved. Heating the water helps dissolve the alum completely, ensuring a clear solution. For added visual appeal, you can add Easter egg dyes or food coloring. Let the solution cool slightly to prevent rapid crystal formation. Store any leftovers in a sealed container, but check regularly for unwanted crystals. Seed crystals can form naturally after sitting overnight or can be manually created by attaching small crystals to the inside of your mold. Properly prepared solution and seed crystals set the foundation for beautiful crystal growth inside your geode. Creating your crystal solution is a fundamental step in understanding the science behind crystal formation and growth.
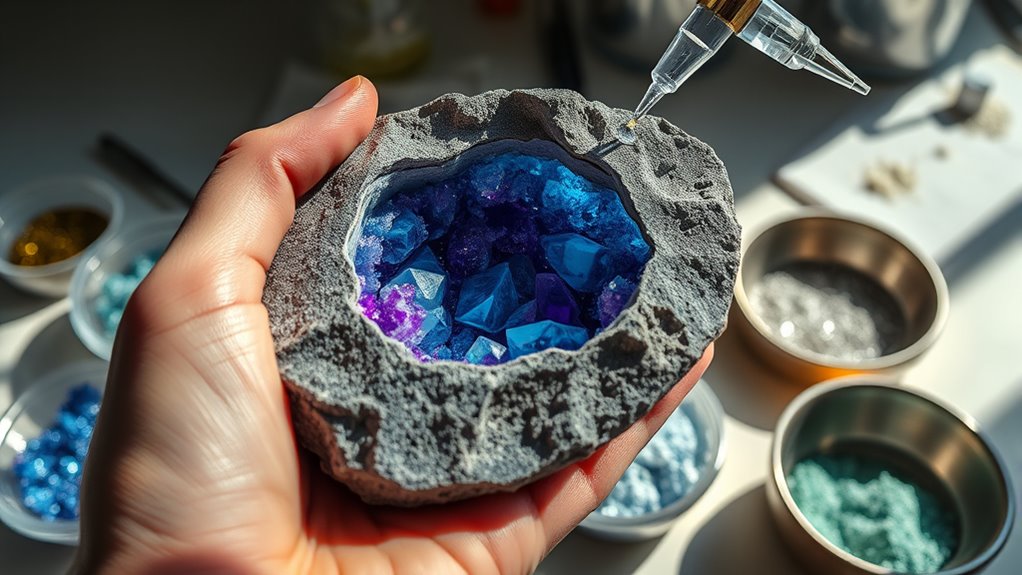
Assembling and Seeding Your Geode Mold

Once your plaster mold has hardened sufficiently, you can begin assembling and seeding it to encourage crystal growth. Make certain the surface remains slightly damp, which helps crystals adhere better. Scatter pre-grown seed crystals onto the damp plaster, arranging them in clusters or radial patterns for a natural look. Gently press each seed into the surface to secure it, avoiding dislodgement during pouring. Using the appropriate materials, such as seed crystals and a proper mold, is essential for successful crystal formation. Use a mix of fine and coarse crystals to add layered texture, but don’t overload, as overcrowding hampers growth. Check that the mold walls are about 6-12mm thick for strength, and reinforce the base to prevent cracking. Smooth edges with a spatula to eliminate air pockets and prepare for crystal development. If using non-silicone molds, apply a release agent for easy demolding. Additionally, maintaining proper growing conditions, such as humidity and temperature, can significantly influence the quality of your crystal geodes. Proper environmental control, including stable humidity levels, can enhance crystal clarity and size. Paying attention to air circulation can also prevent mold and promote even crystal growth. Remember that creativity can enhance your designs and make each geode uniquely beautiful.
Managing the Crystallization Process for Best Results
Managing the crystallization process effectively guarantees you get the best results for your geode. Keep the temperature stable throughout, as fluctuations can disrupt crystal growth. Avoid disturbing the solution once it’s set up; movement can cause uneven crystals or cloudiness. Using a highly saturated alum solution promotes larger, more defined crystals—so ensure your solution is fully saturated before pouring. Choose a suitable container that allows easy observation and minimizes disturbance. Maintain consistent environmental conditions, avoiding drafts or direct sunlight that could alter the cooling rate. Properly prepared eggshells with removed membranes and possibly coated surfaces provide ideal sites for crystal adhesion. Additionally, monitoring the crystallization environment ensures optimal growth conditions for your geode crystals. It is also beneficial to keep the workspace free of distractions that could lead to accidental disturbances during the process. Incorporating mindfulness techniques during setup can help maintain focus and patience. Finally, be patient—allow the crystals to grow undisturbed for several days to achieve larger, more impressive geodes.
Troubleshooting Common Issues During Crystal Growth
When crystal growth doesn’t go as planned, identifying and addressing common issues can save your project from failure. Insufficient saturation is a frequent problem, causing slow or no growth. Test saturation by adding solute until particles remain at the bottom, then reheat if needed. Using a low heat setting on your heat source helps prevent overheating and damage to the solution. Use distilled water to prevent impurities, and gradually evaporate excess solvent in a stable environment. Seed crystals may dissolve if the solution is undersaturated; confirm saturation first, cool slightly before adding seeds, and handle them with clean tools. Contamination from impurities or metal utensils can lead to polycrystalline masses instead of clear geodes. Filter your solution and store it in sealed containers. Rapid temperature changes cause tiny crystals or cracks, so maintain stable conditions with a water bath and avoid drafts. Handle crystals gently to prevent deformation.
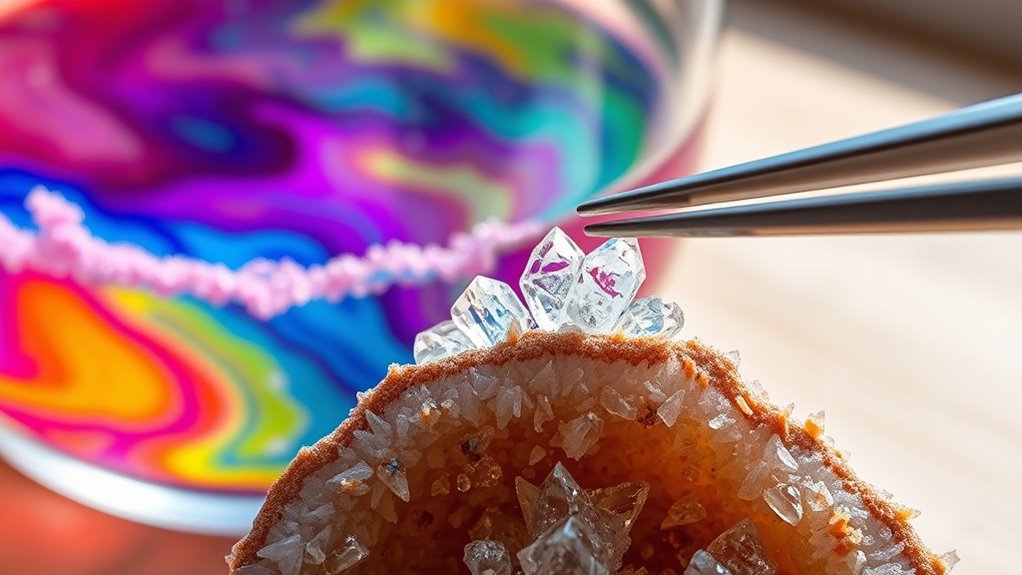
Enhancing Your Geodes With Creative Variations
To truly elevate your homemade geodes, exploring creative variations can add unique visual and energetic qualities. Use the salt technique with watercolor and salt resist methods to create textured, organic mineral patterns. Incorporate crystal-inspired designs by mimicking the natural growth patterns of minerals within geodes, which can be achieved through layering and textured painting techniques. Layer glitter paint for a sparkling, realistic crystal effect, or add metallic accents like gold or copper to highlight geological strata and create striking contrast. Darkened cores, achieved with concentrated pigments or repeated layers, mimic natural mineral deposits. Incorporate mineral-inspired color palettes—like amethyst purples or citrine yellows—to replicate authentic crystal hues. For safer, quicker growth, try sugar-glue mixtures instead of borax, or use Epsom salts to accelerate crystallization. Additionally, understanding the resources and tools available, such as different salts and pigments, can help you customize your geodes for a truly one-of-a-kind creation. Exploring crystal formation processes can also provide inspiration for designing more realistic and dynamic geodes. Utilizing innovative techniques like foil leafing, alcohol ink banding, or LED backlighting can further enhance your geodes’ aesthetic appeal and uniqueness, making the final piece more visually striking.
Frequently Asked Questions
How Long Does It Typically Take for a Crystal Geode to Fully Develop?
A crystal geode’s development time varies based on size and mineral type. Natural geodes take thousands or even millions of years, with larger ones needing about a million years.
Smaller geodes form faster, in tens of thousands of years. If you’re creating one at home using accelerated methods, it can take just a few weeks to a few months.
Environmental factors like temperature, mineral saturation, and pH influence the growth rate considerably.
Can I Use Household Items Instead of Commercial Crystal Solutions?
Yes, you can use household items instead of commercial crystal solutions. Mix sugar and glue to create crystal-like structures, or dissolve baking soda or salt in hot water for crystallization.
Eggshells make natural geode bases, while glitter and nail polish add color and sparkle. These alternatives are affordable, easy to find, and safe, allowing you to craft beautiful crystal structures at home without needing specialized products.
What Safety Precautions Are Essential When Working With Hot or Chemical Solutions?
When working with hot or chemical solutions, you must prioritize safety. Wear heat-resistant gloves, goggles, and long sleeves to protect your skin and eyes. Use a stable surface and never leave heating solutions unattended.
Measure chemicals precisely, avoid mixing unapproved substances, and keep chemicals sealed when not in use. Guarantee proper ventilation and work in a childproof, separate area to prevent accidents and inhalation of fumes.
How Do I Prevent Crystals From Cracking or Forming Uneven Surfaces?
Think of your crystals as delicate dancers on a stage, needing perfect conditions to shine. You prevent cracks and uneven surfaces by cooling solutions slowly, like gentle applause, to avoid stress.
Use seed crystals as guiding stars for uniform growth. Keep temperature stable, avoid agitation, and stabilize environments.
Handle with care, like fine china, and let your crystals gradually dry to preserve their beauty and smoothness.
Are There Environmentally Friendly Alternatives to Traditional Crystal-Growing Chemicals?
You’re asking about eco-friendly alternatives to traditional chemicals used in crystal growth. You can try natural compounds like plant extracts or earth elements, which minimize environmental harm.
Recycled materials and bio-friendly methods that mimic natural geode formation are also great options. These approaches reduce chemical use, energy consumption, and waste, making your crystal-growing process more sustainable and environmentally responsible.
While still producing beautiful, unique crystals at home.
Conclusion
Now that you know how to make crystal geodes at home, you’re all set to create stunning, one-of-a-kind treasures. With patience and a bit of creativity, you can craft geodes that rival those found in nature. Remember, the real magic happens during the wait—are you ready to see your beautiful crystals come to life? Get started today and enjoy the rewarding process of turning simple materials into sparkling works of art!