
To make DIY bioplastics from potato starch, start by selecting high-starch potatoes like Russet, peel and process them to extract the starch using modern equipment like centrifuges or hydrocyclones. Mix the starch with water, heat to gelatinize, then add glycerol for flexibility and vinegar for acidity. Pour into molds, let your sheets dry naturally or in a low-temperature oven, and you’ll have eco-friendly bioplastics suitable for packaging or crafts. Keep going to discover detailed steps and tips!
Key Takeaways
- Select high-starch potatoes like Russet; peel and wash thoroughly to maximize starch extraction.
- Extract starch using mechanical grinding and separation techniques such as centrifuges or hydrocyclones.
- Prepare the bioplastic mixture by gelatinizing potato starch with water, then adding vinegar and glycerol for flexibility.
- Shape the mixture into sheets or objects using molds or cutting tools before air-drying or low-temperature oven drying.
- Enhance bioplastic properties with additives like ZnO nanoparticles for water resistance and customize for specific applications.
Gathering and Preparing Potatoes for Starch Extraction
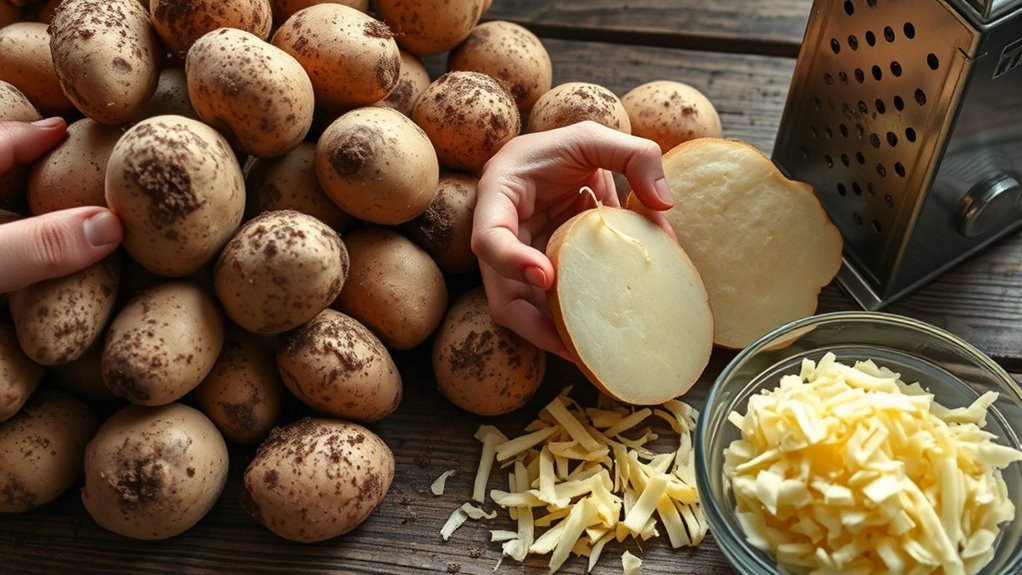
To guarantee a high starch yield, start by selecting high-starch potato varieties like Russet or Idaho, which are ideal for their maximum starch content. Choose fresh, firm tubers to reduce spoilage during processing. Avoid sprouted or green potatoes, as solanine can lower starch quality. High starch content is a key factor in ensuring an efficient extraction process and a successful bioplastic outcome. Selecting potatoes with consistent size and shape can further streamline the peeling and processing steps, improving overall efficiency. Larger potatoes cut down on peeling time and improve efficiency, so pick sizable ones. Whether organic or conventional, the chemical residue difference doesn’t affect starch content. Before processing, thoroughly peel each potato with a sharp vegetable peeler to remove dirt and fibers, then immediately immerse the peeled tubers in cold water to prevent browning. Proper preparation ensures you maximize starch extraction and reduce waste, maintaining quality throughout your DIY bioplastic project. Additionally, understanding agricultural practices can help you identify potatoes grown with optimal methods for starch content.
Extracting Pure Potato Starch Efficiently
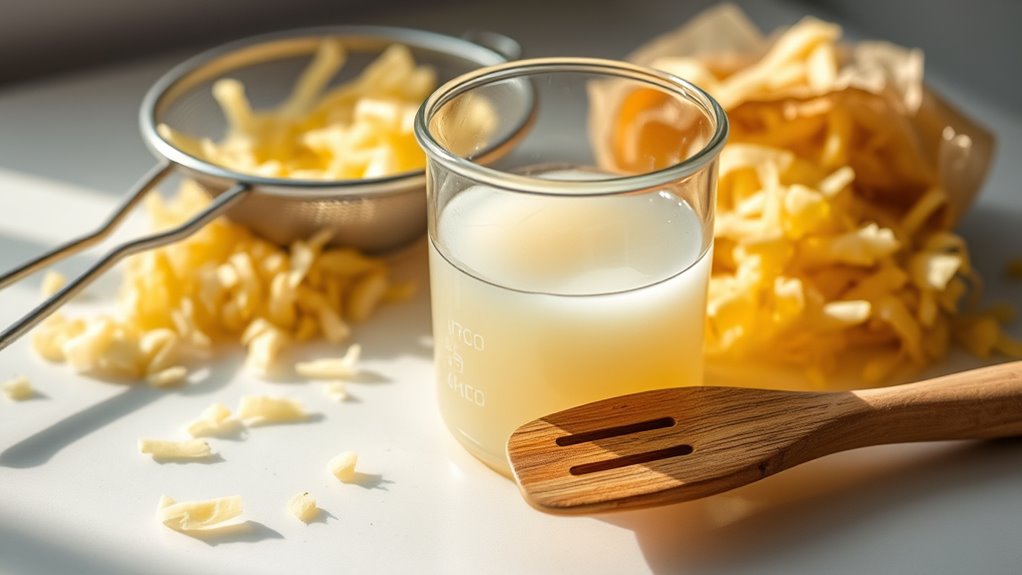
Efficiently extracting pure potato starch involves choosing the right methods and equipment to maximize yield and purity. Modern techniques, such as using hydrocyclones and centrifuges, are more effective than traditional methods, offering higher purity by removing impurities efficiently.
Mechanical grinding combined with these separation devices helps isolate starch granules while reducing contamination. Using decanters can further eliminate soluble substances like proteins, improving starch quality. Additionally, implementing quality control measures during extraction ensures consistent results and higher purity levels.
Experimental conditions, like spinning at 3000 rpm for 15 minutes, optimize extraction results. Modern equipment also conserves resources by reducing water and energy consumption, making the process more sustainable.
In addition, controlling parameters such as temperature and pH during extraction can significantly influence the starch purity and overall yield. While DIY setups might lack industrial-scale machinery, understanding these efficient methods helps you improve your yield and purity, leading to better-quality bioplastic raw material.
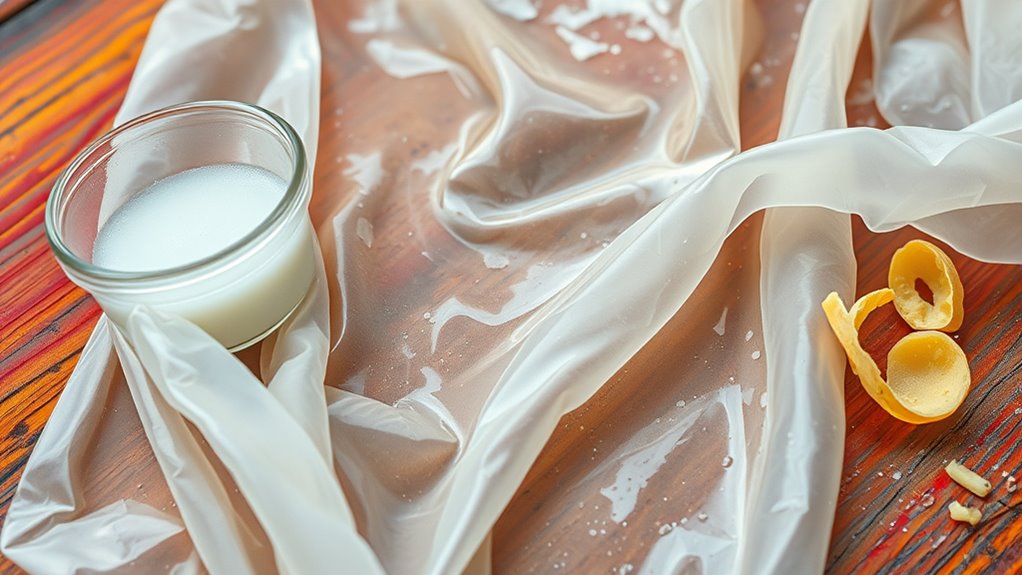
Formulating the Bioplastic Mixture
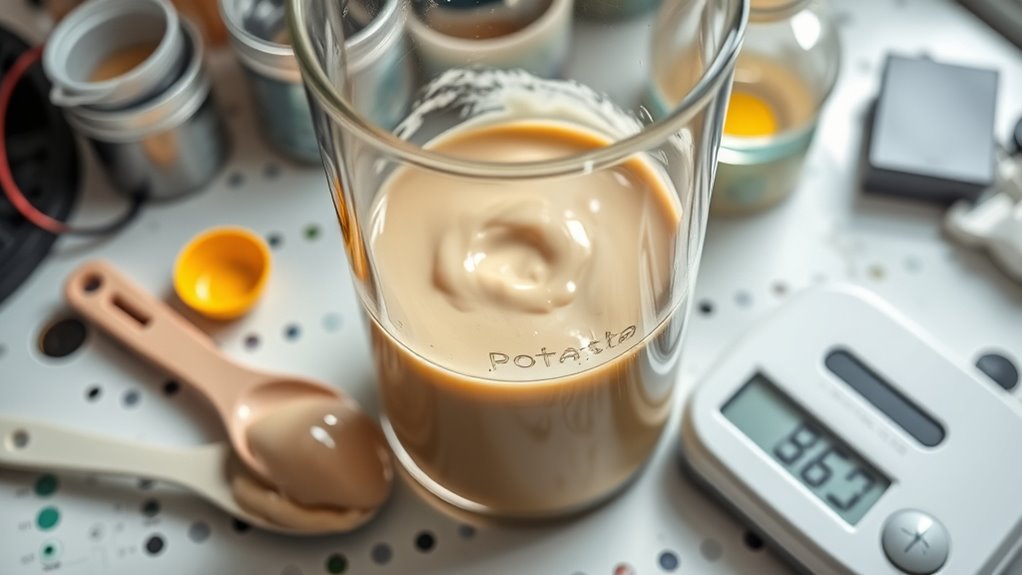
After successfully extracting pure potato starch, the next step is to formulate a consistent and workable bioplastic mixture. Begin by combining the starch with water in a 1:10 ratio and whisk until fully suspended. Heat the mixture over medium-high heat, stirring vigorously to prevent clumping, and maintain 70-100°C until it turns translucent, indicating gelatinization. Add vinegar (about 15g per 100ml) after gelatinization to adjust acidity and break down the starch chains. During cooling, incorporate glycerol (10-20% of total weight) to improve flexibility. For reinforcement, you can mix in optional additives like cellulose fibers or colorants. Keep an eye on consistency, aiming for a gel-like, translucent texture that drips in 2-4cm threads. Proper formulation guarantees your mixture is ready for shaping. Additionally, bioplastic properties can be enhanced by adjusting the formulation to meet specific mechanical or environmental requirements. To ensure uniformity, consider employing mixing techniques that promote even distribution of all components. Using proper heating methods can also help achieve better gelatinization and consistency in your mixture. Maintaining a consistent relationship between ingredients is crucial for predictable results and quality control. Monitoring the temperature during gelatinization is essential to prevent degradation of the starch and ensure proper texture.
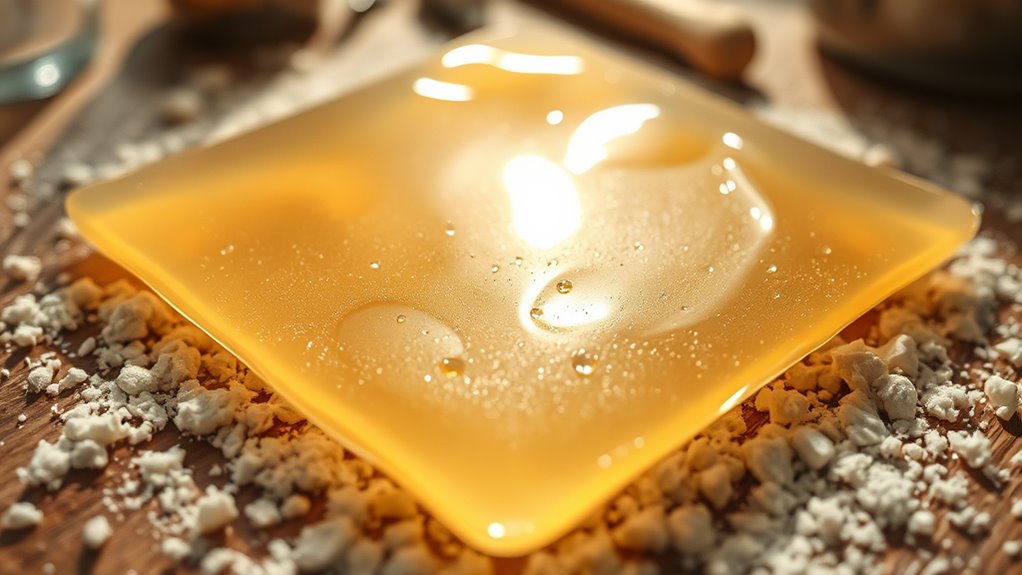
Shaping and Drying Your Bioplastic Sheets
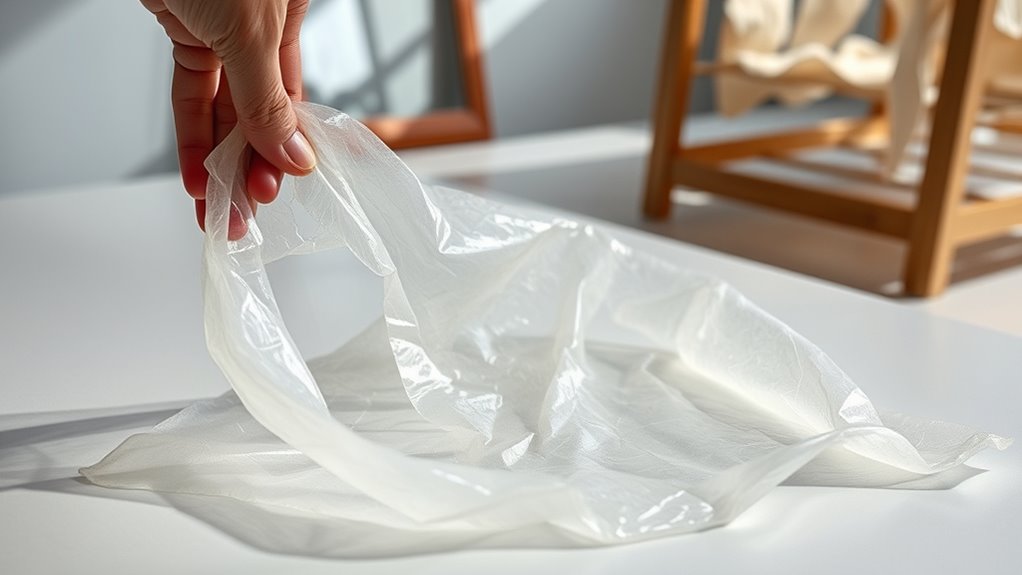
Shaping your bioplastic sheets begins with selecting the right tools, such as molds, scissors, or cutting dies, to achieve your desired forms. Make sure the mixture is well-mixed for homogeneity, which guarantees consistent quality. Keep the sheets relatively thin to make handling easier and prevent warping during drying. Fresh bioplastic is more pliable, so shape it promptly before it dries out. Use molds to maintain precise shapes and smooth edges for a professional finish. For drying, you can air-dry naturally or use a low-temperature oven at around 55°C for faster results. Good air circulation and controlled temperature help prevent warping or cracking. Thinner sheets and proper support during drying will improve shape retention and overall quality of your bioplastics. Additionally, understanding how psychological research supports habit formation can help reinforce your dedication to sustainable practices. Incorporating personal empowerment strategies, such as setting achievable goals for your bioplastic projects, can also enhance your motivation and consistency throughout the process. Recognizing how consistent habits influence long-term success can motivate you to establish reliable routines for drying and shaping your bioplastics. Furthermore, using appropriate drying conditions can significantly impact the durability and finish of your bioplastics.
Exploring the Properties and Uses of Your DIY Bioplastics
Have you ever wondered what makes DIY bioplastics suitable for various applications? Their properties vary, influencing how you can use them.
DIY bioplastics’ versatile properties determine their suitability for diverse, short-term applications.
For example, low tensile strength means they aren’t ideal for heavy-duty tasks but work well for short-term uses like packaging or disposable cutlery. Their high moisture absorption limits outdoor durability, though adding hydrophobic nanoparticles like ZnO can improve water resistance and UV protection. Enhancing water resistance is crucial for expanding their use in outdoor environments and long-term applications. Additionally, understanding biodegradable properties helps in assessing their environmental impact, making them a sustainable choice. These bioplastics are biodegradable, breaking down in months without leaving microplastics, making them eco-friendly. Adjusting glycerol content influences flexibility and moisture resistance, while crosslinking can boost thermal stability. Additionally, the adaptability of their properties allows for tailoring bioplastics to specific needs, depending on the application requirements. Incorporating environmental benefits into the design process can further enhance their sustainability profile. Leveraging merchant services can also facilitate the commercialization and distribution of bioplastic products, expanding their reach to eco-conscious consumers.
Frequently Asked Questions
Can I Use Sweet Potatoes Instead of Regular Potatoes?
You can definitely use sweet potatoes instead of regular potatoes. Sweet potatoes are rich in starch, making them a great, eco-friendly source for bioplastics. They’re also more widely available and often cheaper.
Just prepare the starch by grinding and mixing with water, then follow your usual process. Using sweet potatoes not only helps you create biodegradable plastics but also reduces waste, making your project more sustainable and cost-effective.
How Long Does Homemade Potato Starch Last Before Spoiling?
You might worry about the shelf life of homemade potato starch, but proper storage substantially extends its usability. Typically, it lasts up to six months if you keep it in airtight containers, in a cool, dry place with low humidity.
Regularly check for signs of spoilage like clumping or off smell. Using clean utensils and avoiding moisture contact helps maintain quality, ensuring you get the most out of your homemade starch.
What Are Common Mistakes to Avoid During Bioplastic Formation?
When forming bioplastics, you should avoid common mistakes like using incorrect starch-to-water ratios, which can make your plastic brittle or uneven. Don’t forget to add enough glycerol to keep it flexible, and include vinegar to strengthen the structure.
Be cautious with temperature control—overheating or under-heating affects strength. Guarantee proper mixing, mold preparation, and drying to prevent flaws, warping, or mold growth.
Always prioritize safety.
Is It Possible to Recycle or Reuse Dried Bioplastic Sheets?
You might think dried bioplastic sheets are easy to recycle or reuse, but that’s not entirely true. While they’re biodegradable and can be repurposed for crafts or art projects, recycling is limited because they require specialized facilities not widely available.
To make the most of these sheets, consider creative reuse in projects or composting. This approach supports sustainability, reduces waste, and aligns with environmental goals.
How Do Additives Like Glycerol Affect Bioplastic Biodegradability?
You wonder how additives like glycerol influence bioplastic biodegradability. Glycerol acts as a plasticizer, making the bioplastic more flexible and durable. It also helps the material break down more effectively in soil, enhancing biodegradability.
Conclusion
Now you’ve mastered turning humble potatoes into incredible bioplastics—it’s like creating magic from everyday stuff! With your newfound skills, you can craft sustainable materials right at home, reducing plastic waste and making a real difference. Keep experimenting and refining your process—your bioplastics might just become the secret weapon in a greener future. Remember, you’re now a bioplastics wizard, capable of transforming simple ingredients into eco-friendly wonders that could change the world!