To DIY extract natural dyes from plants, start by carefully selecting and preparing your plant materials like leaves, roots, or stems. Use a large pot to simmer these parts in water, then strain the liquid through cheesecloth or a fine strainer to remove solids. You can then apply the dye to fabrics or paper, ensuring proper fixation for colorfastness. Keep experimenting with different plants, techniques, and storage options—more tips await to help you perfect your process.
Key Takeaways
- Select and identify suitable plants known for vibrant dyes, ensuring sustainable harvesting practices.
- Chop and rinse plant parts like leaves, stems, or roots before boiling or simmering in water.
- Strain the cooked plant material through cheesecloth or fine mesh to extract the dye liquid.
- Use proper fixation methods, such as mordants, to enhance dye adherence and colorfastness on fabrics.
- Dry and store the extracted dye in airtight containers away from light for future use.
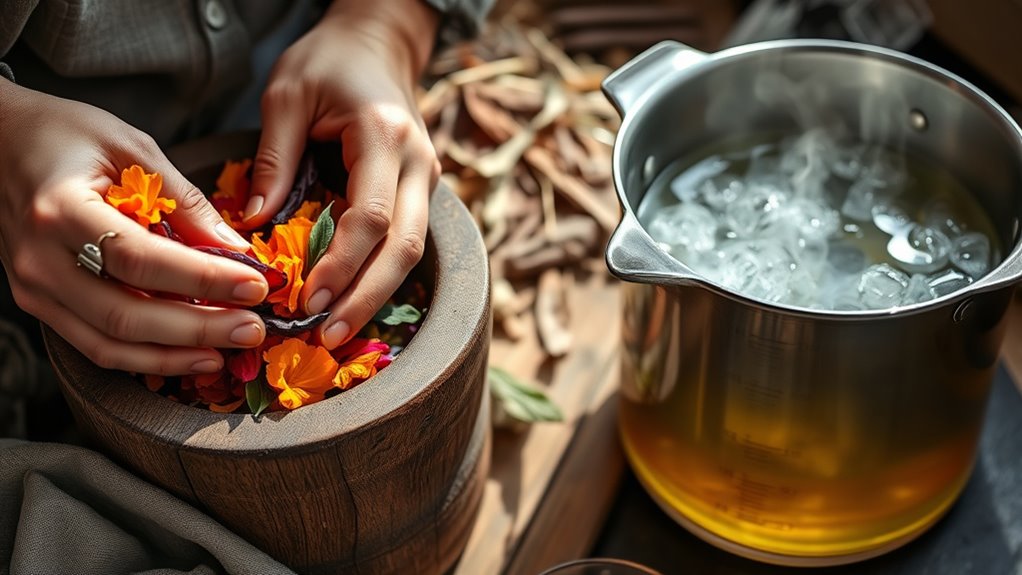
Gathering and Preparing Plant Materials
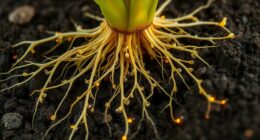
Before you start dyeing with plants, it’s essential to gather the right materials. Begin with proper plant identification to verify you’re collecting the correct species safe for dyeing. Use reliable guides or local experts to confirm the plants’ identity, avoiding toxic or illegal collections. Practice sustainable harvesting by taking only what you need and avoiding overharvesting, so wild populations remain healthy. When harvesting, cut only mature parts like leaves, stems, or roots, leaving enough behind for the plant’s survival. Handle the plants gently to prevent damage and preserve their ability to regenerate. Rinsing the plant material if necessary to remove dirt or insects is also recommended, then prepare it for dye extraction. Proper gathering and preparation set a strong foundation for successful natural dyeing, especially considering the dreams of deceased loved ones that many find comforting during such projects. Additionally, understanding the exfoliating effects of glycolic acid can inspire gentle skin preparations that complement your natural dyeing process, and awareness of optimal angles for pinball machines can remind us of the importance of precision in craft projects.
Choosing the Right Plants for Dyes
Choosing the right plants for dyes starts with understanding which species produce the colors you want and are safe to use. Your plant selection depends on the desired dye color palette—whether you aim for reds, yellows, blues, or greens. Research plants known for their natural pigments, like madder for reds or indigo for blue. Consider the availability and sustainability of each plant to guarantee responsible harvesting. Keep in mind that some plants may require specific conditions or processing to release vibrant dyes. By selecting the right plants, you set a solid foundation for successful dye extraction. You can also look for plants that are easy to grow and maintain, making your natural dyeing project more accessible and sustainable. Focus on those that match your color goals and are safe for handling, ensuring your natural dyeing project is both beautiful and eco-friendly. Additionally, selecting plants that align with farmhouse decor themes can enhance the aesthetic appeal of your finished project. To optimize dye extraction, understanding local climate conditions can help you choose plants that thrive naturally in your area.
Tools and Equipment Needed for Extraction
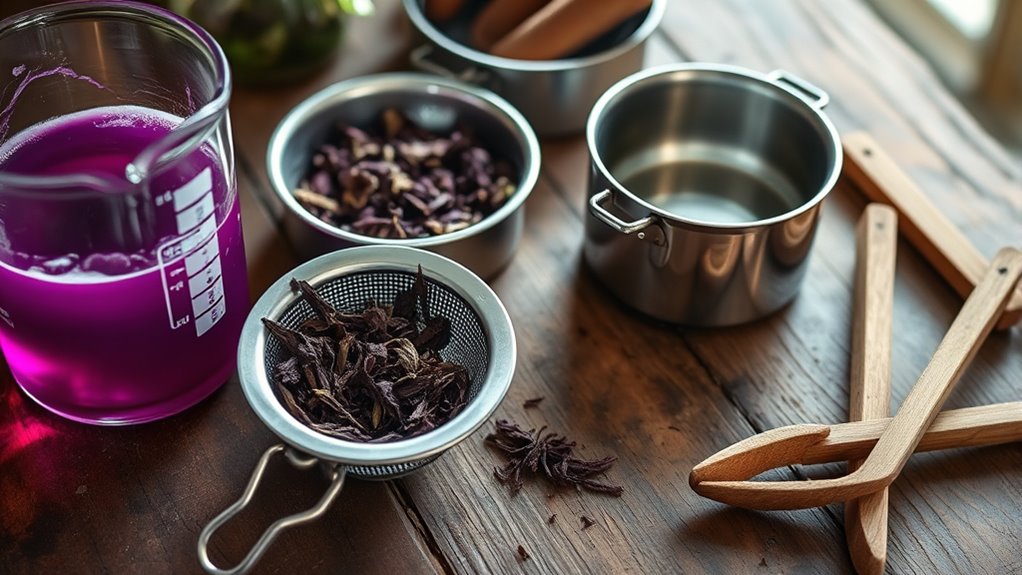
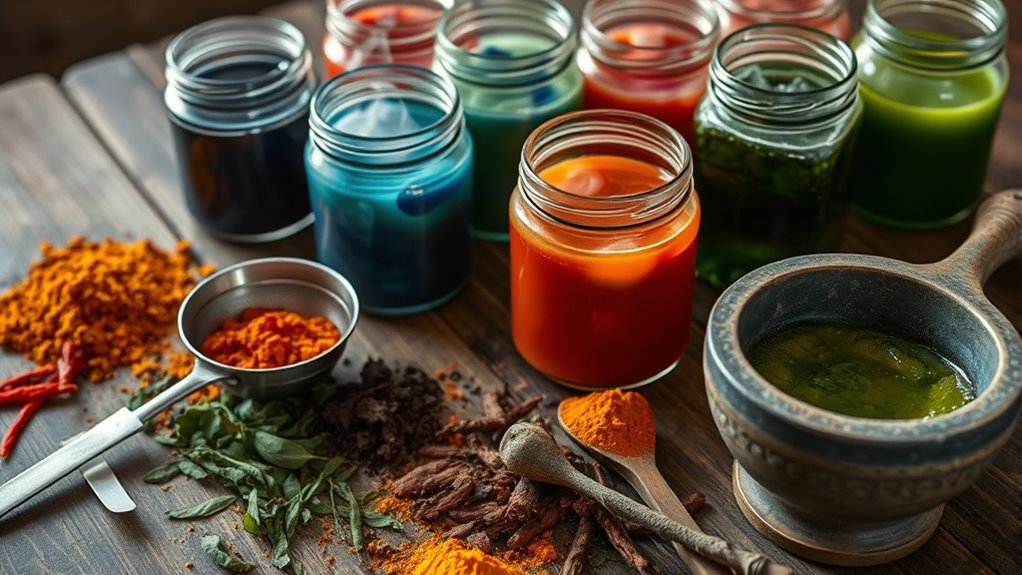
To extract vibrant dyes from your chosen plants, you’ll need some basic tools and equipment designed for efficiency and safety. Proper plant identification ensures you’re working with the right source, while maintaining your equipment prolongs its lifespan. Here are essential items:
- Large Stainless Steel Pot – for boiling and simmering plant materials safely.
- Strainer or Cheesecloth – to filter out plant solids and obtain pure dye liquid.
- Measuring Cups and Spoons – for accurate ingredient and water ratios.
- Stirring Utensils – to evenly mix and prevent sticking.
- Proper Equipment Maintenance keeps your tools in top condition and guarantees consistent results. Regular cleaning prevents cross-contamination and maintains the quality of your dyes. Additionally, understanding plant dye chemistry can help optimize extraction processes and achieve more vibrant colors. With these essentials, you’ll be well-equipped to start your natural dye extraction safely and efficiently.
Extracting Dye From Plant Sources
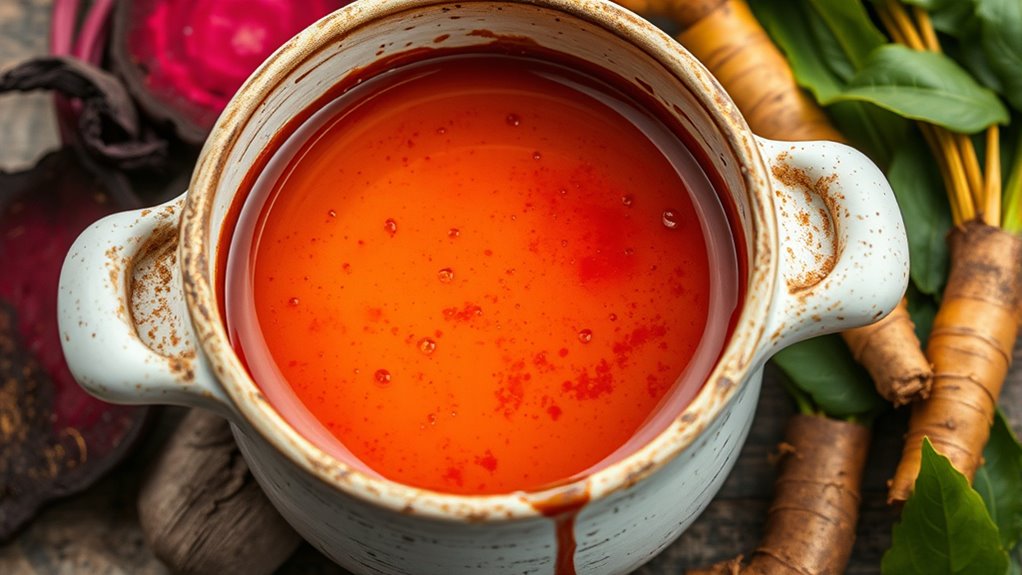
Once you’ve prepared your plant materials, the next step is to extract the dye by simmering or boiling them in water. Accurate plant identification is essential to guarantee you’re using the right source, which affects dye quality and color. Use enough water to cover the plant material and simmer gently; boiling can sometimes break down cell structures, releasing more dye. Keep in mind that dye stability varies based on plant type and extraction process. Some dyes may fade quickly if not properly fixed or stored, so note the plant species and extraction conditions for future reference. Monitoring the simmering process carefully is crucial to prevent overcooking, which can weaken dye potency. This step is critical for obtaining a vibrant, lasting color from your plant-based dye source. Additionally, employing waterless planters can help maintain moisture during storage, ensuring your dye remains stable over time. Proper dye fixation techniques can also improve longevity and colorfastness of the final product.
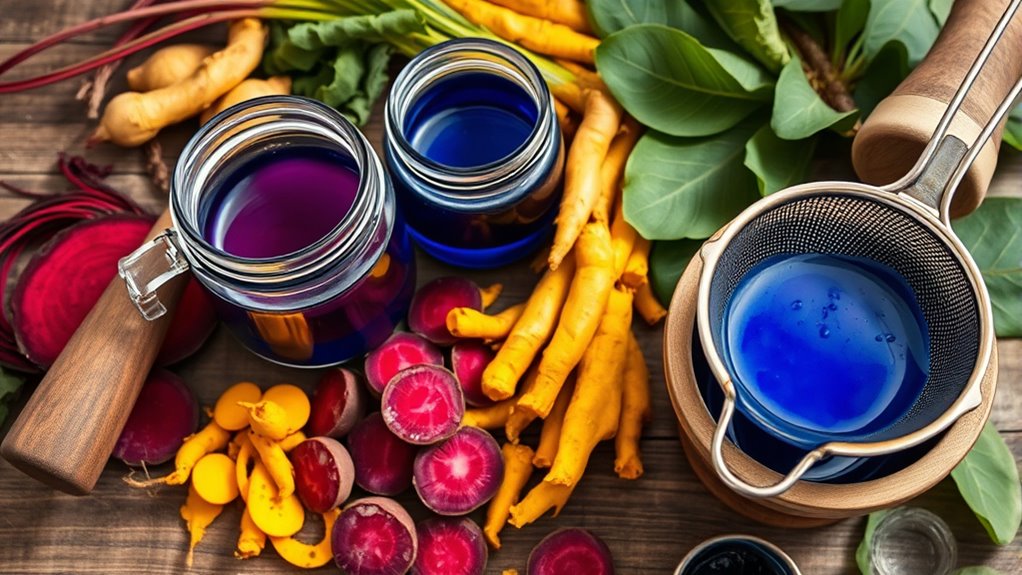
Straining and Filtering the Dye Solution

Once you’ve extracted your dye, it’s important to strain it thoroughly to remove plant debris. Use fine-mesh sieves or cheesecloth for effective filtering, and keep a close eye on the materials you choose. Proper straining guarantees a clear dye solution, ready for the next steps in your project. Additionally, understanding resources and tools available can help ensure your process is efficient and successful. To further enhance your process, consider exploring proper handling techniques to maintain the dye’s quality throughout the project. Incorporating knowledge of automated cleaning functions can also assist in keeping your equipment hygienic and functioning optimally.
Effective Straining Techniques
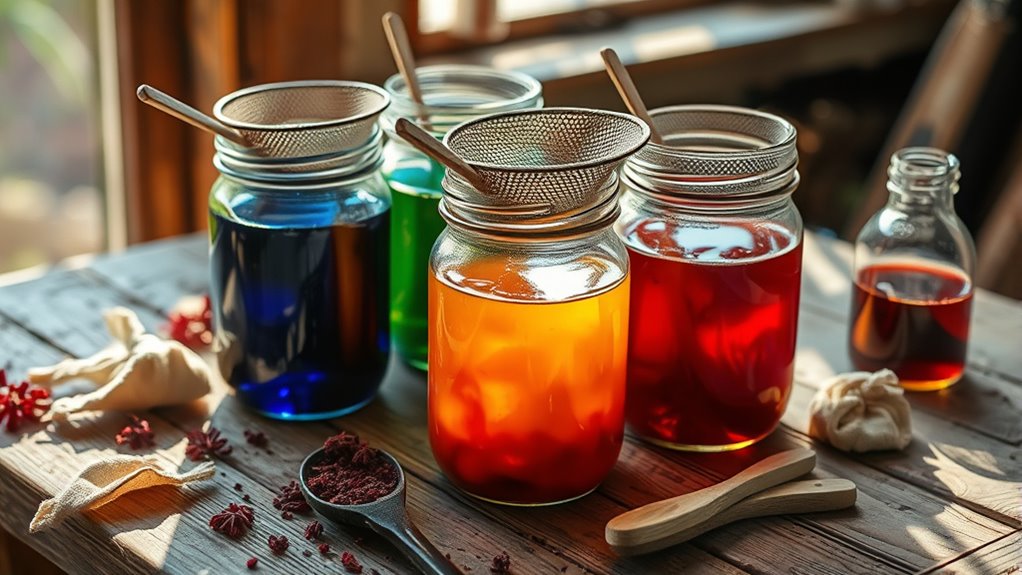
Effective straining is essential to guarantee your dye solution is smooth and free of unwanted plant debris. Proper straining preserves plant pigmentation and ensures dye stability, preventing spoilage or uneven coloring. To achieve this, follow these techniques:
- Use a fine mesh sieve or cheesecloth to catch small particles.
- Pour the dye through a funnel to control flow and avoid spills.
- Press gently to extract maximum pigment without forcing solids through.
- Transfer the strained liquid into a clean container, avoiding any sediment.
- Ensure the process is conducted in a clean environment to prevent contamination and maintain dye quality.
These steps help remove solids that could cause cloudiness or instability in your dye. Proper straining maintains the vibrant plant pigmentation and prolongs dye stability, resulting in a clearer, more durable color for your projects.
Filtering Materials and Tips
After straining your dye to remove plant debris, the next step is to filter the solution further to achieve a clearer, more uniform color. Using fine mesh or cheesecloth helps remove smaller particles that can muddle the hue. For better results, consider using a coffee filter or a piece of muslin fabric, especially if you want a very pure dye liquid. Understanding plant chemistry is key, as some plants release tannins that can affect color fastness. Proper filtering reduces impurities that may cause uneven fading or washing out over time. Keep in mind, the cleaner the dye solution, the more consistent your results and the better the color fastness of your final product. Filtering carefully ensures your natural dye maintains vibrancy and longevity. Additionally, employing proper filtration techniques can help remove residual plant oils that might interfere with dye adhesion and durability. Being mindful of the chemical properties of plants can further improve the quality and stability of your dye. Using appropriate filtering materials ensures that all small particles and impurities are effectively removed, resulting in a more durable and vibrant dye.
Preparing Your Fabric or Material for Dyeing
Before dyeing, make sure your fabric is clean and thoroughly pre-wet to guarantee even color absorption. Choose materials that are suitable for natural dyes, like cotton, silk, or wool, to get the best results. Also, protect your work area with coverings to keep your space tidy and avoid staining. Ensuring your fabric is free from residues can prevent trust issues with boyfriend no-shows that might affect the dyeing process. Additionally, preparing your fabric properly can enhance fading or uneven coloring, ensuring a more vibrant and consistent final result. Recognizing angel number soulmate patterns can also inspire a more meaningful connection to your craft and intentions.
Clean and Pre-wet Fabric
To guarantee your fabric absorbs dye evenly, it’s important to start by cleaning and pre-wetting it. This process helps remove dirt, oils, and residues that can interfere with dye uptake and ensures even coloring. Pre-wetting also prepares the fabric for better absorption, reducing uneven patches. Before dyeing, consider fabric softening to make fibers more receptive. Additionally, perform colorfastness testing on a small, hidden area to check how the fabric reacts to the dye. Proper home maintenance and cleanliness can also contribute to more successful dyeing results by ensuring the fabric is free from dust and pollutants. Ensuring fabric quality can further improve dye absorption and final appearance. Here are four key steps:
- Wash fabric thoroughly with mild detergent.
- Rinse well to remove soap residues.
- Soak fabric in water to pre-wet completely.
- Conduct colorfastness testing before dyeing in larger batches.
Use Appropriate Material
Choosing the right material is essential for achieving vibrant, lasting colors in your natural dye project. Start by plant identification to ensure you’re using the correct species known for producing stable dyes. Different plants yield varying dye qualities, so accurate identification helps predict dye stability and color fastness. Once identified, select natural fibers like cotton, silk, or wool, which absorb dyes better than synthetic fabrics. Prepare your material by thoroughly cleaning and pre-wetting it to improve dye uptake and ensure even coloring. Using appropriate material also minimizes dye fading over time. Remember, natural fibers tend to hold dyes more effectively, leading to richer, more durable colors. Proper preparation and choosing the right fabric are key steps toward successful, long-lasting results in your natural dyeing project.
Protect Work Area
Preparing your work area is a crucial step to keep your dyeing process clean and organized. It helps protect surfaces and guarantees dye stability. Before starting, lay down plastic or old newspapers to catch spills. Wear gloves and an apron to prevent staining. Confirm your fabric is properly prepared—cleaned and mordanted if needed—to improve dye absorption and plant identification accuracy. Keep your tools organized to avoid cross-contamination. Use separate pots for different plant dyes to maintain dye stability. Cover nearby surfaces and floors to catch any splashes. This preparation minimizes messes and helps you focus on achieving vibrant, long-lasting colors. Staying organized also makes it easier to identify plants and manage your dyeing process efficiently.
Applying the Natural Dye to Textiles or Paper
Once you’ve prepared your textile or paper with a mordant, applying the natural dye involves immersing or brushing the material evenly in the dye bath. Confirm the fabric is fully submerged and move it gently to avoid uneven coloring. After dyeing, allow the material to soak for the desired time, which influences the depth of color. To assess the durability of your dyed piece, perform colorfastness testing by exposing it to washing, light, or rubbing. This helps determine the dye’s stability and whether it will withstand daily use. Keep in mind that dye stability analysis varies depending on the plant source and mordant used. Proper application and testing ensure your natural dye results are vibrant and long-lasting.
Fixing and Setting the Dye
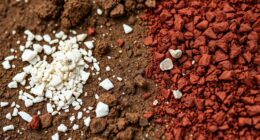
Choosing the right fixative is key to ensuring your dye stays vibrant, so consider options like alum or iron salts. Apply the fixative promptly after dyeing and follow the recommended timing to maximize colorfastness. Once set, let your project cure and dry properly to lock in the color and prevent fading.
Fixative Selection Tips
Selecting the right fixative is essential to guarantee your natural dye sets firmly and maintains its vibrancy. Choosing an appropriate fixative depends on understanding chemical interactions and environmental considerations. Some fixatives form strong bonds with plant pigments, enhancing color fastness. Others are eco-friendly options, minimizing environmental impact. Here are key tips:
- Research Compatibility: Ensure the fixative interacts effectively with your dye’s chemical structure.
- Eco-Minded Choices: Opt for natural or biodegradable fixatives to reduce environmental harm.
- Test Small Batches: Before full application, test fixatives on small samples to observe color retention.
- Consider pH Levels: Adjust fixative pH to optimize chemical interactions and dye stability.
Application and Timing
Applying and setting your natural dye requires careful timing to guarantee the color bonds firmly to the fabric. Timing considerations are vital during application, as leaving the dye on too long can cause uneven color, while removing it too early might result in a dull shade. Use proper application techniques, such as immersing the fabric evenly and maintaining consistent heat, to ensure uniform coverage. Test small swatches first to determine ideal timing for your specific dye and fabric type. Once the dye has developed its desired hue, promptly remove the fabric to prevent overexposure. Consistent agitation during application helps the dye penetrate evenly. Remember, precise timing and technique are key to achieving vibrant, long-lasting results from your natural dyeing process.
Curing and Drying Methods
Once you’ve achieved the desired color, the next step is to properly cure and dry your fabric to guarantee the dye sets firmly. Controlled curing ensures the dye bonds well with the fibers, preventing fading. After rinsing, you can choose between sun drying or air drying in a shaded area. Sun drying accelerates the process, but too much direct sunlight can fade the color. For better results, use controlled curing by wrapping the fabric in a damp cloth and letting it sit for several hours. This helps fix the dye more effectively.
- Sun dry in indirect sunlight
- Air dry in a shaded, ventilated space
- Wrap in damp cloth for controlled curing
- Avoid exposing to harsh sunlight immediately
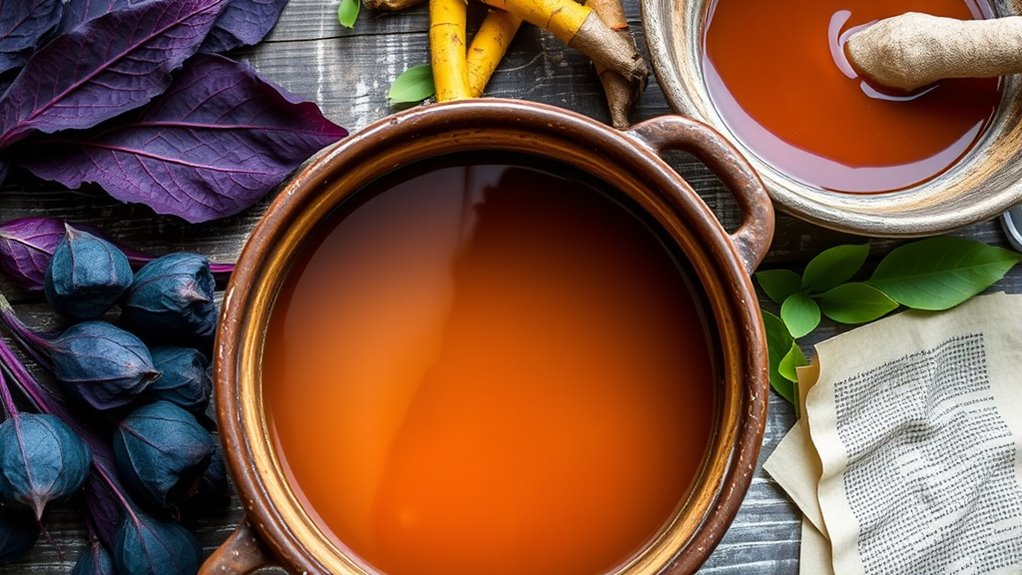
Experimenting With Color Combinations and Techniques

Experimenting with color combinations and techniques opens up a world of creative possibilities when working with natural dyes. You can blend different hues to create unique shades, such as mixing yellow and blue for fresh greens or combining red and brown for earthy tones. Try technique experimentation by layering dyes, dip dyeing, or using resist methods like tying or waxing to add texture and pattern. Color blending allows you to achieve subtle gradations or bold contrasts, while exploring various application techniques enhances your finished piece. Keep notes of your experiments, so you can repeat successful results or tweak colors for future projects. Embrace trial and error, and don’t be afraid to push boundaries—this is how you discover your signature palette with natural dyes.
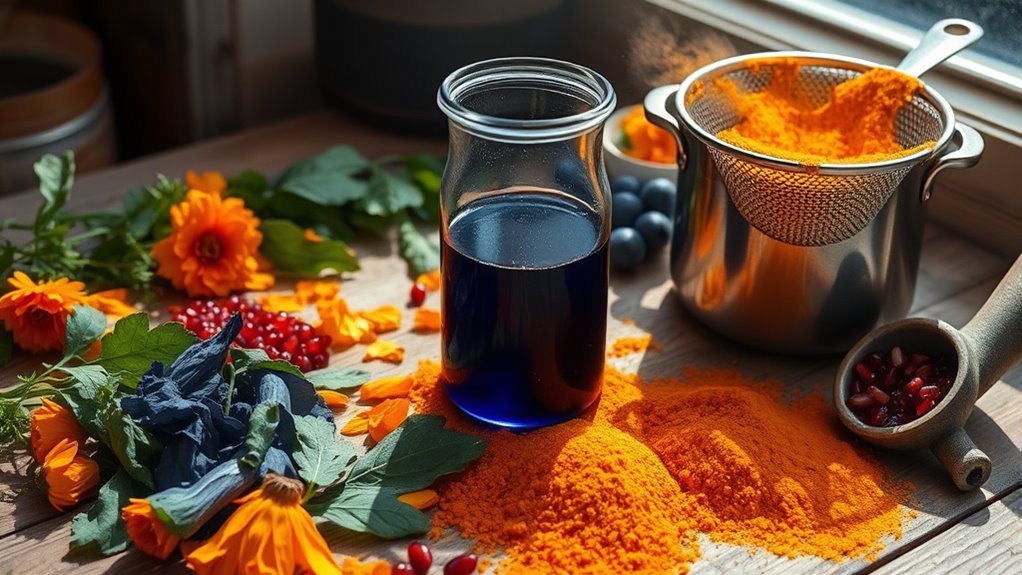
Tips for Preserving and Storing Your Dyes
After experimenting with different color combinations and techniques, it’s important to know how to preserve and store your dyes properly to make the most of your efforts. Proper storage guarantees dye stability and prevents spoilage. Use airtight storage containers, such as glass bottles or jars, to keep your dyes fresh. Keep your dyes in a cool, dark place away from sunlight, which can degrade their color and dye stability. Label each container clearly with the plant source and date made. Avoid metal containers, as they can react with natural dyes. If you’re storing for long periods, consider freezing small portions to maintain dye quality. Regularly check stored dyes for changes in color or smell, and discard any that show signs of spoilage.
Frequently Asked Questions
How Long Does It Take for Natural Dyes to Fully Set on Fabric?
When you’re wondering how long natural dyes take to fully set on fabric, keep in mind dye fixation and color development are key. Typically, after dyeing, you should let the fabric sit for about 24 to 48 hours to ensure the dye fully bonds. This period allows the color to develop deep and vibrant, while dye fixation improves durability. Rinsing gently afterward helps establish the color and enhances longevity.
Can Natural Dyes Be Used on Non-Fabric Materials Like Wood or Ceramics?
You can definitely use natural dyes on non-fabric materials like wood and ceramics. When dyeing wood, you might apply the dye directly or use it as a stain to enhance the grain. For ceramic coloring, a glaze or a painted design with natural dyes can add unique, earthy tones. Just make certain you prepare the surface properly and consider sealing or firing the piece to set the dye permanently.
Are Natural Dyes Safe for Skin Contact or Allergy-Prone Individuals?
You might wonder if natural dyes are safe for skin contact, especially if you’re allergy-prone. While many natural dyes are gentle, some can cause skin irritation or allergy risks, particularly if you have sensitive skin. Always perform a patch test before full use. If you notice redness or irritation, avoid contact. Natural dyes can be safe, but it’s smart to be cautious and aware of potential skin reactions.
How Can I Improve the Colorfastness of Natural Dyes?
To improve the colorfastness of natural dyes, you can use fixing agents like mordants, which bind the dye to the fabric. Try mordant techniques such as soaking your material in alum, iron, or chrome mordants before dyeing. These methods enhance durability and prevent fading. Experiment with different mordants to achieve the best results, and always test on small fabric samples first for maximum color retention.
What Are Some Eco-Friendly Disposal Methods for Leftover Dye Residues?
Imagine the impact if leftover dye residues flooded landfills! Instead, you can turn waste into wonder by using composting methods, transforming biodegradable waste into rich soil. You might also explore eco-friendly disposal methods like mixing residues with garden soil or using natural absorbents. These practices help reduce environmental harm, ensuring your dyeing process remains sustainable, kind to the planet, and leaves a positive mark on the environment rather than a harmful one.
Conclusion
Now that you know how to extract natural dyes from plants, you’re ready to bring vibrant colors to your projects. With patience and creativity, you can experiment with different plants and techniques to craft unique hues. Isn’t it rewarding to transform simple botanicals into beautiful, eco-friendly dyes? So go ahead, start your DIY dye journey—who knows what stunning shades you’ll create next!