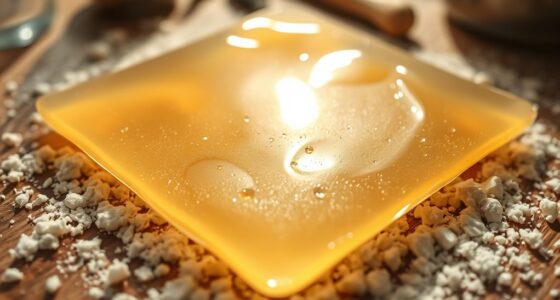

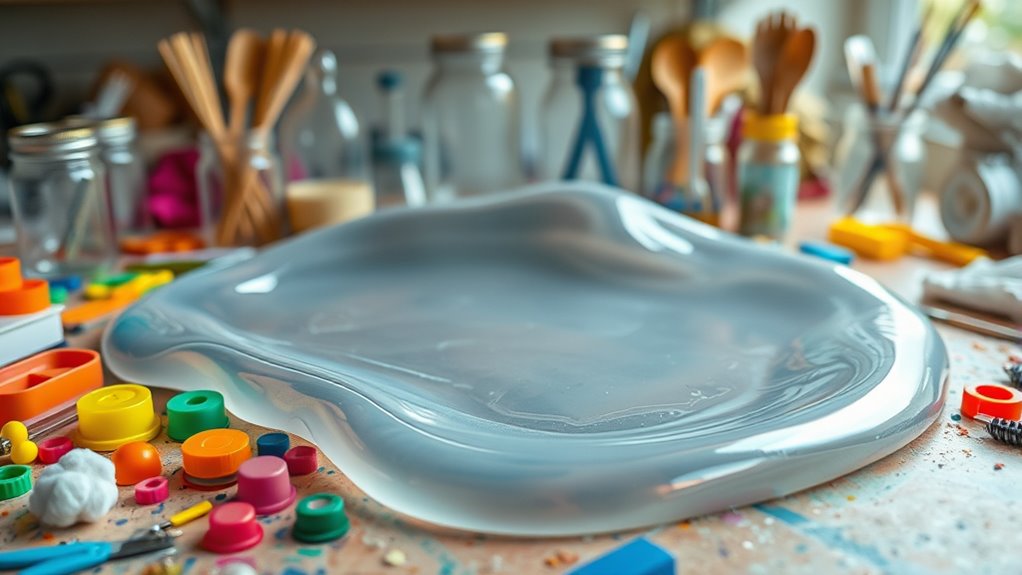
To make homemade plastic from milk, heat whole milk just below boiling, then add vinegar to coagulate the milk proteins into curds. Drain the excess liquid, knead the curds into a malleable material, and shape or mold it as desired. Dry your creation to harden it. This simple process uses natural ingredients and offers a fun way to explore science and sustainability—discover more ways to perfect your project and its applications as you continue exploring.
Key Takeaways
- Milk-based plastic is created by coagulating casein proteins with acids like vinegar, forming a polymer similar to plastic.
- Proper temperature control and thorough draining of whey are essential for shaping and drying the plastic effectively.
- Incorporating additives like glycerin and food coloring enhances flexibility and aesthetic qualities of the homemade plastic.
- The process involves heating milk, adding acid, straining, molding, and drying to produce durable, biodegradable plastic objects.
- This eco-friendly plastic can be used for jewelry, buttons, packaging, and has potential for future industrial and environmental applications.
Understanding the Science Behind Milk-Based Plastic
To understand how milk can be transformed into plastic, it’s essential to grasp the role of its main protein, casein. Casein is the primary component that reacts during the process, forming the foundation of milk plastic. Religious and Spiritual When you add an acid like vinegar, it causes casein molecules to unfold and clump together through coagulation. These molecules then form polymer chains as they aggregate, creating a material with plastic-like properties. Because milk contains a high water content, you need to dry the mixture afterward to produce a solid plastic. The properties of this milk-based plastic depend on the polymer structure formed during the reaction, which can vary based on the conditions. Understanding these chemical reactions and molecular interactions helps you appreciate how milk can be turned into a biodegradable plastic, highlighting the importance of chemical reactions in creating sustainable materials. Additionally, controlling reaction conditions can influence the material strength, making the resulting plastic more suitable for different applications.
Gathering Materials for Your Milk Plastic Experiment
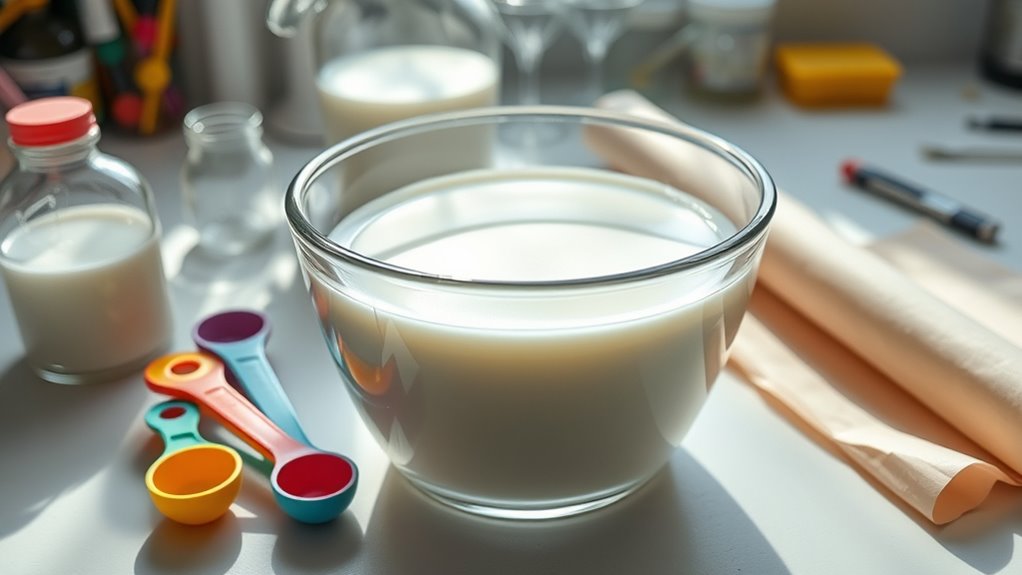
Before you start your milk plastic experiment, gathering the right materials guarantees smooth progress and safe handling. You’ll need 1 cup of whole milk, as higher fat content improves the plastic’s quality, and 4 teaspoons of white vinegar with at least 5% acidity to effectively coagulate the proteins. Optional food coloring can add visual appeal.
Essential tools include a microwave-safe mug or glass measuring cup for heating, a fine mesh strainer or cheesecloth to separate curds from whey, and a heat-resistant spoon for stirring. Measuring spoons or cups help maintain the correct vinegar-to-milk ratio. A shallow bowl catches the strained liquid, while optional molding supplies like cookie cutters or silicone molds shape your plastic.
Safety gear such as oven mitts and gloves guarantees safe handling during heating and mixing.
Preparing the Milk: Heating and Acid Addition Techniques
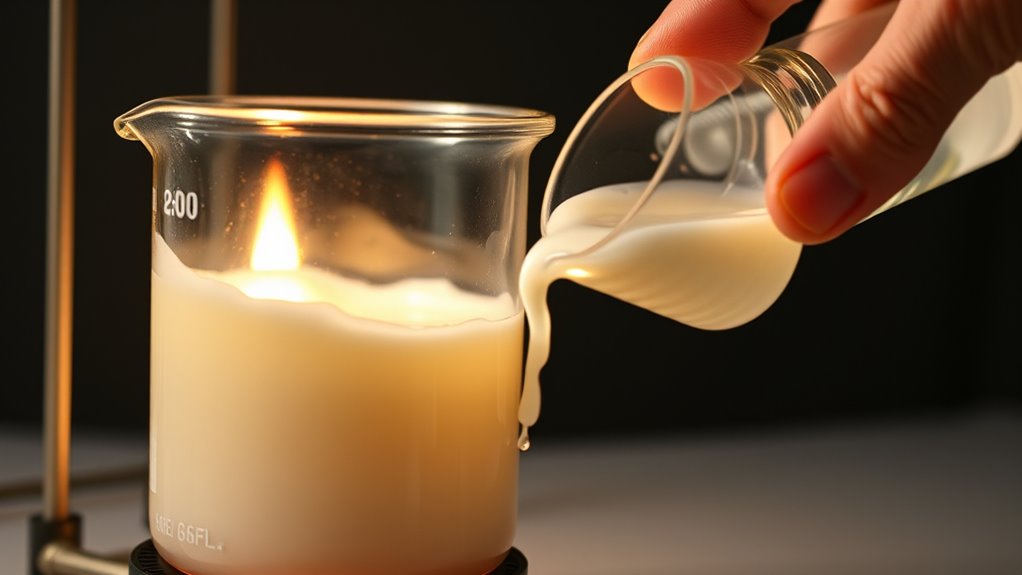
Heating your milk properly is essential for successful curd formation, and choosing the right method guarantees consistent results. Microwave heating takes about 1 to 1.5 minutes on high power for one cup, steaming but not boiling.
Stovetop heating involves warming the milk until steam or bubbles form at the edges, then removing it immediately. Keep the temperature above 49°C (120°F) to ensure casein proteins denature, which is *crucial* for curd development.
Use a thermometer to monitor temperature, especially if testing different heat levels. Maintain uniform heating across batches to *ensure* reliable comparisons.
Gentle stirring during acid addition helps distribute the acid evenly and promotes consistent curd formation. Proper temperature control during this step is *vital* for successful polymerization of the milk proteins into plastic.
Additionally, understanding the science behind protein denaturation can help optimize your process and improve the quality of the homemade plastic. Maintaining precise control over temperature and mixing can significantly influence the denaturation process, and understanding these AI safety principles can also help prevent unintended outcomes in experimental procedures.
Moreover, understanding the latest breakthroughs in algorithms can inspire innovative techniques for controlling experimental conditions and improving process reliability. Interestingly, recent AI discoveries have demonstrated that AI can manipulate quantum particles, which could lead to more precise control in scientific experiments like this.
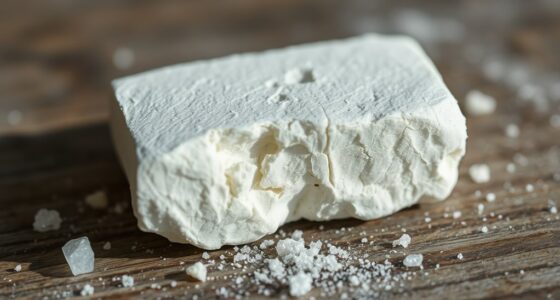
Separating and Processing the Curds Into a Malleable Material
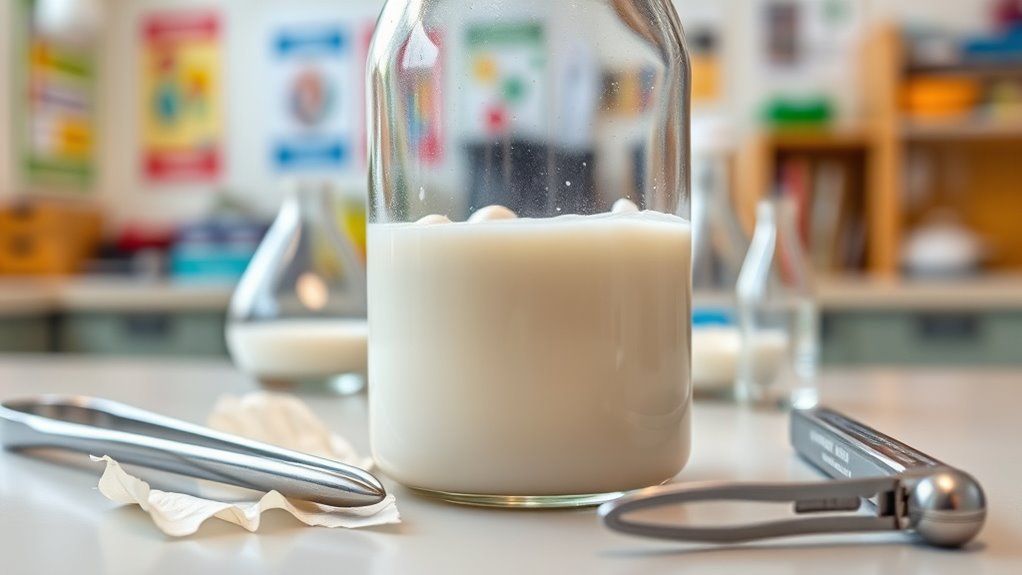
Once the curds have formed, the next step is to carefully separate them from the whey using a fine mesh strainer or cheesecloth. Gently pour the mixture into your chosen strainer, letting the liquid drain away while keeping the curds intact.
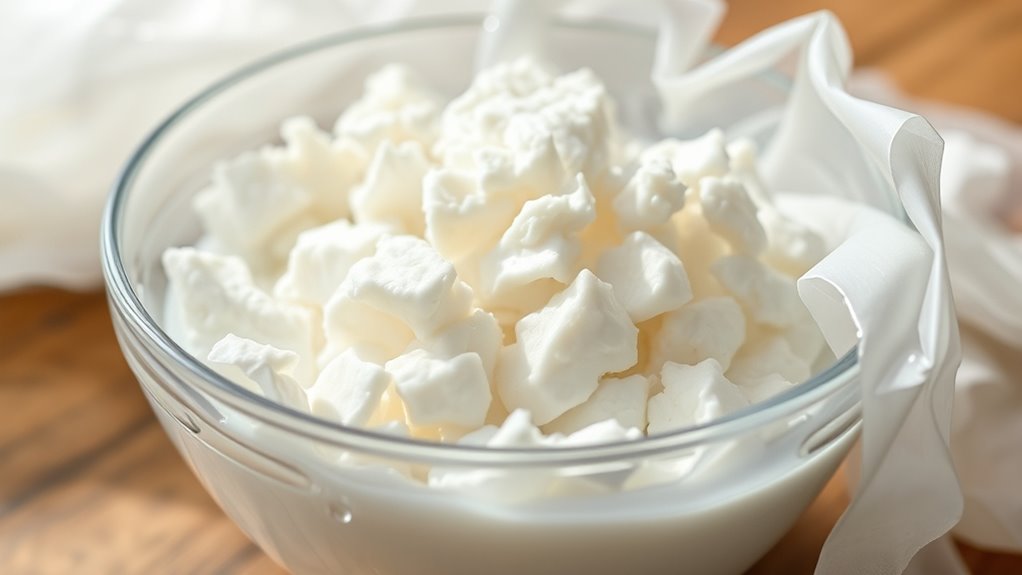
Stir the curds gently for about one minute to ensure all are formed without breaking them apart. The curds will be crumbly and squishy at this stage. Proper handling of curds is essential to maintain their integrity and achieve the desired malleability later. Additionally, understanding pinball machine weights can help in future projects involving moving or shaping heavier materials.
Next, place the curds on layers of paper towels to absorb excess liquid. Pat and squish them gently to remove more moisture, but handle carefully to avoid crumbling. Moisture content significantly influences the malleability of the material, so removing as much liquid as possible helps the curds become more malleable for shaping. Proper techniques, such as using absorbent materials, can further improve moisture removal. Once drained, the curds are ready for molding or shaping into your desired forms.
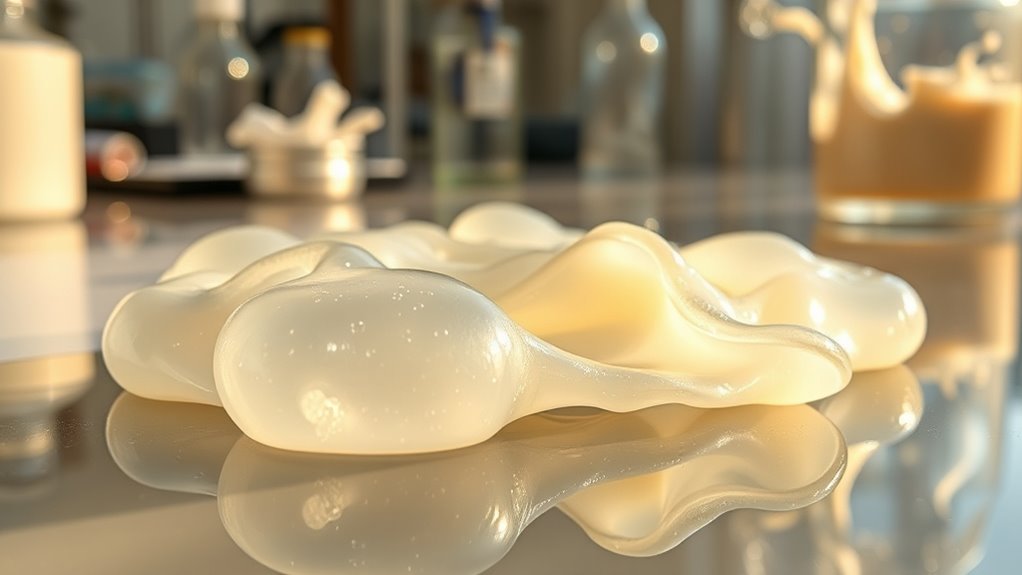
Shaping and Curing Your Homemade Plastic Items
To shape your homemade milk plastic effectively, you can choose from several techniques depending on the desired form and detail. Using cookie cutters allows you to create specific shapes like stars or animals easily. Molds are great for making uniform items such as ornaments or decorative pieces. Hand molding gives you control to shape figures or abstract forms without tools. For more precise and complex designs, employing additional tools like embossing tools can help add patterns or textures before the plastic fully dries. Once shaped, you can cut your dried plastic into parts with scissors or a sharp blade for precise edges. Bicycle generators can also be used to explore sustainable energy practices and possibly power small tools or lights during the shaping process. For curing, air drying lets the plastic dry slowly over hours or days, while heat drying accelerates the process with a low-temperature oven or heat lamp. Using paper towels or pressing can help remove excess moisture, ensuring a smooth finish, especially when considering cybersecurity measures to protect your project files and digital data. Additionally, understanding natural materials can help you choose the best components for your project, ensuring durability and aesthetic appeal. Incorporating layering textiles can add strength and visual interest to your finished pieces. Furthermore, experimenting with different curing methods can influence the final texture and flexibility of your plastic items.
Tips for Optimizing Your Milk Plastic Results
Optimizing your milk plastic results starts with precise control over the ingredients and process. Use the standard vinegar recipe of 4 teaspoons per cup, but experiment with lemon juice from 1 to 15 teaspoons to find the best balance between yield and quality. Higher acidity increases the amount of plastic but can weaken it. Additionally, maintaining consistent temperature control is crucial for optimal casein denaturation and plastic formation. Maintain milk temperature just below boiling point, around 49°C (120°F), to ensure proper casein denaturation without risking protein breakdown. Use a cotton cloth or T-shirt for straining to avoid metal reactions and squeeze out excess liquid to prevent brittleness. Neutralize residual acidity with a little baking soda if needed. Adding glycerin improves flexibility, while food coloring and texture additives can be incorporated during kneading, but avoid overuse to maintain strength. Proper filter replacement and regular cleaning of your tools can also help prevent contamination and ensure consistent results. Incorporating knowledge of merchant services can help you find affordable and efficient tools for your project, ensuring smoother operations and better quality control.
Creative Uses and Applications of Milk-Derived Plastic

Creative uses and applications of milk-derived plastic have expanded beyond traditional household items, offering innovative solutions in various industries. Historically, casein plastic was used for jewelry, buttons, and combs, showcasing its durability and cultural significance.
Today, it’s gaining attention as an eco-friendly alternative for packaging, especially in food wraps and biodegradable containers. Its moisture barrier and light protection qualities make it ideal for edible packaging, reducing waste and environmental impact.
In textiles, casein proteins serve as biodegradable fibers and adhesives, useful in medical sutures and durable fabrics.
Future applications include 3D printing materials and agricultural tools. While production challenges remain, ongoing research aims to enhance its structural properties, helping milk-derived plastic become a sustainable option across industries, reducing reliance on synthetic plastics and supporting environmental goals.
Frequently Asked Questions
Can I Make Milk Plastic Using Plant-Based Milks Like Almond or Soy?
You can try making plastic with plant-based milks like almond or soy, but it’s trickier than with dairy. Soy milk’s higher protein content (around 7g per cup) makes it more promising.
While almond milk’s low protein (about 1g per cup) mightn’t work well. You’ll need to experiment with acids like vinegar or lemon juice and possibly add stabilizers to improve the solidification process.
How Long Does Homemade Milk Plastic Last Before Degrading?
Imagine holding your homemade plastic, wondering how long it’ll last. You discover it begins to break down within days in humid environments, fully degrading in 1–12 months, often faster in warm, moist conditions.
Its simple composition, mainly milk protein, makes it vulnerable to moisture and microbes. So, depending on storage, expect your creation to last anywhere from a few weeks to nearly a year before it returns to nature.
Is It Safe to Eat or Handle Milk Plastic Without Gloves?
You might wonder if it’s safe to handle milk plastic without gloves. Generally, handling it with clean hands is okay, but wearing gloves can protect your skin from potential irritation or stains, especially if you have sensitive skin or allergies.
Since milk proteins and acids are involved, using gloves adds an extra layer of safety. Always wash your hands thoroughly afterward to maintain good hygiene.
Can I Dye or Paint Milk Plastic After It Hardens?
Imagine you’re a modern artist in the 1920s, but you want to color your milk plastic. Once it’s hardened, you can definitely dye or paint it. Use acrylic or tempera paints for best adhesion, and apply thin layers to avoid cracking.
Markers and ink pens work well for detailed designs. For added durability, seal your artwork with a clear varnish. Just confirm the surface is clean and dry before painting!
What Are Environmentally Friendly Ways to Dispose of Leftover Milk Plastic?
You’re wondering how to dispose of leftover milk plastic in an eco-friendly way. First, check if your material is labeled as compostable; if so, industrial composting is ideal.
For home composting, shred it into small pieces and layer carefully.
If composting isn’t an option, consider recycling through specialized facilities or repurposing it creatively.
Avoid landfills when possible, and explore local programs or innovative reuse ideas to minimize environmental impact.
Conclusion
Now that you’ve made your own milk plastic, you’ve tapped into a science experiment as exciting as discovering hidden treasure. With patience and creativity, you can turn simple ingredients into versatile, eco-friendly items. Think of your homemade plastic as a blank canvas, ready to be shaped into jewelry, keychains, or small toys. Keep experimenting and refining your process—your newfound skills are like a seed that can grow into endless sustainable projects!