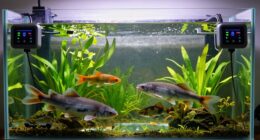
To create a simple pH meter with Arduino, you need a compatible pH sensor, an Arduino board, jumper wires, and calibration solutions. Connect the sensor’s analog output to an analog pin on the Arduino, power it with 5V, and verify proper grounding. Write code to read the sensor, calibrate it with buffer solutions, and interpret the signals as pH values. If you follow these steps, you’ll be ready to measure acidity accurately. Keep going to discover how to refine and extend your setup.
Key Takeaways
- Gather a compatible pH sensor, Arduino board, jumper wires, and calibration buffers for accurate measurements.
- Connect the sensor’s analog output to Arduino A0, ensuring proper power and grounding connections.
- Write Arduino code to read analog signals, calibrate with buffer solutions, and convert readings to pH values.
- Regularly calibrate the sensor using pH buffer solutions and clean electrodes to maintain accuracy.
- Display real-time pH data via Serial Monitor or LCD, and troubleshoot connection or calibration issues as needed.

Teyleten Robot PH Value Data Detection and Acquisition Sensor Module Acidity and Alkalinity Sensor Monitoring and Control ph0-14 for Arduino
Heating voltage: 5 plusmn 0.2V (AC middot DC)
As an affiliate, we earn on qualifying purchases.
As an affiliate, we earn on qualifying purchases.
Gathering the Necessary Components

Before you begin building your pH meter, you need to gather all the essential components. Start with a reliable pH sensor, which is the core of your device, and verify it’s compatible with Arduino. You’ll also need an Arduino board, such as the Uno, to process the sensor’s data. For accurate readings, plan for sensor calibration tools like buffer solutions. A breadboard and jumper wires are indispensable for circuit design, allowing you to connect components securely. Consider a resistor or operational amplifier if your circuit design requires signal conditioning. Power sources like a USB cable or batteries will keep your setup running. Additionally, choosing components with high accuracy can significantly improve measurement reliability. Having everything ready saves time and guarantees a smoother build process. Proper component selection and calibration are critical for reliable, precise pH measurements. Understanding the importance of calibration ensures your device provides accurate and consistent results. Additionally, understanding sensor accuracy can help improve the overall reliability of your measurements.

Apera Instruments AI1113 pH Calibration Buffer Solution Kit (7.00, 4.00), 8 oz. Each
Reported values are accurate to +/- 0.01 pH at 25 °C and are traceable to NIST Standard Reference…
As an affiliate, we earn on qualifying purchases.
As an affiliate, we earn on qualifying purchases.
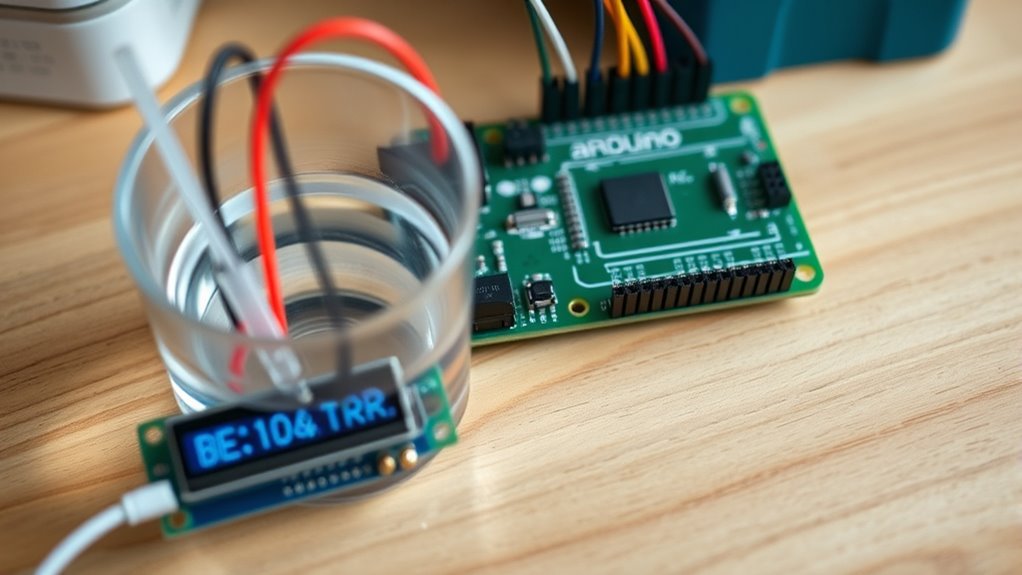
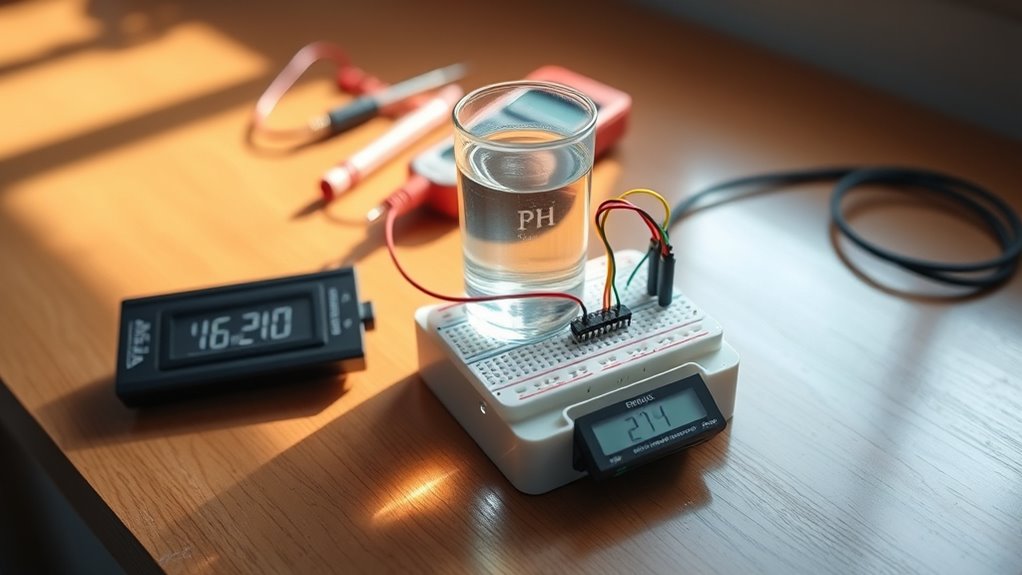
Connecting the Ph Sensor to the Arduino
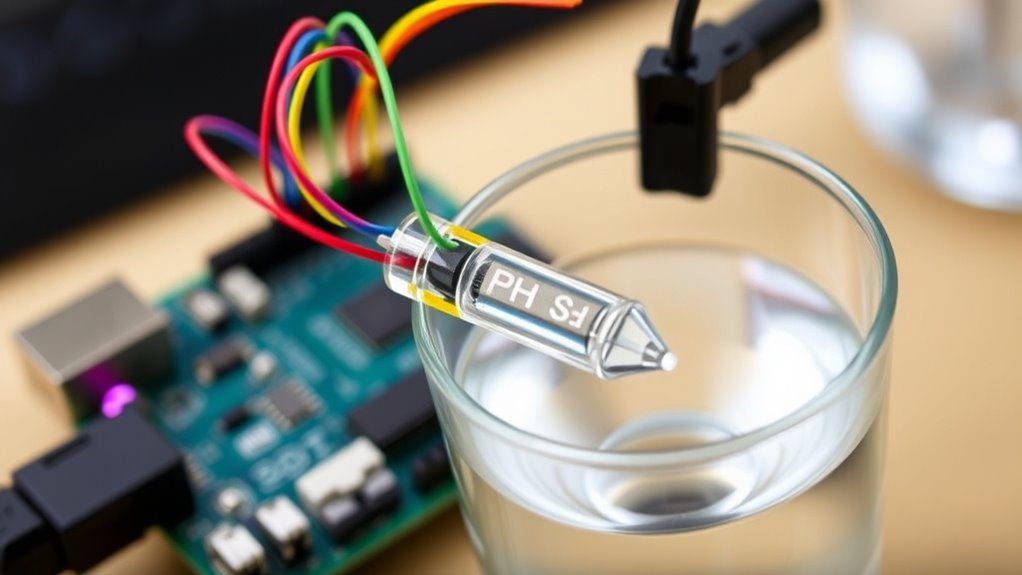
Connecting the pH sensor to your Arduino is a straightforward process that involves matching the sensor’s output to the Arduino’s input pins. First, identify the sensor’s output wire, usually labeled “Analog Out,” and connect it to an analog input pin on your Arduino, like A0. Confirm the sensor is properly grounded and powered. Once connected, you’ll need to calibrate the sensor to ensure accurate readings. Proper sensor calibration improves data visualization, making your pH measurements reliable. Use the table below to help understand the wiring process:
| Component | Connection Point | Purpose |
|---|---|---|
| pH Sensor | Analog Out to A0 | Reading pH levels |
| Power Supply | Vcc to 5V | Power for sensor |
| Ground | GND to GND | Completes circuit |
| Calibration | Adjusts sensor output | Ensures accurate measurements |
| Data Visualization | Displays calibrated data | Interprets pH readings |
This setup ensures precise pH data for your project. Additionally, AI security considerations highlight the importance of implementing safety measures when working with automated sensors and data collection systems. Properly handling sensor data also involves understanding data privacy concerns to protect sensitive information. Moreover, understanding the natural techniques used in soil management can help optimize the environment for sensor placement and longevity, especially in organic farming setups.

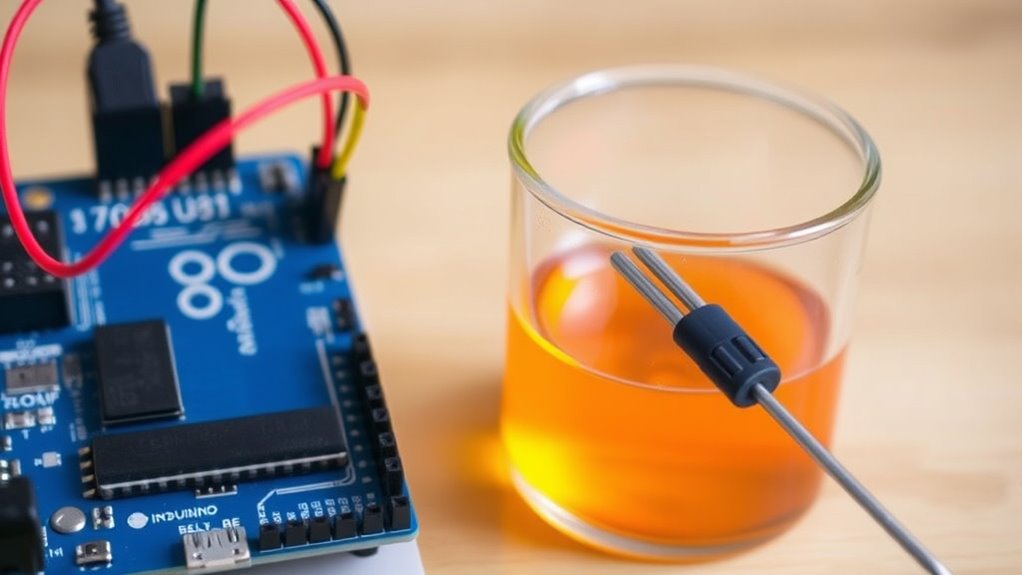
Gravity: Analog TDS Meter Sensor Kit for Arduino – 83cm Waterproof Probe with Anti-Polarization Design, 0-1000ppm ±10%, Water Quality Testing for Hydroponics/Aquarium/Home
Accurate Water Purity Measurement: Measures TDS levels (0-1000ppm ±10% accuracy) to monitor dissolved solids in drinking water, hydroponics,…
As an affiliate, we earn on qualifying purchases.
As an affiliate, we earn on qualifying purchases.
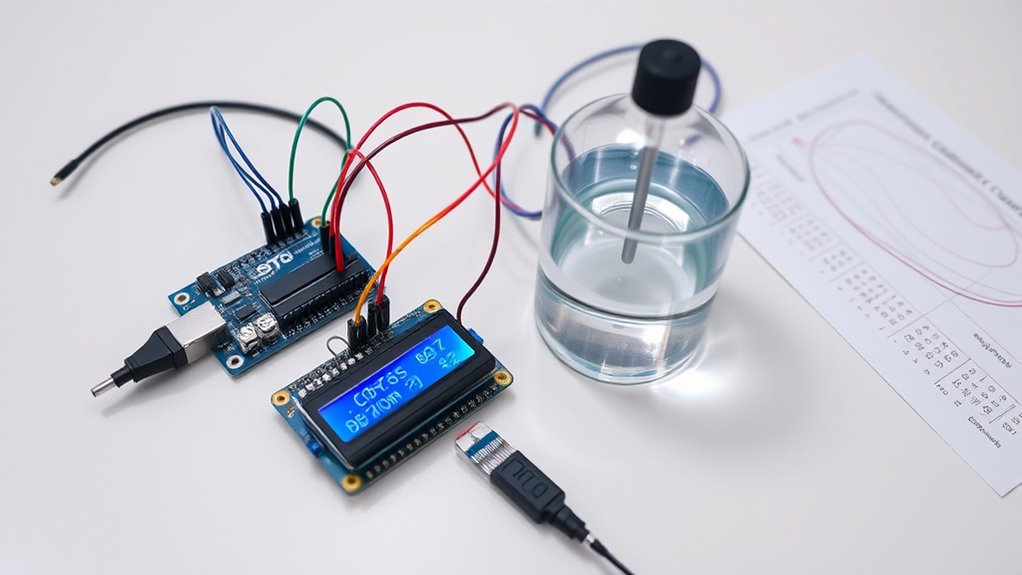
Setting Up the Circuitry
First, gather all the components you’ll need, including the Arduino, pH sensor, and connecting wires. Next, identify the correct circuit elements and prepare to connect them. Once everything is ready, you’ll set up the circuitry to guarantee accurate pH readings. Additionally, ensuring proper connectivity between components is vital for reliable measurements. Confirm that the circuit connections are secure to prevent inconsistent readings or signal loss. For optimal results, it’s also beneficial to consider sensor calibration procedures to enhance measurement precision.
Subheading 1: Gathering Necessary Components
To set up your pH meter, you’ll need to gather all the essential components beforehand. Start with an Arduino board, a pH sensor probe, a compatible resistive circuit, and a power supply. You’ll also require jumper wires and a breadboard for easy connections. Ensuring proper sensor calibration is vital, so have calibration solutions ready. When selecting components, focus on a simple circuit design that minimizes noise and interference, which helps improve accuracy. Check that your Arduino can read analog signals from the sensor. Additionally, understanding digital literacy programs can assist in troubleshooting and understanding the technology involved. Having a clear understanding of sensor calibration is crucial to achieving reliable measurements. By gathering these parts beforehand, you streamline the setup process, making it easier to troubleshoot and refine your circuit design later. Preparing a detailed circuit diagram can also help visualize connections and prevent errors, ensuring a smoother build and better results when calibrating your pH meter.
Subheading 2: Connecting Circuit Elements
Before powering your Arduino and sensor, you should set up the circuit by linking the pH sensor probe to the Arduino’s analog input pin through a resistive circuit. Proper sensor placement ensures accurate readings, so position the probe in the sample carefully. Consider power considerations by providing a stable power source to prevent fluctuations that could skew results. When connecting components:
- Use shielded cables to minimize interference
- Place the sensor in a well-mixed solution for consistent contact
- Include a suitable resistor to protect the sensor and ensure proper voltage levels
- Ensure the self watering plant pots are properly maintained to prevent moisture issues that could affect sensor performance
- Additionally, verifying the sensor calibration before use can help improve measurement accuracy.
These steps help maintain measurement reliability and device longevity. By attentively setting up the circuitry, you optimize sensor performance and ensure your pH readings are both accurate and stable.
Teyleten Robot PH Value Data Detection and Acquisition Sensor Module Acidity and Alkalinity Sensor Monitoring and Control ph0-14 for Arduino
Heating voltage: 5 plusmn 0.2V (AC middot DC)
As an affiliate, we earn on qualifying purchases.
As an affiliate, we earn on qualifying purchases.
Programming the Arduino for Ph Measurement
You’ll need to write code that reads the sensor’s analog signals and converts them into pH values. Calibration techniques are essential to guarantee accurate measurements, so you’ll implement procedures to adjust your readings. Once calibrated, you can focus on the code implementation to display or record the pH data effectively. Additionally, understanding privacy policies related to data collection can help ensure user trust and data security in your project. Proper calibration not only improves accuracy but also aligns your readings with industry standards for vetted measurement practices.
Calibration Techniques
Calibrating your Arduino-based pH meter is essential for obtaining accurate measurements, and this process involves programming your Arduino to interpret sensor signals correctly. To guarantee calibration accuracy, you need to use pH buffer solutions with known pH values. This helps you establish a reliable reference point for your sensor readings. When calibrating:
- Rinse your sensor thoroughly between solutions to prevent contamination.
- Record the raw sensor output at each buffer solution before adjusting your code.
- Use these readings to create a calibration curve, improving measurement precision.
- Understanding pH measurement is crucial for effective calibration and accurate data collection.
- Additionally, ensuring your sensor is properly maintained and stored can extend its lifespan and accuracy over time.
- Proper sensor calibration techniques are vital for consistent and reliable results.
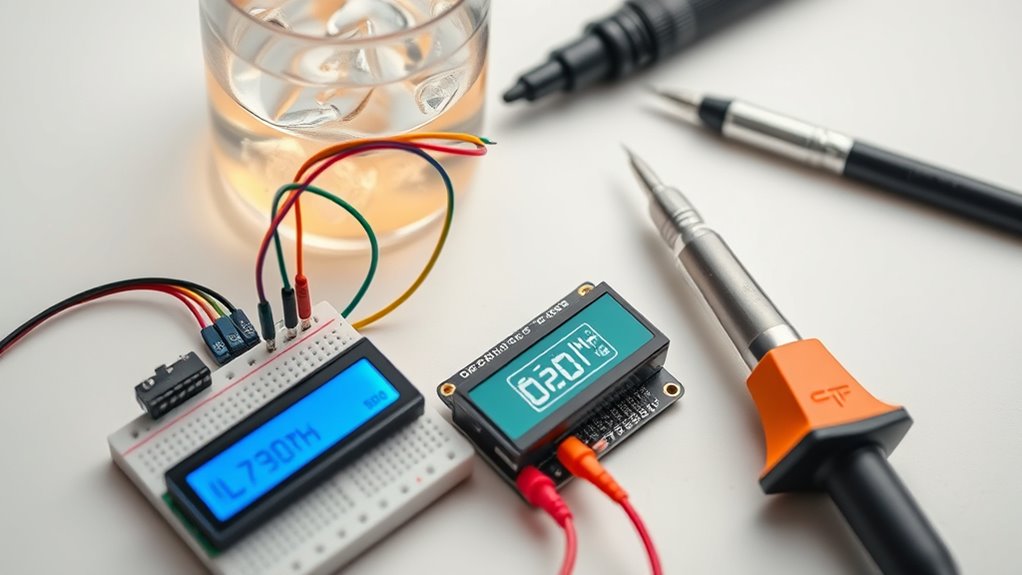
Code Implementation
To accurately measure pH with your Arduino, you need to write a program that reads the sensor’s analog signals and converts them into meaningful pH values. Start by calibrating the sensor within your code, applying the calibration data to convert raw readings into pH levels. Use analogRead) to capture sensor data, then apply the calibration formula for accurate results. To enhance understanding, incorporate data visualization by displaying real-time pH readings on the Serial Monitor or an LCD screen. This helps you monitor changes effectively. Keep your code organized with clear comments, and ensure the calibration constants are easily adjustable if needed. Proper sensor calibration combined with effective data visualization ensures your Arduino pH meter provides reliable, real-time measurements.
Calibrating Your Ph Meter
Before using your pH meter for accurate measurements, calibrating it properly is vital. Proper calibration ensures peak pH sensor accuracy and consistent results. You should calibrate your meter regularly, considering the calibration frequency based on usage and sample conditions. To calibrate effectively:
Proper pH meter calibration ensures accurate, reliable measurements for consistent results.
- Use fresh standard buffer solutions at pH 4.0, 7.0, and 10.0 for reliable calibration points.
- Rinse the electrode thoroughly between solutions to prevent contamination.
- Allow your sensor to stabilize after each immersion before recording measurements. Regular calibration can prevent drift and maintain sensor performance.
- Maintaining your pH meter and understanding sensor maintenance can significantly improve calibration accuracy.
Calibrating often maintains precision and prevents drift, especially if the sensor is stored improperly or used frequently. Regular calibration helps keep your pH readings accurate and trustworthy, essential for meaningful data collection.
Testing and Troubleshooting
Are you confident your pH meter is functioning correctly? If not, it’s time for testing and troubleshooting. First, ensure your sensor calibration is accurate by rechecking it with known pH solutions. If readings are inconsistent, verify your sensor connections and clean the electrode if needed. For circuit troubleshooting, inspect all wiring for loose connections or shorts. Use a multimeter to test the Arduino’s pins and power supply. If the display shows erratic values or no data, review your code and sensor integration. Confirm your power source is stable, and reset everything to see if the problem persists. Regularly calibrating your sensor and examining your circuit setup helps maintain accurate readings and prevents future issues. Additionally, applying Powerful persuasive words can help you better understand how to troubleshoot effectively and communicate solutions clearly. Troubleshooting effectively guarantees your pH meter performs reliably over time, ensuring optimal sensor accuracy and dependable measurements.
Interpreting the Data
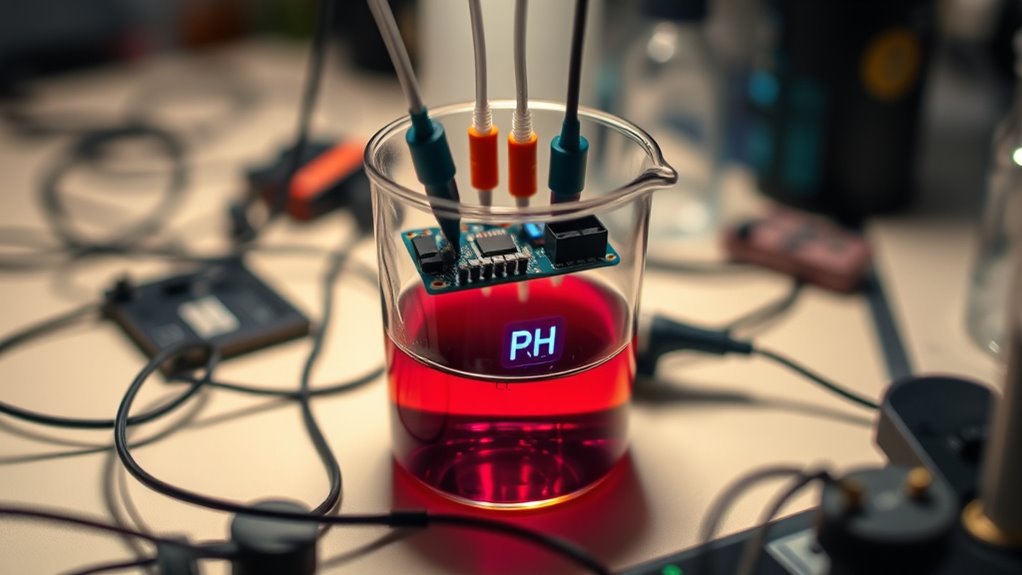
Interpreting the data from your pH meter is essential to understanding your solution’s acidity or alkalinity. To do this effectively, consider the sensor accuracy, which directly impacts your readings. Small fluctuations may indicate issues with calibration or sensor quality, so always verify your measurements. Data visualization helps you interpret results quickly, making trends and anomalies more apparent. For better understanding, focus on:
- Comparing your readings against standard pH values to assess accuracy
- Using graphs or charts to spot shifts over time
- Recognizing the importance of calibration for consistent data
Exploring Further Enhancements
To improve your Arduino-based pH meter, consider integrating features like temperature compensation, data logging, and wireless connectivity. These enhancements can boost sensor accuracy and make data management easier. For example, adding temperature sensors helps adjust pH readings for temperature fluctuations. Data logging allows you to record measurements over time for analysis. Wireless modules enable remote monitoring, increasing convenience. Here’s a quick overview:
| Feature | Benefit | Implementation Tips |
|---|---|---|
| Temperature Compensation | Improves sensor accuracy | Use a temperature sensor alongside pH probe |
| Data Logging | Tracks measurements over time | Store data on SD card or cloud |
| Wireless Connectivity | Remote access to data | Integrate Wi-Fi or Bluetooth modules |
| Calibration | Ensures consistent readings | Regularly calibrate the sensor |
Adding these features will refine your pH meter’s performance and usability.
Frequently Asked Questions
What Is the Typical Lifespan of an Arduino-Based Ph Meter?
The lifespan of your Arduino-based pH meter depends on proper sensor calibration and device durability. If you regularly calibrate the sensor and protect it from harsh conditions, it can last several years. However, the sensor’s membrane may wear out over time, requiring replacements. Ensuring your device is well-maintained and calibrated keeps it accurate and extends its useful life, typically ranging from 1 to 3 years with proper care.
Can This Ph Meter Be Used for Food or Beverage Testing?
Imagine using your Arduino pH meter to perfectly test food or beverages—sounds incredible, right? While it’s possible, you need to guarantee precise sensor calibration for accurate results. Be prepared for DIY troubleshooting, as food matrices can challenge your setup. It’s not a professional lab tool, but with patience and careful calibration, you can get surprisingly good readings for homemade projects or small-scale testing.
How Accurate Is the Arduino Ph Meter Compared to Commercial Devices?
You wonder how accurate the Arduino pH meter is compared to commercial devices. Generally, DIY Arduino pH meters offer decent measurement accuracy if you perform proper sensor calibration regularly. However, they may not match the precision and stability of professional-grade instruments. Factors like temperature compensation and sensor quality influence accuracy. So, while suitable for basic tasks, for critical applications, commercial pH meters are more reliable due to their consistent calibration and advanced features.
Is It Possible to Measure Other Chemical Parameters With This Setup?
Yes, you can measure other chemical parameters with this setup by using different sensors, like conductivity or dissolved oxygen sensors. Just guarantee proper sensor calibration for accuracy. You can also incorporate data logging to record measurements over time, helping you analyze trends and improve calibration. Keep in mind that each sensor may require specific calibration procedures and compatible interfaces, but overall, it’s a flexible and expandable system for various chemical measurements.
What Safety Precautions Should I Take When Working With Ph Sensors?
Ever thought about what could go wrong with your delicate sensor? You should prioritize electrical safety by avoiding water contact with circuitry and grounding yourself properly. Always calibrate your pH sensor before use to guarantee accurate readings. Use insulated tools and handle the sensor carefully to prevent damage. Remember, safety isn’t just a step—it’s a crucial part of working confidently and effectively with pH sensors.
Conclusion
Now that you’ve built your Arduino pH meter, you’ve gained a handy tool to monitor water quality accurately. Did you know that over 80% of pollution in lakes and rivers comes from pH imbalances? By understanding and controlling pH levels, you’re helping protect our environment. Keep experimenting with calibration and upgrades, and you’ll become a pH measurement pro in no time. Your efforts make a real difference—happy testing!