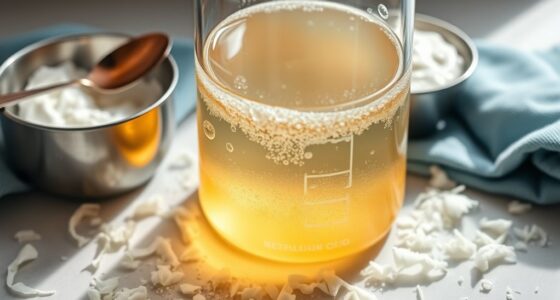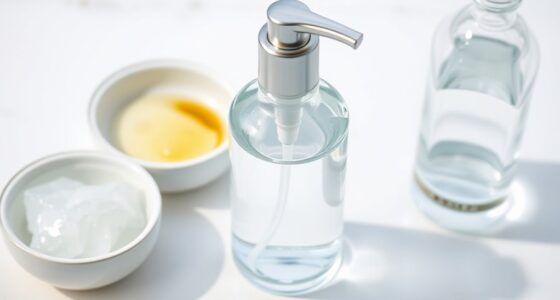
To make a simple density tower at home, gather liquids like honey, dish soap, water, vegetable oil, and rubbing alcohol, and a clear container. Carefully pour each liquid in order, starting with honey at the bottom, then dish soap, water, oil, and alcohol on top, taking care not to mix them. This creates visible layers based on density. If you’re interested, you’ll find more tips on how to perfect your tower and explore scientific concepts.

Prime made for students and young adults
- Fast, free delivery for dorm and study essentials
- Prime Video and Amazon Music included
- Member-only deals
Key Takeaways
- Layer household liquids like honey, dish soap, water, vegetable oil, and rubbing alcohol carefully to create distinct density layers.
- Pour each liquid slowly over the previous layer to prevent mixing and maintain separation.
- Use food coloring to differentiate each layer visually and enhance the display.
- Add small objects to test buoyancy and observe which liquids cause them to float or sink.
- Repeat the process with different liquids to explore how varying densities affect layering.
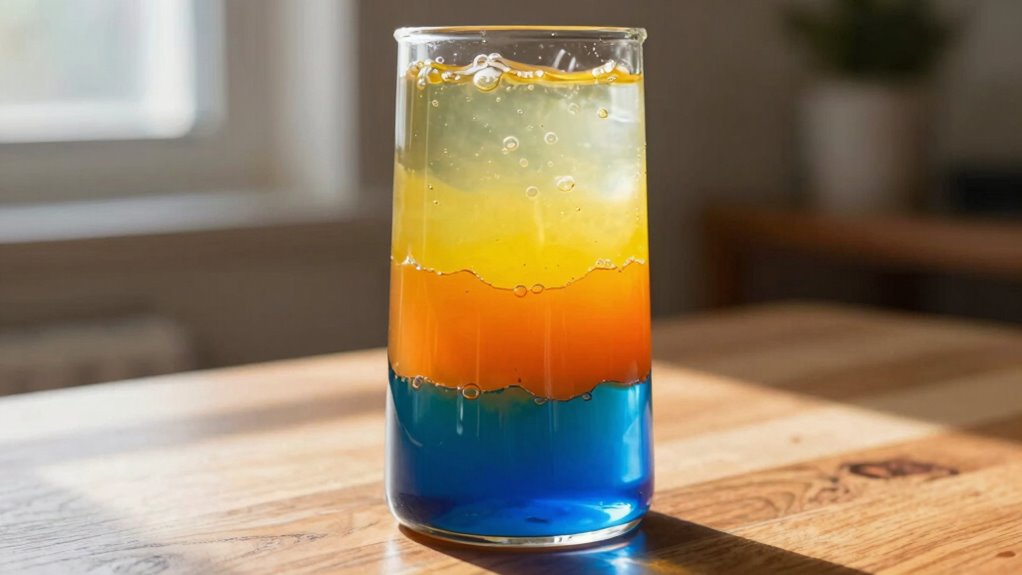
Ever wondered how different liquids can separate into distinct layers? Making a simple density tower at home is a fun way to explore this phenomenon through science experiments and DIY crafts. It’s an easy project that demonstrates the concepts of density and buoyancy, giving you a visual understanding of why some objects float while others sink. Plus, it’s a perfect activity to do with kids or friends, turning a basic experiment into an engaging learning experience.
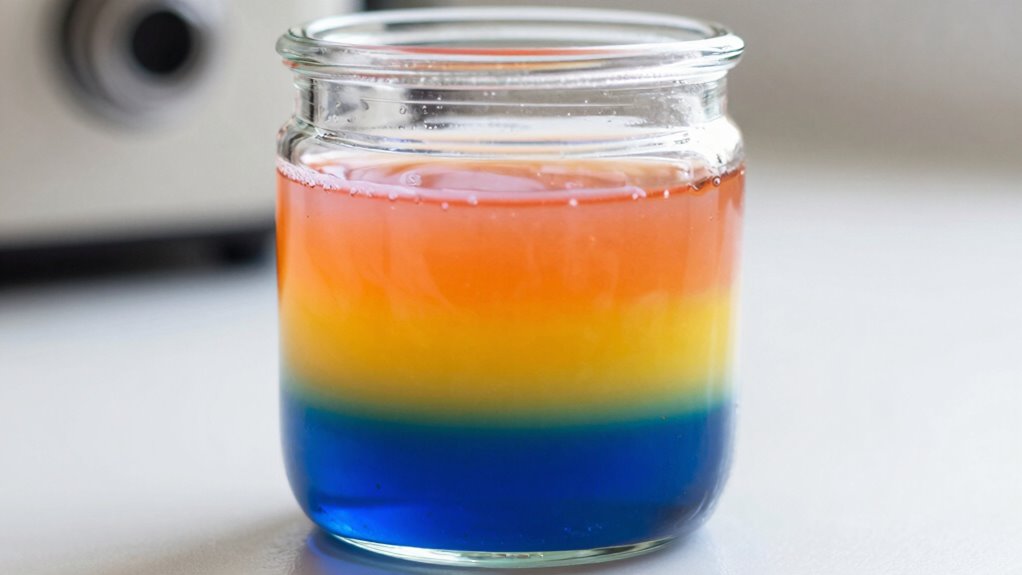
To start, gather some common household liquids. You’ll need honey, dish soap, water, vegetable oil, and rubbing alcohol. Each of these liquids has a different density, which allows them to stack on top of each other without mixing. Honey is the densest, so it goes at the bottom, while rubbing alcohol is the least dense and should go at the top. You can also add food coloring to each liquid to make your tower more vibrant and visually appealing. For example, color the honey red, dish soap blue, water green, oil yellow, and alcohol purple. You might also want a tall, clear glass or plastic container to hold the layers.
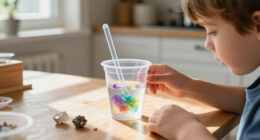
Begin by pouring a small amount of honey into the container, then slowly add dish soap atop it. Take your time and pour gently to prevent the liquids from mixing. Continue with water, then vegetable oil, and finally, the rubbing alcohol. As you add each layer, watch carefully — they will naturally separate because of their differing densities. If you notice mixing, pause and pour more slowly or use a spoon to gently layer the liquids. This process is an excellent example of how science experiments can be turned into creative DIY crafts, allowing you to manipulate and observe physical properties firsthand.
Once your density tower is complete, take a moment to observe how each layer behaves. You might notice small bubbles or slight mixing at the borders, but overall, the layers will remain distinct. This simple project provides a clear demonstration of density differences, making it perfect for educational purposes or just a fun weekend activity. You can even experiment by adding small objects—like a plastic bead or a grape—to see whether they float or sink, further exploring buoyancy. When you’re done, you can dismantle the tower or start again with different liquids to see what happens.
Creating a density tower at home is a straightforward and mesmerizing way to understand fundamental scientific principles through hands-on experience. It combines learning with creativity, turning basic household items into a fascinating science experiment and DIY craft. This project not only gives you a visual representation of density but also encourages curiosity and exploration in a simple, accessible way. Additionally, understanding liquid densities can help you grasp important scientific concepts related to how substances interact in various environments or processes. Recognizing these principles can also deepen your understanding of buoyancy and how objects behave in different fluids, making the experiment both educational and fun.
clear plastic or glass container for science experiments
As an affiliate, we earn on qualifying purchases.
As an affiliate, we earn on qualifying purchases.
Frequently Asked Questions
Can I Use Food Coloring Instead of Different Liquids?
Yes, you can use food coloring alternatives or natural dye options instead of different liquids for your density tower. Natural dyes like beet juice, turmeric, or blueberry extract add color without artificial ingredients. These options work well and are safe for kids. Simply add a few drops to your liquids, and you’ll create a vibrant, educational density tower while using natural, eco-friendly dyes.
How Long Does It Take for Layers to Settle Properly?
Layer stability and settling time depend on the liquids’ densities and your patience. Generally, it takes about 10 to 20 minutes for the layers to settle properly, but it can vary. To speed up the process, gently pour each layer slowly and carefully. Make sure the liquids are at room temperature, as temperature differences can affect density and slow down settling time. Patience guarantees a clear, stable density tower.
Is It Safe to Drink the Liquids Used in the Tower?
Like a scientist in a vintage laboratory, you shouldn’t drink the liquids in your density tower. For safety precautions, avoid ingestion since these liquids often contain food coloring, dish soap, or other additives that can be harmful. Always follow disposal guidelines and never consume the liquids afterward. Keep the tower out of reach of children and pets, and wash your hands thoroughly after handling any materials.
Can I Reuse the Liquids After the Experiment?
You can reuse the liquids after the experiment, but consider their environmental impact and safety precautions. Reusing might be safe if the liquids haven’t mixed or changed color, but always check for contamination. Dispose of any leftovers properly to prevent environmental harm. To stay safe, avoid drinking or applying reused liquids directly to your skin, and wash containers thoroughly. Reusing liquids helps reduce waste, but always prioritize safety and environmental responsibility.
What Other Liquids Can I Use Besides Water, Oil, and Syrup?
Did you know that liquids can have density variations over a wide range? Besides water, oil, and syrup, you can try honey, rubbing alcohol, liquid dish soap, or even milk. These alternative liquids add interesting layers to your density tower, showcasing different densities and creating vibrant visual effects. Always be cautious with liquids like rubbing alcohol, and guarantee proper supervision for safety. Experimenting with different liquids makes your tower more fascinating!
food coloring set for science projects
As an affiliate, we earn on qualifying purchases.
As an affiliate, we earn on qualifying purchases.
Conclusion
Creating a density tower at home is a fun, easy way to explore science without any special equipment. Some might worry it’s messy or complicated, but it’s simple to set up and clean up. Just follow the layers carefully, and you’ll have a colorful display in no time. Plus, it’s a great way to learn about density in a hands-on way. So, don’t hesitate—give it a try and enjoy the fascinating science experiment right in your own kitchen!
household liquids for density tower
As an affiliate, we earn on qualifying purchases.
As an affiliate, we earn on qualifying purchases.
As an affiliate, we earn on qualifying purchases.
Halloween Picks
halloween
As an affiliate, we earn on qualifying purchases.