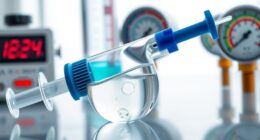

To make a simple distillation apparatus, gather glassware like a round-bottom flask, condenser, and thermometer, then assemble them securely with clamps and ground glass joints. Connect the condenser to water hoses for cooling, and place the thermometer accurately in the sidearm. Carefully heat the mixture, monitor the temperature precisely, and collect the separated liquids in labeled containers. If you continue, you’ll discover detailed steps to set up your system safely and efficiently.
Key Takeaways
- Select appropriate glassware, including a distillation flask, condenser, and receiving flask, ensuring compatibility and airtight seals.
- Assemble joints securely with grease and clips, positioning the thermometer bulb level with the sidearm for accurate temperature readings.
- Connect the condenser to a water cooling system, ensuring water flows from the lower to upper arm, and fill the condenser jacket with water.
- Add boiling stones or a stir bar to the mixture, then heat gradually using a suitable heat source like a heating mantle or water bath.
- Collect distillate in separate, labeled flasks, maintaining proper separation and monitoring temperature to ensure effective vaporization.
Gathering Essential Materials and Components
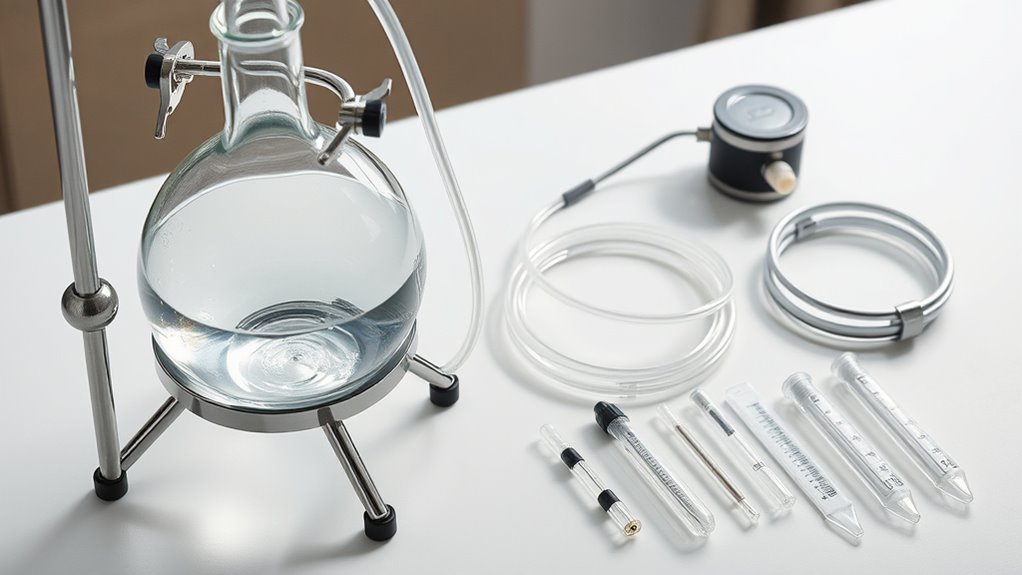
To set up a simple distillation apparatus, you’ll first need to gather the essential materials and components that guarantee safe and efficient operation. Start with a reliable heat source, such as a magnetic hot plate with stirrer for controlled heating, or a heating mantle compatible with your flask size to prevent direct flames. A Bunsen burner with stand, combined with ceramic-centered wire gauze, offers adjustable flame and even heat distribution. For precise temperature control, consider a thermostatic oil bath. Make sure to have a condenser unit like a Liebig condenser, with cooling water tubing and clamps, to efficiently condense vapor. Use standard taper joints and PTFE sleeves or grease for airtight seals. Additionally, safety protocols such as a digital thermometer, lab mat, gloves, and emergency shutoff device are essential to ensure safe operation. Incorporating proper ventilation is also crucial to disperse any vapors safely and maintain a safe working environment. Being aware of material compatibility helps prevent corrosion and contamination during the process. Moreover, selecting compatible chemical materials minimizes potential reactions with the apparatus components.
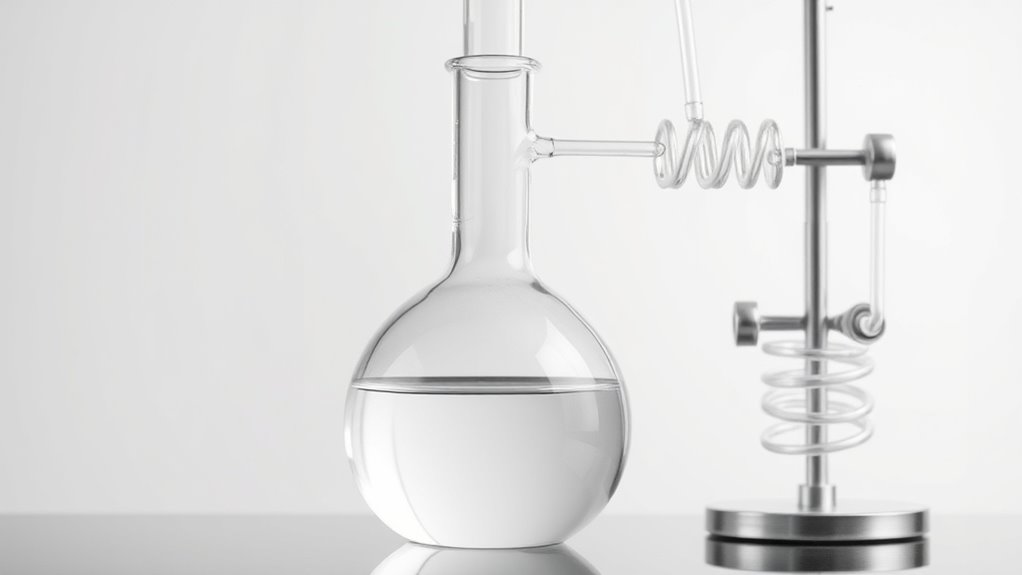
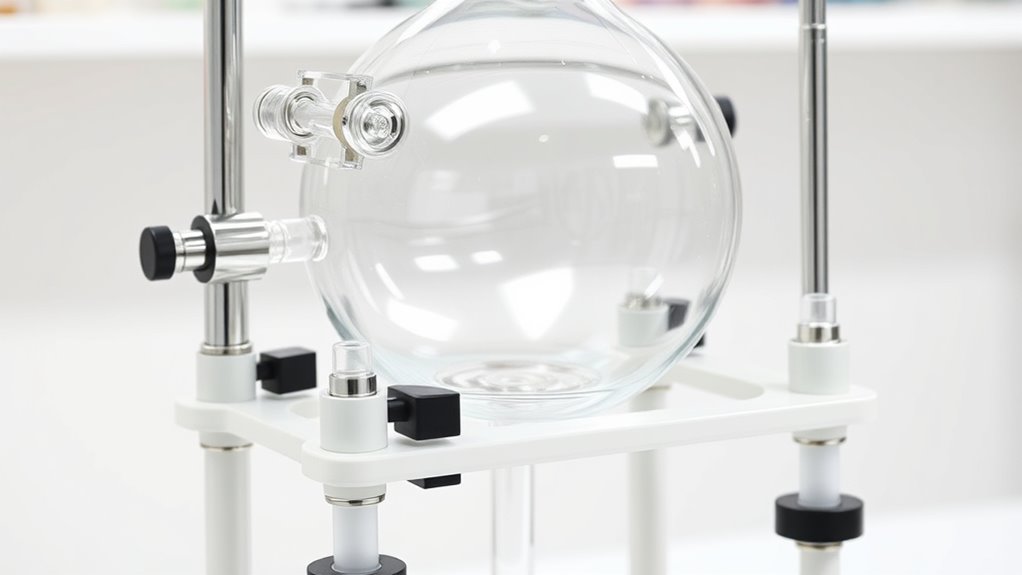
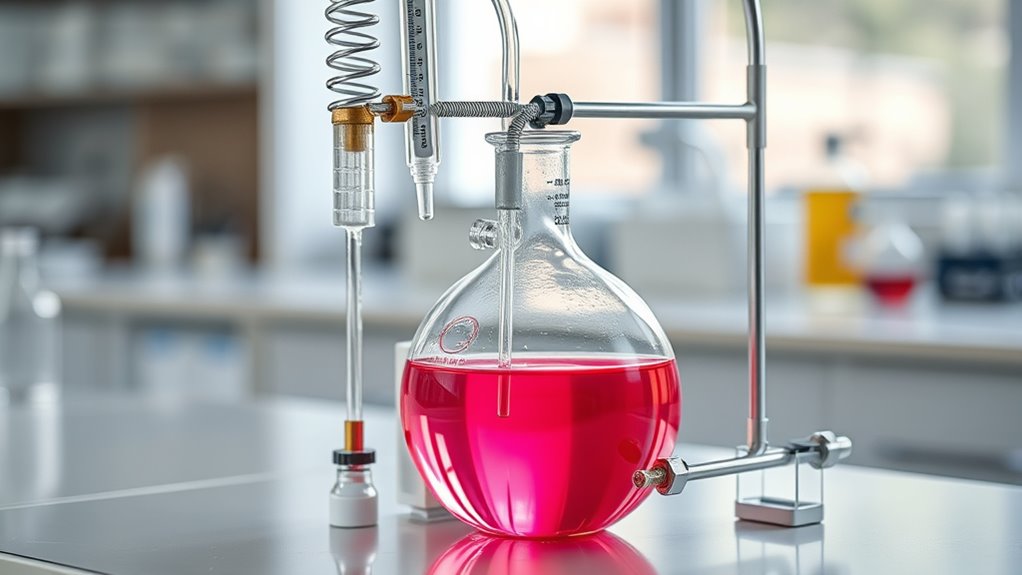
Assembling the Round Bottom Flask and Still Head
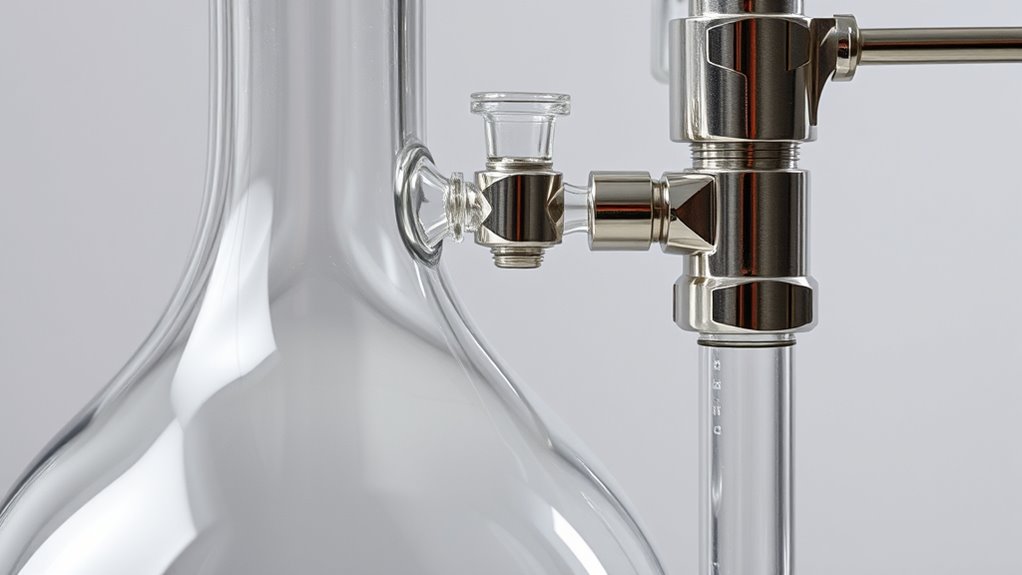
Begin by carefully inserting the still head into the neck of your borosilicate round bottom flask, using a gentle twisting motion to create an airtight seal. Lightly grease the ground glass joints beforehand to guarantee smooth assembly and prevent seizing. Once connected, secure the joints with joint clips, placing them diagonally across to distribute clamping force evenly. Attach the thermometer through the built-in support in the still head, making sure the bulb sits level with the sidearm opening for accurate temperature readings. Before proceeding, verify that all connections are tight but not overtightened to avoid stressing the glass. Double-check that the joint clips are secure and that the system is stable on your stand. Proper assembly at this stage ensures safe, efficient distillation. Additionally, inspecting the airtight seal is crucial for preventing vapors from escaping during the process. Confirming the seal integrity helps maintain safety and efficiency during distillation, and ensuring the proper fit of components minimizes the risk of leaks. To further ensure optimal performance, check that the connection points are properly aligned and sealed. Incorporating a secure setup by verifying all parts are firmly in place can also prevent accidents and ensure consistent results.
Connecting the Condenser and Cooling System
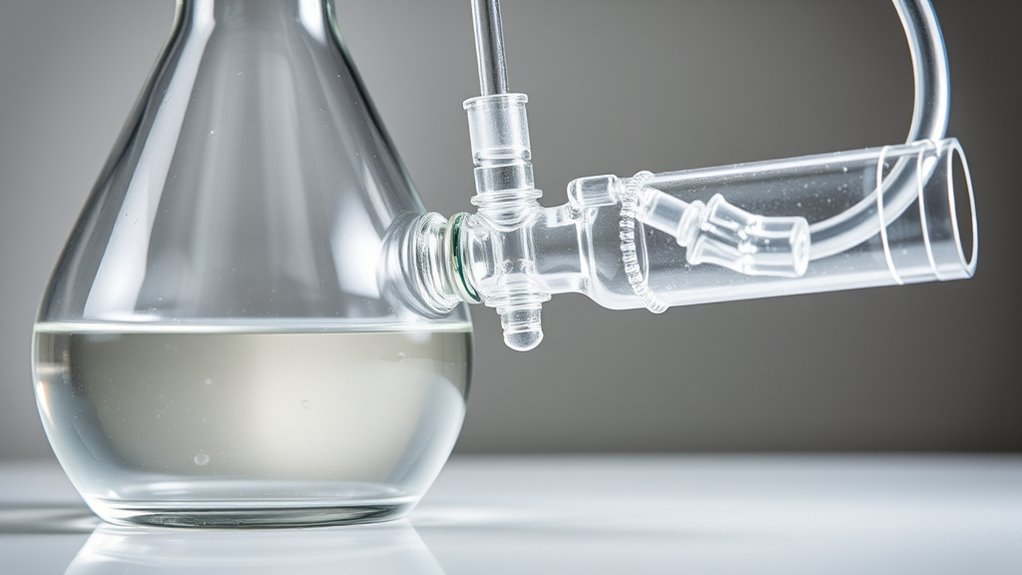
How should you properly connect the condenser and cooling system to guarantee efficient distillation? First, attach the vacuum adapter to the condenser end using a plastic clip for a secure fit. Connect hoses so water enters through the lower arm and exits from the upper arm, ensuring coolant flows upward to eliminate air pockets. Wet the hoses before attaching to improve the seal and prevent leaks. Verify that the water fills the entire condenser jacket for uniform cooling. Keep the condenser level or slightly angled for ideal vapor-to-liquid conversion. Make sure the vacuum adapter arm remains open to atmosphere to prevent pressure buildup. Clamp all joints firmly to avoid jiggling, and prepare to shut off the water supply immediately if hoses detach. Proper connections ensure efficient condensation and safe operation. Additionally, regularly check the connection stability during operation to prevent any accidental disconnections that could compromise safety or efficiency. Ensuring proper setup is crucial for consistent distillation performance, and consulting the vetted guidelines can help maintain optimal operation. Maintaining proper system maintenance also plays a vital role in avoiding malfunctions and ensuring long-term effectiveness.
Integrating the Thermometer for Accurate Monitoring
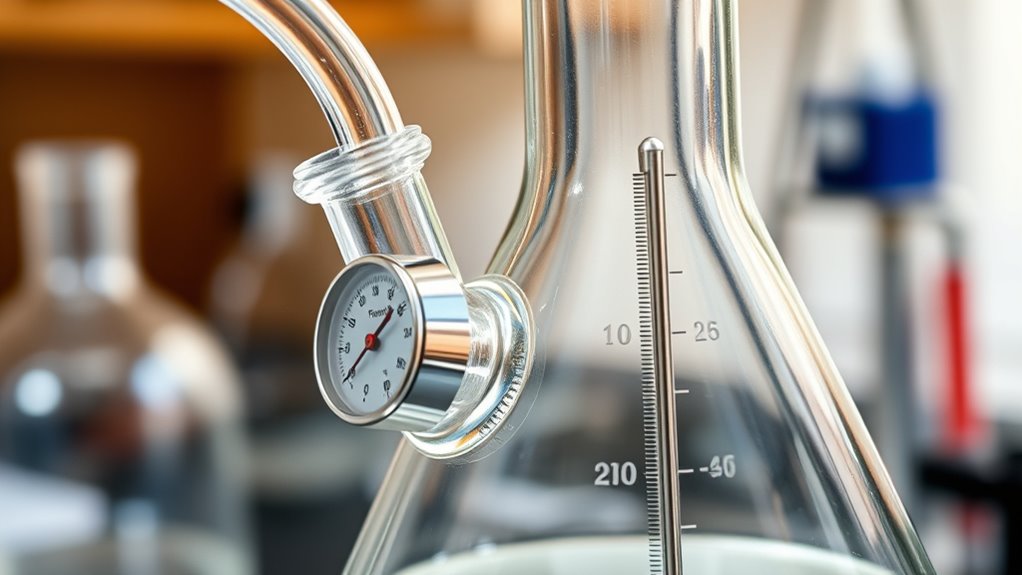
Accurately monitoring the vapor temperature during distillation depends on proper placement and alignment of the thermometer. You should place the mercury bulb below the distillation head sidearm, aligning it vertically with adjustable clamps to prevent parallax errors. Ensure the bulb is fully immersed in the vapor path for consistent readings, and position it near the condenser inlet to measure the boiling point before condensation occurs. Avoid tilting the apparatus, as this can disrupt vapor-thermometer contact. Use rubber fittings with washers or stretch rubber adapters securely over the thermometer to create airtight seals, preventing vapor leaks. Be gentle during insertion, gripping the thermometer near the joint and stabilizing the setup with clamps. Proper integration guarantees accurate temperature monitoring throughout your distillation process. Proper placement of the thermometer is essential for precise control and safety during distillation. Additionally, ensuring the correct alignment of the thermometer helps maintain consistent and reliable temperature readings, which is especially important for modern heat pumps that rely on precise temperature regulation for efficient operation. Maintaining a stable setup can also help prevent parallax errors, ensuring more accurate measurements. Incorporating high-quality tuning components can further optimize the overall accuracy of temperature control systems.
Securing the Setup With Clamps and Supports
Securing your distillation setup with appropriate clamps and supports is essential to guarantee stability and safety throughout the process. Use a three-pronged clamp to secure the flask neck, preventing tipping during heating. Support your apparatus with ring stands—two are ideal for multi-component setups—and stabilize the flask with a ring clamp, allowing height adjustments. Clamps with movable jaws are necessary for aligning the Liebig condenser correctly, while plastic clips help prevent joint slippage without over-tightening. Ensure the fixed jaw alignment avoids condenser torque stress, and avoid over-tightening to prevent glassware cracks. Use boss heads for rotational adjustments before tightening, and consider multi-stand configurations to reduce strain on joints. Regularly inspect glassware for weaknesses and maintain proper tension for safety and stability. Additionally, consulting proper support techniques can help prevent accidents and improve setup durability.
Preparing the Mixture for Distillation
Preparing the mixture properly is essential for a smooth distillation process. First, fill your distilling flask to about one-third to half its capacity to prevent bumping and guarantee enough vapor space. Avoid overfilling, which can cause liquid carryover into the condenser and contaminate your distillate. Underfilling reduces efficiency and risks damaging heat-sensitive compounds. Use a stemmed funnel to transfer the mixture carefully, minimizing spills. Add boiling stones or a stir bar to promote even boiling and prevent superheating. Pre-filter the mixture to remove particulates that could clog the condenser or sidearm. Homogenize thoroughly to ensure consistent boiling behavior. Remember to keep the liquid level below the sidearm exit to avoid vapor escape or loss. Proper preparation helps assure effective separation during distillation.
Heating and Vaporizing the Mixture Safely
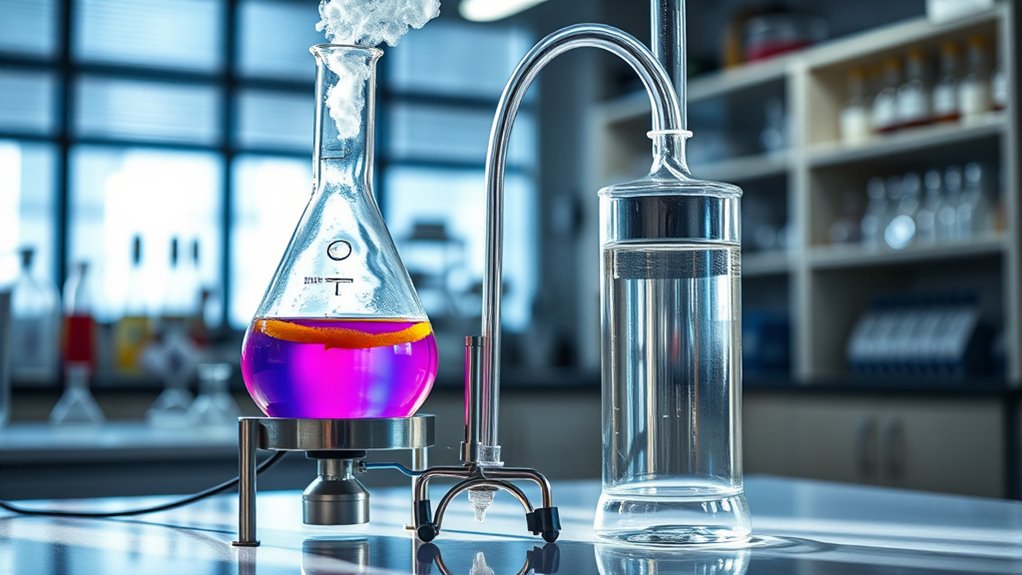
To heat and vaporize your mixture safely, choose an appropriate heat source based on the nature of your liquids. For flammable liquids with boiling points below 100°C, use steam baths to minimize fire risk. For non-flammable liquids with higher boiling points, a heating mantle is ideal, especially with round-bottom flasks. Avoid direct flames unless explicitly recommended for high-boiling, non-flammable mixtures. Match the heat source to your liquid’s volatility and flammability profile, and use power controls like a Variac to adjust temperature gradually. Before heating, secure all joints with clamps to prevent jiggling, place boiling stones or stir bars in the flask to prevent bumping, and extend the thermometer bulb below the distillation head for accurate readings. Always monitor closely to ensure safe vaporization.
Collecting and Separating the Distillate

Ever wonder how to efficiently collect and separate the distillate during a simple distillation? You’ll want to position your receiving flask directly under the condenser’s outlet to catch the liquid as it flows out. Using multiple receiving flasks helps separate different fractions, especially if the mixture contains components with close boiling points. Graduated cylinders are useful for measuring the volume of each fraction accurately. To prevent contamination, handle the distillate carefully and minimize exposure to the environment. Remember, collecting separate fractions allows you to analyze and purify each component more effectively. Properly labeling and storing the collected distillate ensures safe handling and easy identification later. This organized approach helps you achieve better separation and higher purity in your results.
Troubleshooting Common Issues and Ensuring Safety

Troubleshooting common issues during a simple distillation requires careful attention to your setup and safety protocols. First, check that your apparatus is in good condition—look for chips or cracks in the reaction vial. Verify all connections are secure and leak-free to prevent vapor loss or contamination. Maintain a steady, appropriate temperature, and keep the apparatus stable and upright to avoid strain on connections. Insulate exposed parts to improve efficiency, especially in drafty areas. Always perform distillation in a fume hood to prevent inhaling vapors and guarantee good ventilation. If leaks or other problems happen, stop immediately. Verify all connections, adjust temperature or flow, and consult manuals if needed. When issues persist, seek help from experienced professionals to keep safety and performance at their best.
Frequently Asked Questions
How Do I Choose the Right Size of Glassware for My Setup?
When choosing the right size of glassware, consider your sample volume and the need for headspace to prevent boiling issues. Larger flasks handle bigger samples, but require stronger heating. Match joint sizes for compatibility and verify all components are borosilicate glass for thermal stability. Select a condenser length that matches your vapor flow, and use appropriate adapters if sizes differ. Proper sizing guarantees safety, efficiency, and effective distillation.
Can I Use Household Items to Build a Distillation Apparatus?
Yes, you can use household items to build a distillation apparatus. For example, glass bottles or jars work well as distillation vessels and collection containers. Copper pipes can be repurposed from old plumbing for the condenser. Silicon tubing helps transfer liquids, and a stove or hot plate provides heat. Just make certain all materials are clean and heat-resistant, and that you create airtight seals for safety and efficiency.
What Safety Gear Should I Wear During Distillation?
You should wear appropriate safety gear during distillation to protect yourself. Always use safety glasses for splash protection, and a face shield if handling toxic substances or boiling liquids. Wear a flame-resistant lab coat, insulated gloves, and closed-toe shoes to prevent burns and spills. Use a vapor-rated respirator in poorly ventilated areas, and make certain an emergency plan is in place. Prioritize safety gear to minimize risks during the process.
How Do I Prevent Vapor Leaks in My Setup?
Like Sherlock Holmes solving a mystery, you need to carefully guarantee vapor leaks in your setup. Use thick-walled vacuum tubing and apply joint grease to seal connections tightly. Clamp the apparatus vertically to prevent strain, and avoid bending tubing excessively to prevent cracks. Verify condenser-to-flask attachments are secure, and regularly inspect for wear or cracks. These steps ensure airtight seals, keeping vapors contained and your distillation safe and efficient.
What Are Common Signs of Equipment Failure During Distillation?
You should watch for signs like pressure spikes or drops, indicating pressure disturbances. Temperature inconsistencies across stages reveal issues. Visible vapor or liquid surges suggest unstable feed or reflux. Repeated weeping or flooding points to flow imbalances. Erratic product purity indicates equipment problems. Physical damage, such as corroded trays or cracked sight glasses, also signals failure. Operational issues like leaks or improper liquid levels, along with structural fatigue, further warn you of potential equipment breakdowns.
Conclusion
Now that you’ve set up your simple distillation apparatus, remember that patience is key. Conduct your process carefully, following each step, and don’t rush through it. If you hit a snag, troubleshoot calmly and don’t cut corners—safety always comes first. With attention to detail, you’ll turn a complex task into a walk in the park. Keep your eye on the prize, and you’ll master distillation in no time.