
You can try simple chromatography experiments at home using materials like filter paper, food dyes, or plant leaves. For example, you can separate food dyes from candies, identify colors in marker inks, or explore plant pigments by soaking crushed leaves in alcohol. You might also set up a DIY column with a syringe to separate mixed dyes. Keep exploring these easy setups, and you’ll uncover the fascinating ways chromatography reveals hidden ingredients and colorful secrets.
Key Takeaways
- Perform paper chromatography with coffee filters and household solvents to separate food dyes or ink samples.
- Use crushed leaves and alcohol to extract and analyze plant pigments through simple chromatography techniques.
- Create DIY column chromatography using syringes, sand, and dye mixtures to observe separation by gravity.
- Test food dyes from snacks or markers on chromatography strips to identify ingredients and detect contaminants.
- Experiment with candy coatings dissolved in water to separate dye colors and understand dye composition at home.
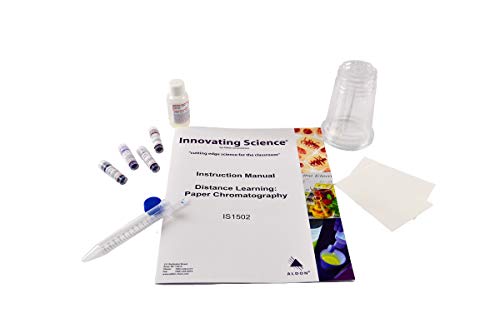
Paper Chromatography: Explore Chromatography System Components & Separation of Chemical Substances – Distance Learning Kit – Innovating Science
EXPLORE CHROMATOGRAPHY || Introduces learners to the system of chromatography – the oldest documented technique to separate chemical…
As an affiliate, we earn on qualifying purchases.
As an affiliate, we earn on qualifying purchases.
Getting Started With Basic Paper Chromatography
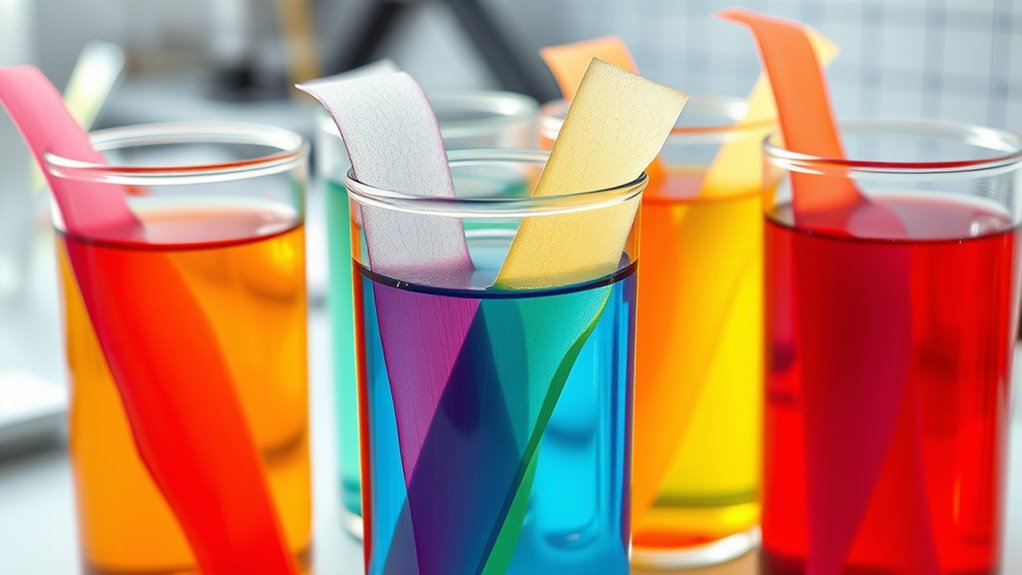
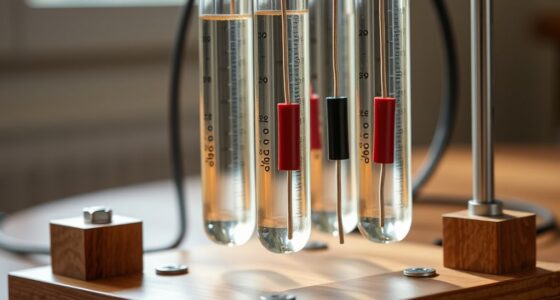
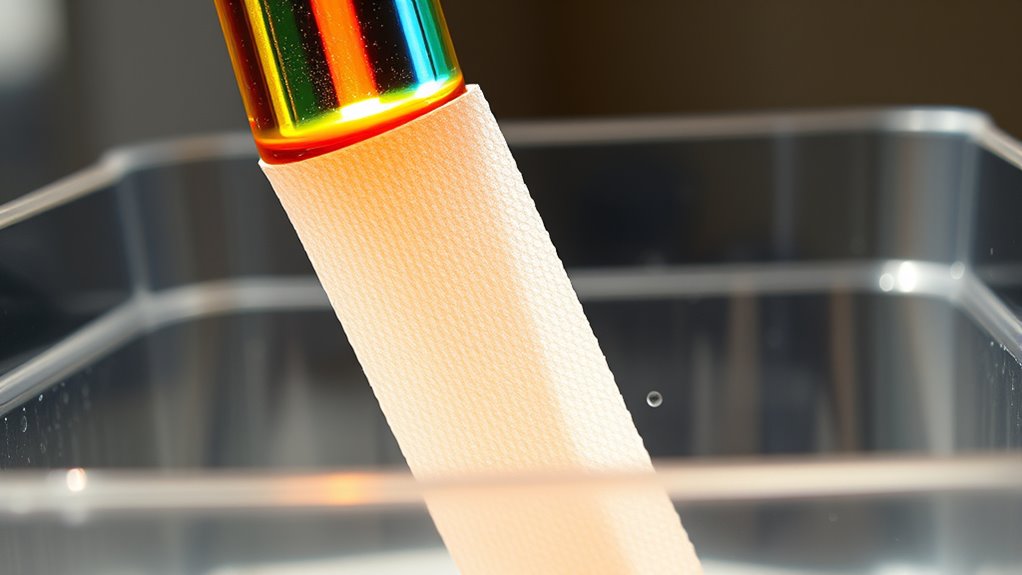
Getting started with basic paper chromatography involves gathering the right materials and setting up your workspace carefully. First, find absorbent paper like filter paper or coffee filters with consistent pore size. You’ll need solvents such as isopropanol and water in ratios like 2:1 or 1:2. Use capillary tubes or fine droppers to spot small amounts of your samples onto the paper, drawing a baseline about 1.5cm from the edge with a pencil—make sure to label each spot clearly. Proper sample application is crucial for accurate results. Ensuring your solvent selection is appropriate impacts how well the components separate during the process. It’s also helpful to understand the chromatography process to interpret your results accurately. Additionally, controlling environmental conditions such as temperature and humidity can influence the separation quality. Pour enough solvent into a developing chamber to reach about 1cm high and seal it for 10–15 minutes to prevent evaporation. With everything ready, you’re set to start your chromatography experiment, ensuring accurate and reproducible results. Proper setup is crucial for obtaining reliable and consistent outcomes in your experiments.

3B Scientific W56628 Electrophoresis Agarose Gel Separation of Dyes Kit
Electrophoresis agarose gel separation of dyes kit
As an affiliate, we earn on qualifying purchases.
As an affiliate, we earn on qualifying purchases.
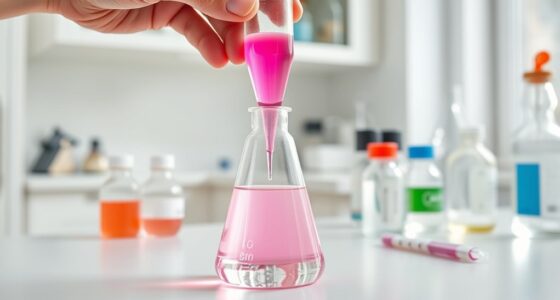
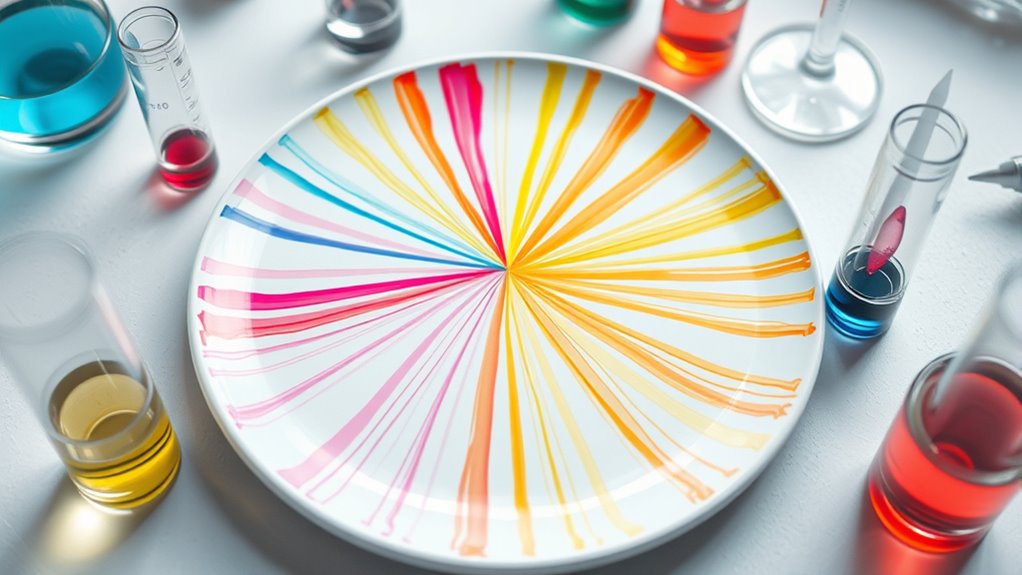
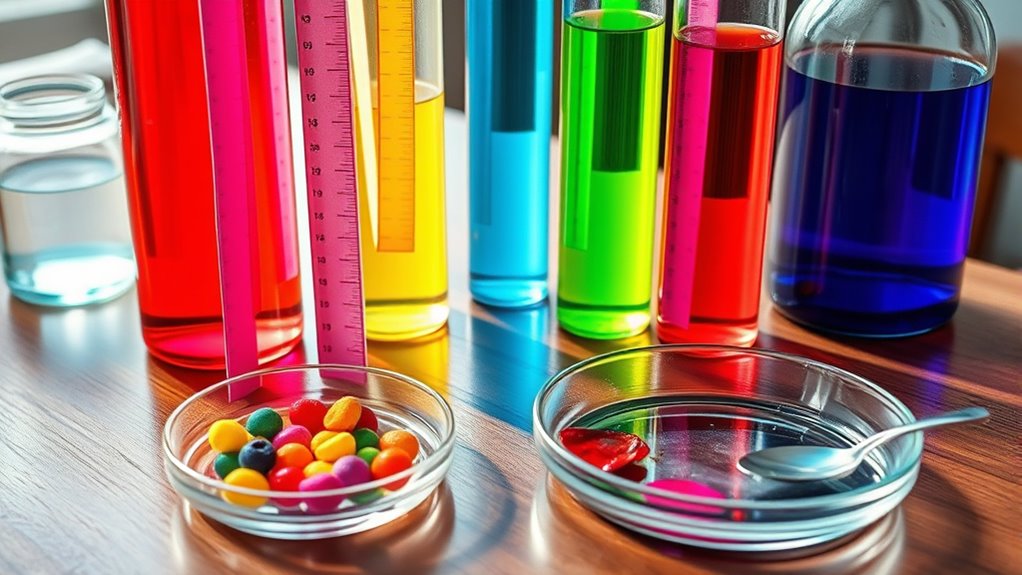
Separating Colors in Candy and Ink Samples
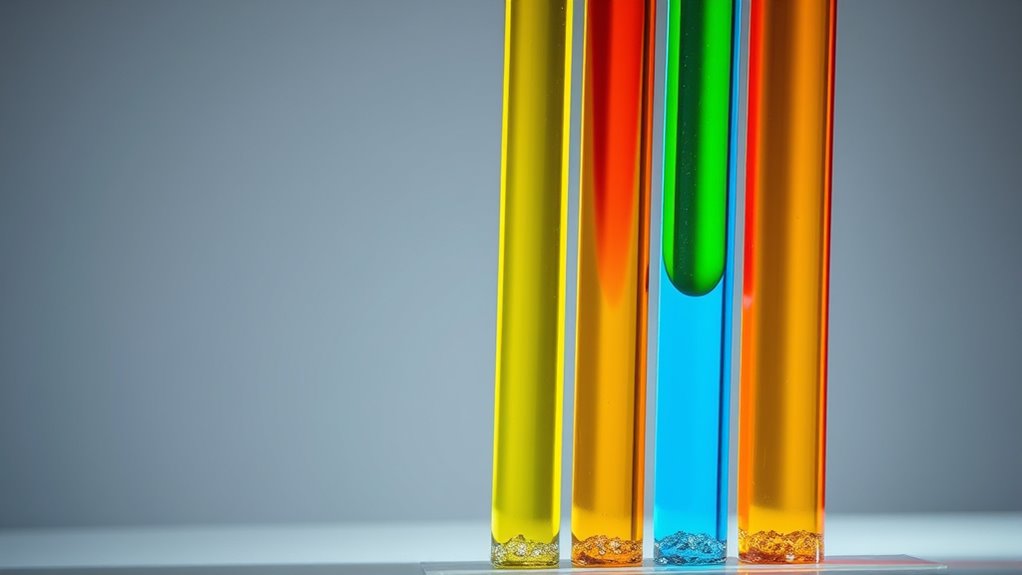
When you move on to separating colors in candy and ink samples, the goal is to identify and analyze the different dyes that make up each colorful substance. You’ll start by dissolving candy coatings like Skittles or Nerds in water, then using a dropper to place a small amount of the solution onto chromatography paper about 1 cm from the edge.
Next, you’ll suspend the paper vertically in a shallow container filled with distilled water, making sure the solvent doesn’t touch the sample spot. As the water climbs, dyes will separate based on their polarity and size. The efficiency of the separation process depends on factors like solvent choice and paper quality, which can influence the clarity of the results. Understanding the properties of dyes can help you better interpret the results of your chromatography experiment.
After 15-30 minutes, you’ll observe distinct color bands, which you can compare to dye charts to identify the dyes present. This process reveals the complex mixture of dyes hidden within candies and inks. Understanding how the solvent moves through the paper can help you better interpret the results of your chromatography experiment.
ALDON – Chromatography of Plant Pigments: Distance Learning Kit – Explore The Roles of Hidden Pigments Extracted from Plants – Innovating Science
EXPLORE THE VARIOUS PIGMENTS INVOLVED IN PHOTOSYNTHESIS || Chlorophyll is the most prevalent and well known plant pigment…
As an affiliate, we earn on qualifying purchases.
As an affiliate, we earn on qualifying purchases.
Exploring Plant Pigments With Simple Techniques
Exploring plant pigments with simple techniques allows you to see the vibrant colors produced by nature’s own dyes. To start, select diverse leaves like maples or spinach, then crush them using a mortar and pestle to release the pigments. Soak the crushed leaves in isopropyl alcohol to dissolve the colors. Using a vetted product can ensure safety and effectiveness during this process. Next, cut a strip of chromatography paper or coffee filter and draw a baseline near one end. Place the strip into the solvent, ensuring the bottom doesn’t touch the pigment mixture. As the solvent climbs, it separates different pigments, creating distinct bands on the paper. These bands reveal chlorophyll’s green, carotenoids’ yellow and orange, and anthocyanins’ red and purple. This simple experiment visually demonstrates how plants produce their vibrant colors and highlights the importance of plant pigments in nature. Understanding these pigments can also help you appreciate their role in photosynthesis, which is essential for plant survival and growth. Recognizing the biochemical properties of pigments enhances our understanding of their functions within plant biology. Additionally, this experiment offers insights into the biochemical pathways involved in pigment synthesis, enriching your comprehension of plant biochemistry.
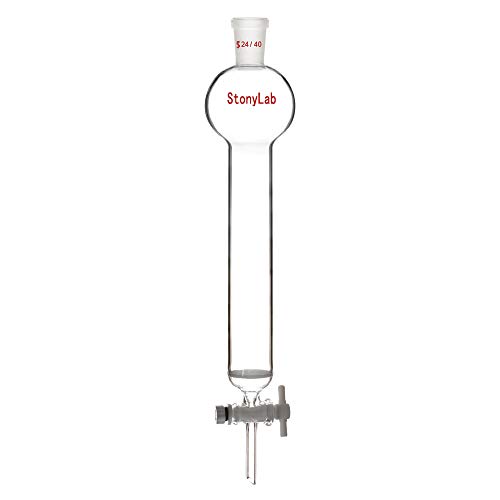
StonyLab Borosilicate Glass Chromatography Column with Reservoir and Fritted Disc, 50ml Capacity, 24/40 Outer Joint
Chromatography column
As an affiliate, we earn on qualifying purchases.
As an affiliate, we earn on qualifying purchases.
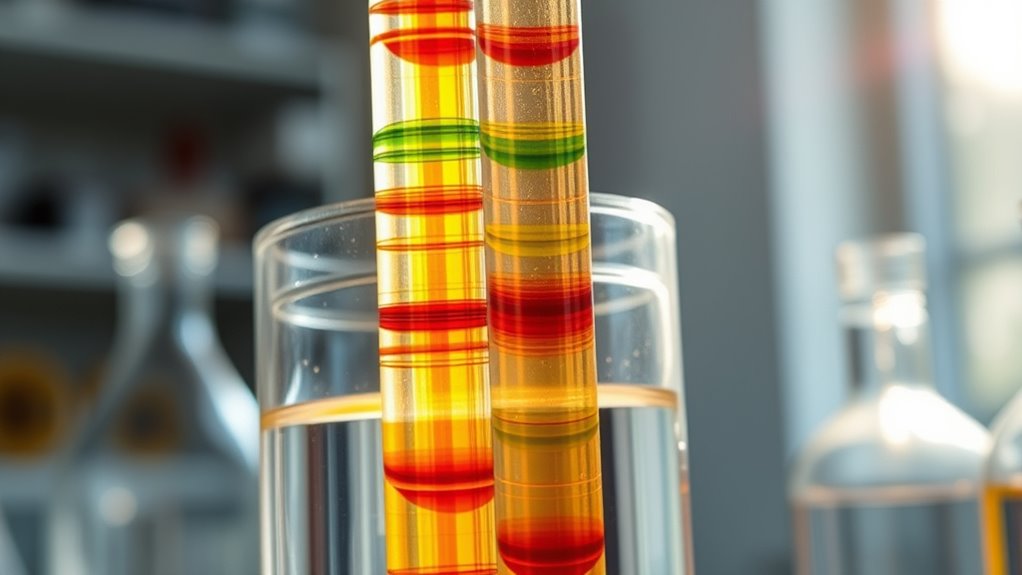
Testing Food Dyes for Hidden Ingredients
Building on the idea of separating plant pigments through chromatography, you can also use this technique to uncover hidden ingredients in food dyes. Start by preparing paper chromatography strips and applying small spots of dye samples from candies, drinks, or markers onto a marked baseline. Let the spots air-dry before immersing the strips in a salt solution, ensuring the dyes don’t bleed.
As capillary action pulls the dyes upward, different components separate at varying rates. Once the solvent nears the top, remove the strips and measure the distance traveled by each dye to calculate Rf values. Comparing these values with known standards helps identify the dyes and spot any unexpected ingredients. This process can also reveal contaminants that may be present in some food dyes.
This simple experiment reveals the hidden components in food dyes, helping you understand what’s inside your favorite treats, especially when considering indoor air quality and how contaminants might be present in environments where food is stored or prepared. Additionally, understanding the composition of food dyes can contribute to safer food choices and awareness of potential additives.
Creating DIY Column Chromatography at Home
Creating your own column chromatography setup at home is a straightforward way to separate and identify different dyes in liquids. Start with a 10ml oral dosing syringe, which acts as your chromatography column. Pack the tip lightly with a cotton ball to prevent sand leakage but allow liquid flow.
Fill the syringe halfway with ultra-fine sandbox sand, tamping it gently. Pre-wet the sand with 70% isopropyl alcohol before adding your dye mixture. Mix red and blue food coloring in alcohol, then slowly load this onto the sand layer. Understanding the principles of chromatography can help you interpret your results more effectively. Additionally, knowing how stationary phases function in chromatography can improve your ability to analyze separation outcomes. Using proper technique ensures more accurate and reproducible results. Recognizing the role of solvent polarity can further enhance your understanding of how dyes separate during the process.
Secure the syringe vertically and let gravity pull the solvent through the sand. As the solvent moves, different dyes will separate based on their affinity for the solvent and the stationary phase, illustrating how separation techniques work in chemistry. Collect the separated dyes in an ice cube tray, counting drops as they drip. Adjust flow by adding cotton if needed, and observe the color separation happening at the base of your column.
Frequently Asked Questions
What Safety Precautions Should I Follow During Home Chromatography Experiments?
When conducting home chromatography experiments, you should prioritize safety by working in a well-ventilated area and wearing protective glasses.
Handle chemicals carefully, especially solvents like ethanol, and avoid inhaling fumes.
Keep your workspace organized, prevent spills with absorbent materials, and dispose of chemicals properly.
Always supervise children, inspect equipment regularly, and store chemicals securely.
Following these precautions helps guarantee your experiment stays safe and successful.
How Do I Interpret Rf Values to Identify Compounds?
When interpreting Rf values, focus on the fraction’s flow and formation. A lower Rf indicates a more polar compound that sticks closer to the stationary phase, while a higher Rf suggests a less polar compound that travels further.
Compare your Rf to known standards under identical conditions. Remember, similar Rf values hint at similar compounds, but confirmation requires additional testing, so stay cautious and consistent in your calculations.
Can I Perform Chromatography Without Special Laboratory Equipment?
Yes, you can perform chromatography without special laboratory equipment. You simply need household items like coffee filters or paper towels, a container for your solvent, and some markers or dyes.
Cut your paper into strips, dip them into the solvent below the ink line, and let the colors separate as the solvent moves upward. It’s a simple, effective way to explore the principles of chromatography at home.
How Do Solvent Choices Affect Separation Quality?
Choosing the right solvent makes or breaks your separation quality. If you pick a solvent that’s too polar or nonpolar, your compounds won’t move properly, causing poor separation.
When you optimize solvent strength and polarity, you sharpen your bands and improve clarity. A good choice guarantees compounds dissolve well and interact correctly with the stationary phase, leading to sharper, more distinct results.
Trial, error, and careful adjustment are key to success.
What Are Common Mistakes to Avoid in DIY Chromatography Setups?
When setting up your DIY chromatography, avoid common mistakes like not filtering your samples, which can clog your column, or using incompatible stationary phases that reduce separation.
Be sure to clean and maintain your columns, choose the correct solvents, and properly prepare your samples.
Don’t forget to control temperature, use consistent injection volumes, and always handle vials carefully to prevent contamination or evaporation.
These steps help guarantee accurate, reliable results.
Conclusion
Now that you’ve explored these chromatography experiments at home, you’ve seen how science is all around us. Remember, “A little knowledge is a dangerous thing,” so keep experimenting carefully and stay curious. Each experiment reveals something new about the world—so don’t be afraid to try more. With patience and a keen eye, you’ll uncover hidden colors and secrets right in your own kitchen or backyard. Happy experimenting!